Lottie animations are a fantastic way to add life to your website and make it more interactive for your users. Not only do they look great, but they're also lightweight and easy to implement. If you're using Webflow as your website builder, adding Lottie animations to your site is a breeze.
In this article, we'll walk you through the process step-by-step, so you can confidently start incorporating Lottie animations into your Webflow projects.
Why Lottie Animations are Essential in 2023
Lottie animation files are JSON-based, meaning they are built with JavaScript. As a result, the format presents numerous benefits for anyone building web pages or applications.
Below are 3 of the most significant benefits of implementing the technology in your designs.
Interactivity – Lottie is the easiest way to increase interactivity on your pages or web-based app.
Customization – The JSON-based format allows you to make changes without design experience or software.
Page Load Speeds – Including animation has always been a trade-off for page load speeds. However, Lottie is exponentially smaller than GIF, SVG, and MP4, allowing you to create interactive designs without bogging down your page load speeds.
Sourcing a Premium Quality Lottie Animation
The first step in adding Lottie to a Webflow application is to find and customize a premium animation.
Navigate to Creattie
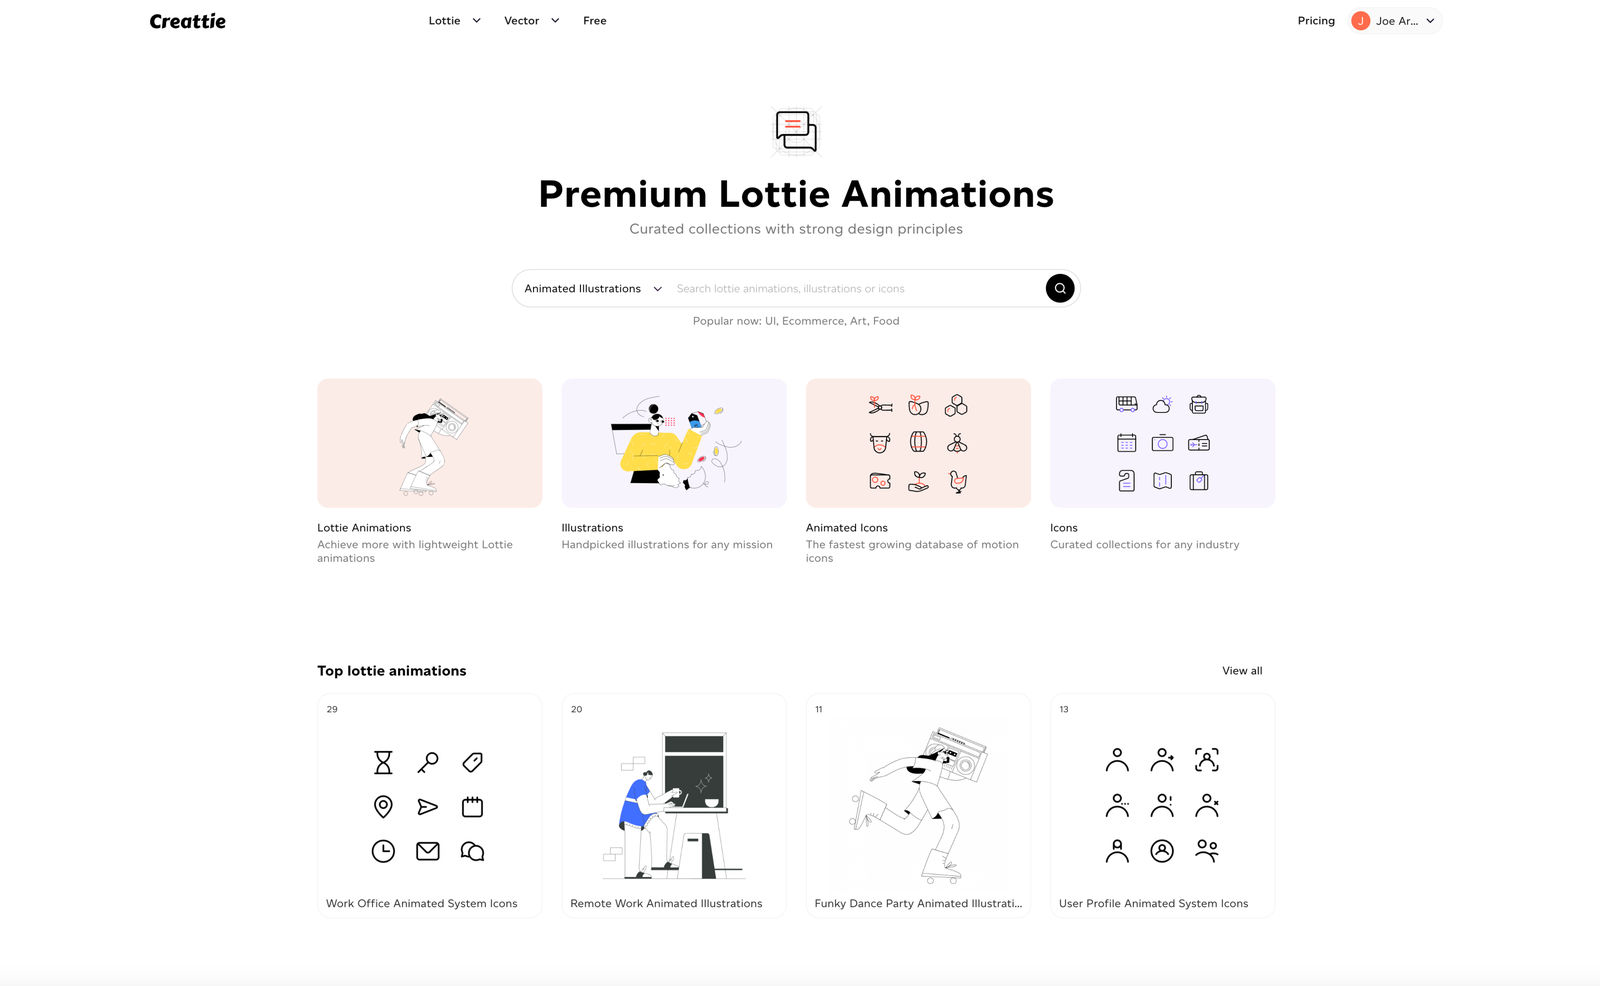
The Creattie Lottie library features an extensive selection of animated illustrations and icons ready to be customized and implemented into your designs. Choose what type of asset you'd like to work with and browse the available artwork.
Browse by Collection, Type, Style, or Industry
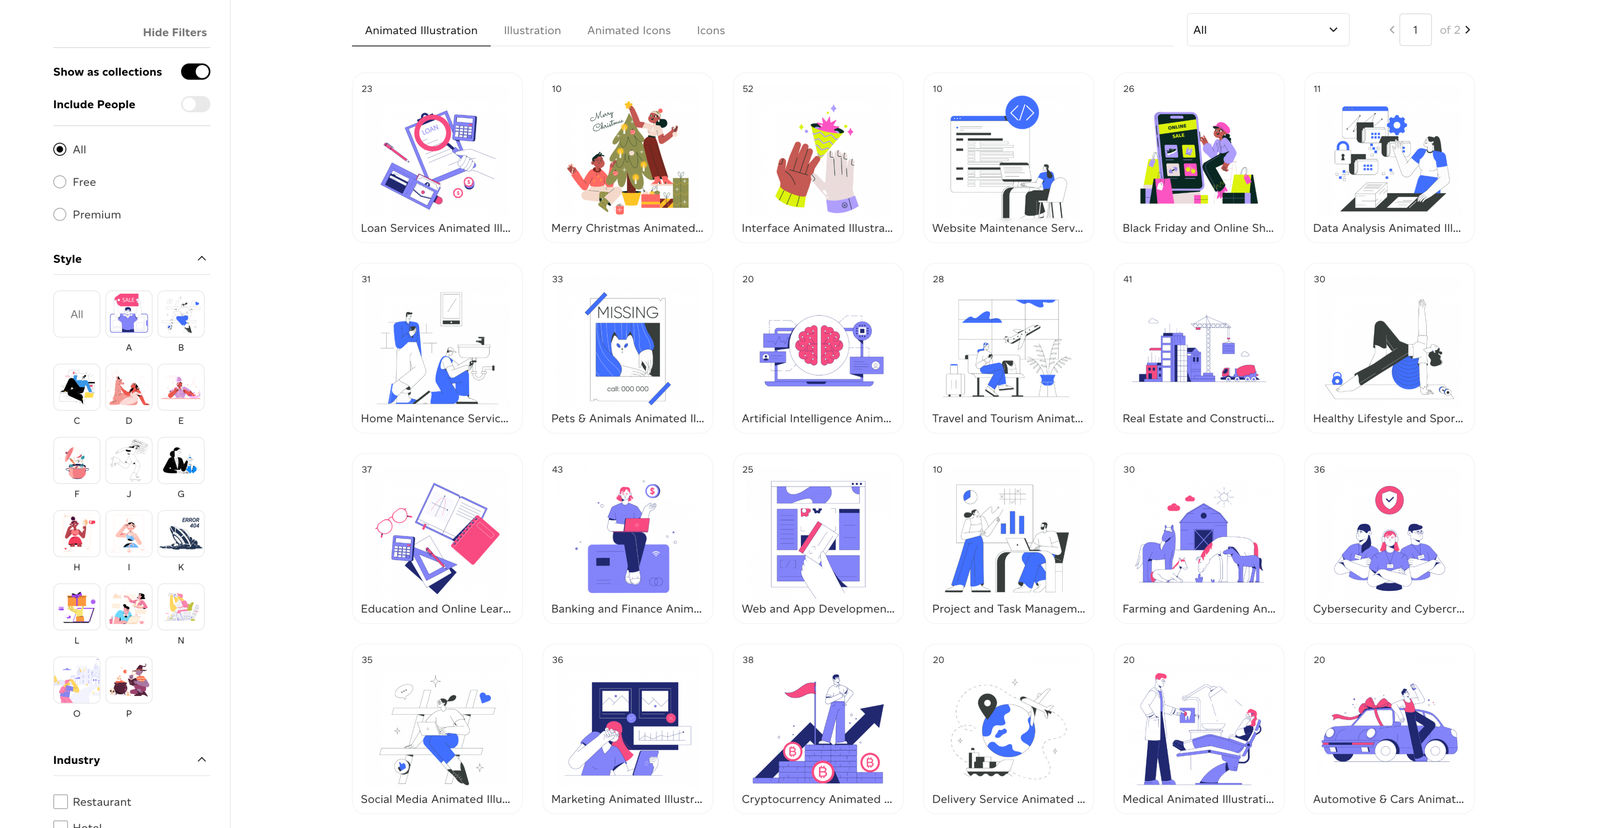
We are choosing from the Interface Animated Illustrations collection. Creattie releases new animation packs frequently that are perfect for building a cohesive project. We've picked the Good Job animation to add to our web pages.
Customize your Design
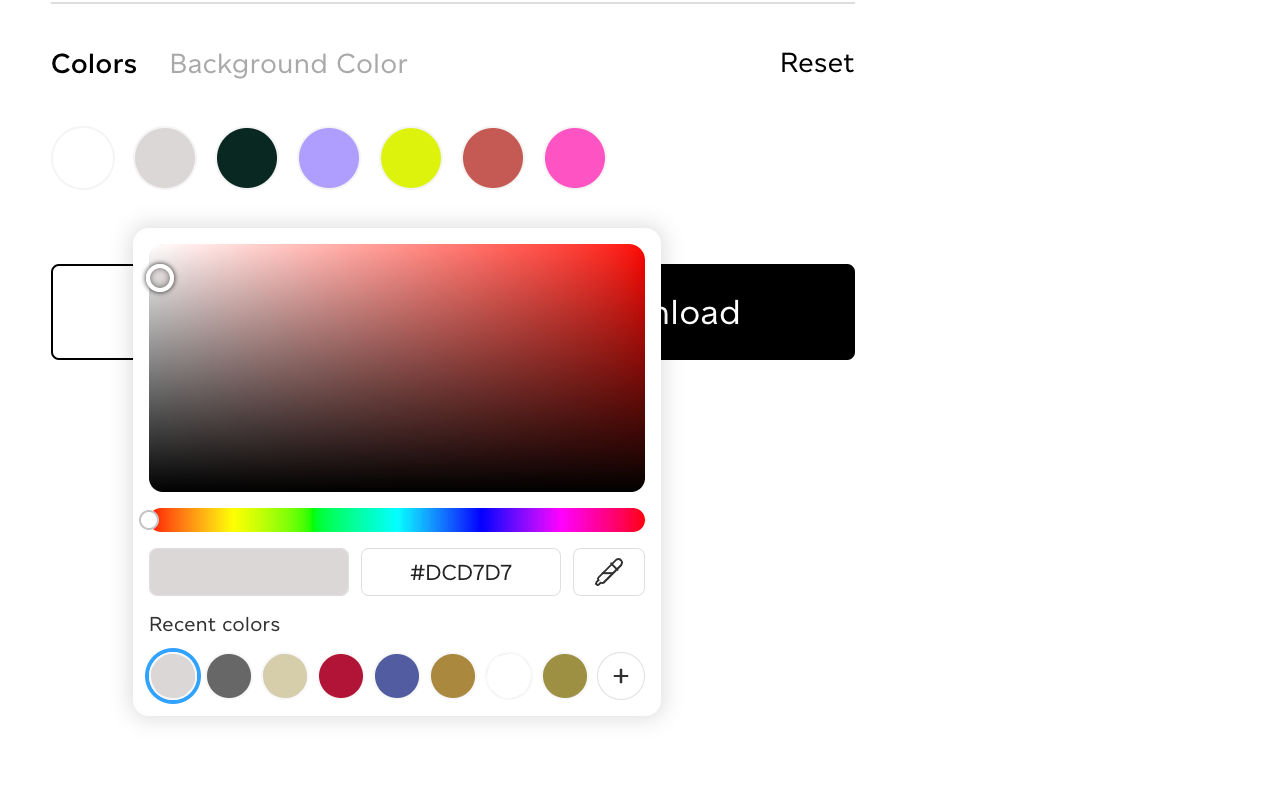
Next, let's edit the animation's colors. We've saved some skin tones into the color customizer. You can also pick colors with the following:
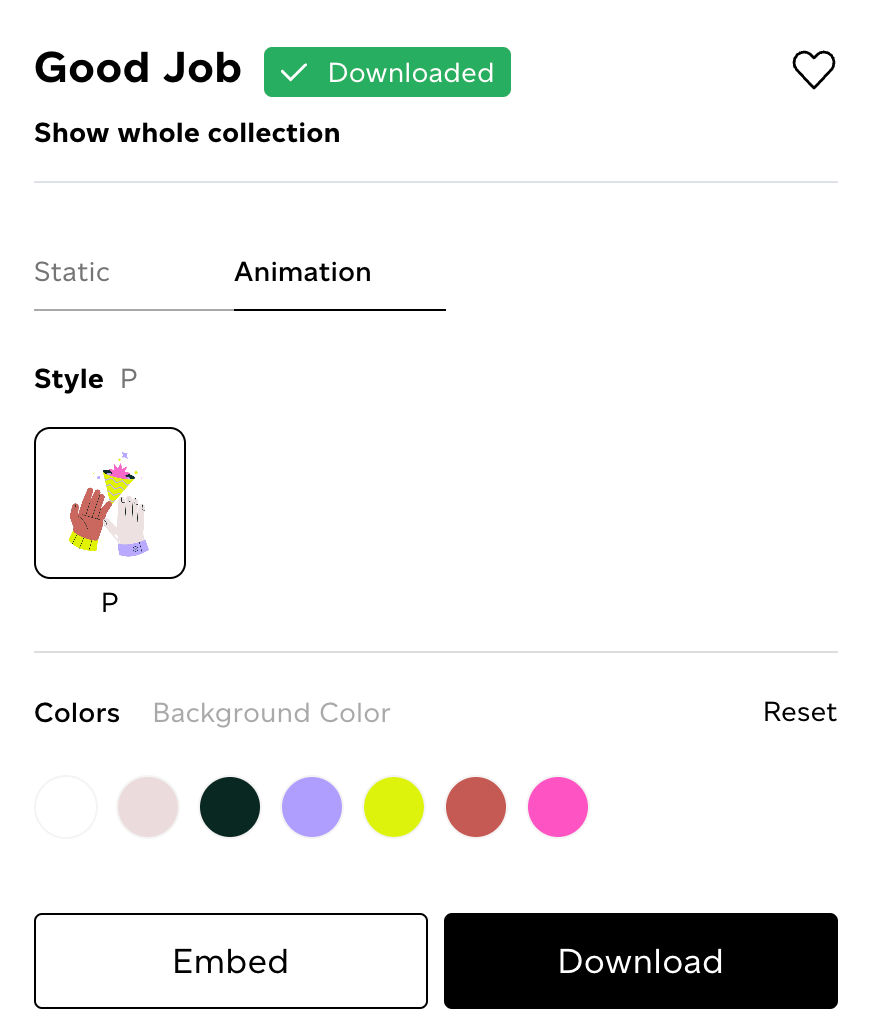
- Recently used colors
- Choosing RBG code
- Clicking on the color spectrum
- Interface color selector
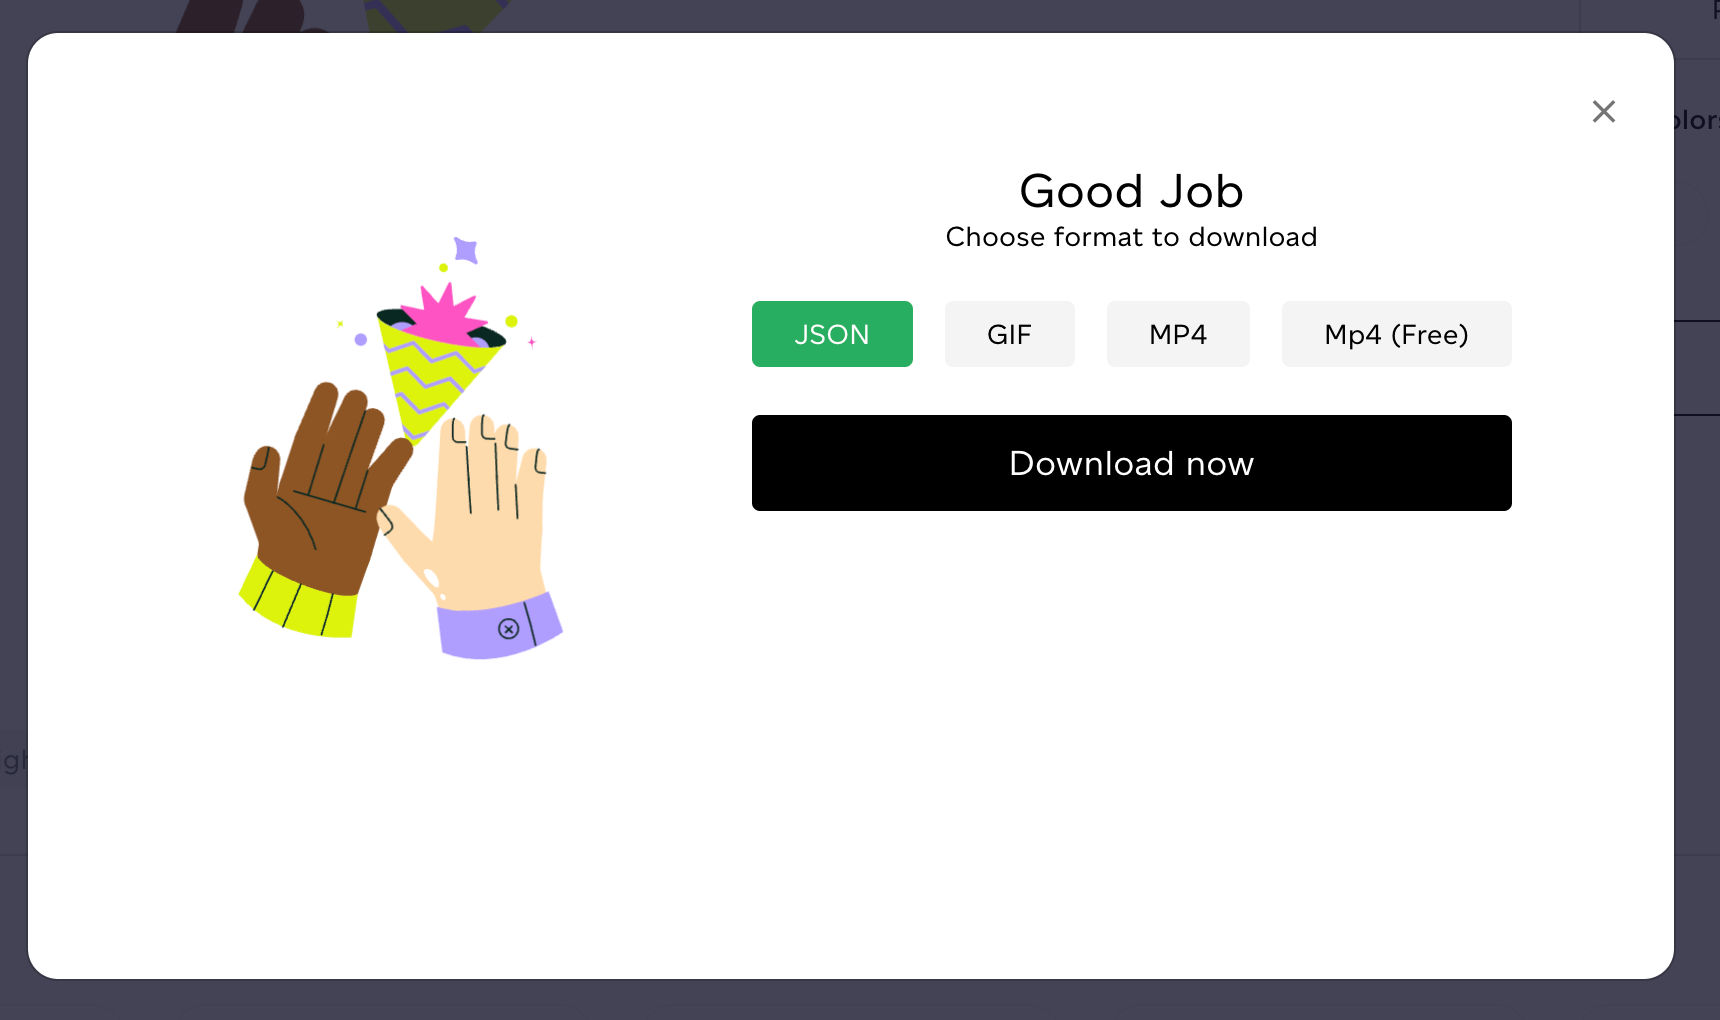
Download
Once your animation looks perfect, click DOWNLOAD. For this tutorial, we'll need the JSON file and code to embed the Lottie animation. (You'll have access to the EMBED button once you've downloaded the JSON file.)
Adding Lottie Animations to Webflow's CMS
Now that we have our Lottie animation, we can add the design to our Webflow project. First, we'll work in the CMS, then add to a web page layout with the Designer.
Copy Code Snippet
For the CMS, we have to embed the animation's code. Click the EMBED button in Creattie, and you'll see a pop-up with more customization options. Here you can change the following:
- Size
- Delay
- Speed
- Trigger
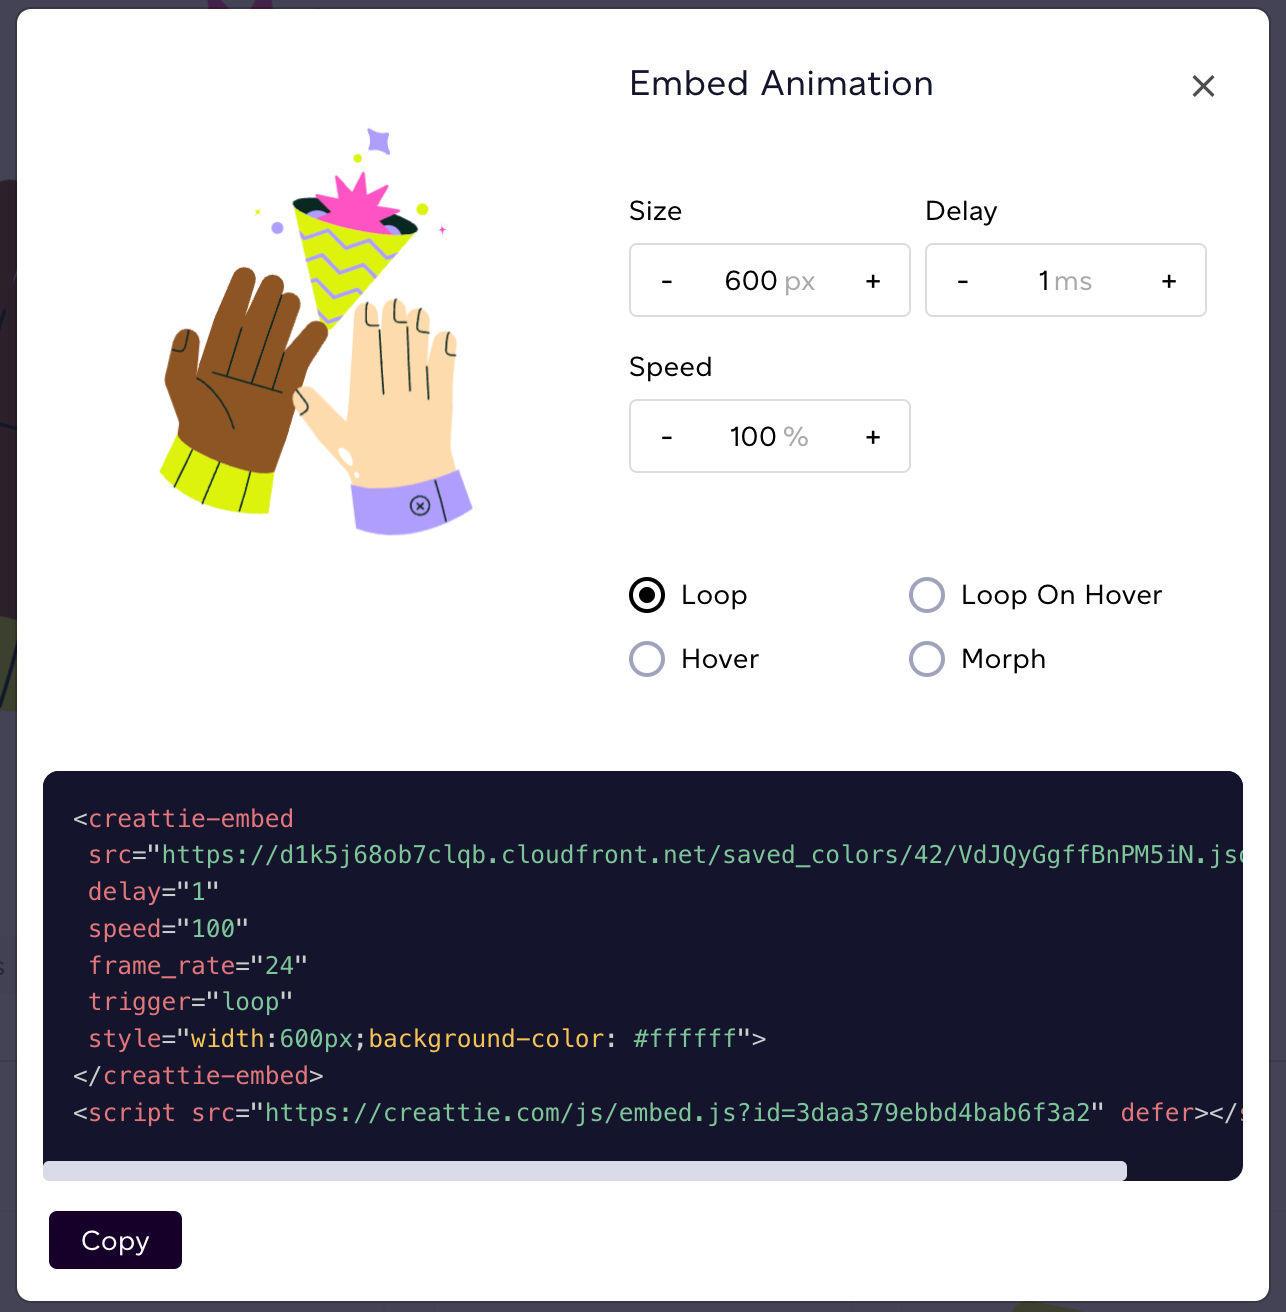
All the changes made in the pop-up editor are reflected in the code snippet, meaning you can make changes here or once it's on the web page.
Click COPY once you're satisfied with the animation.
Navigate to Webflow CMS
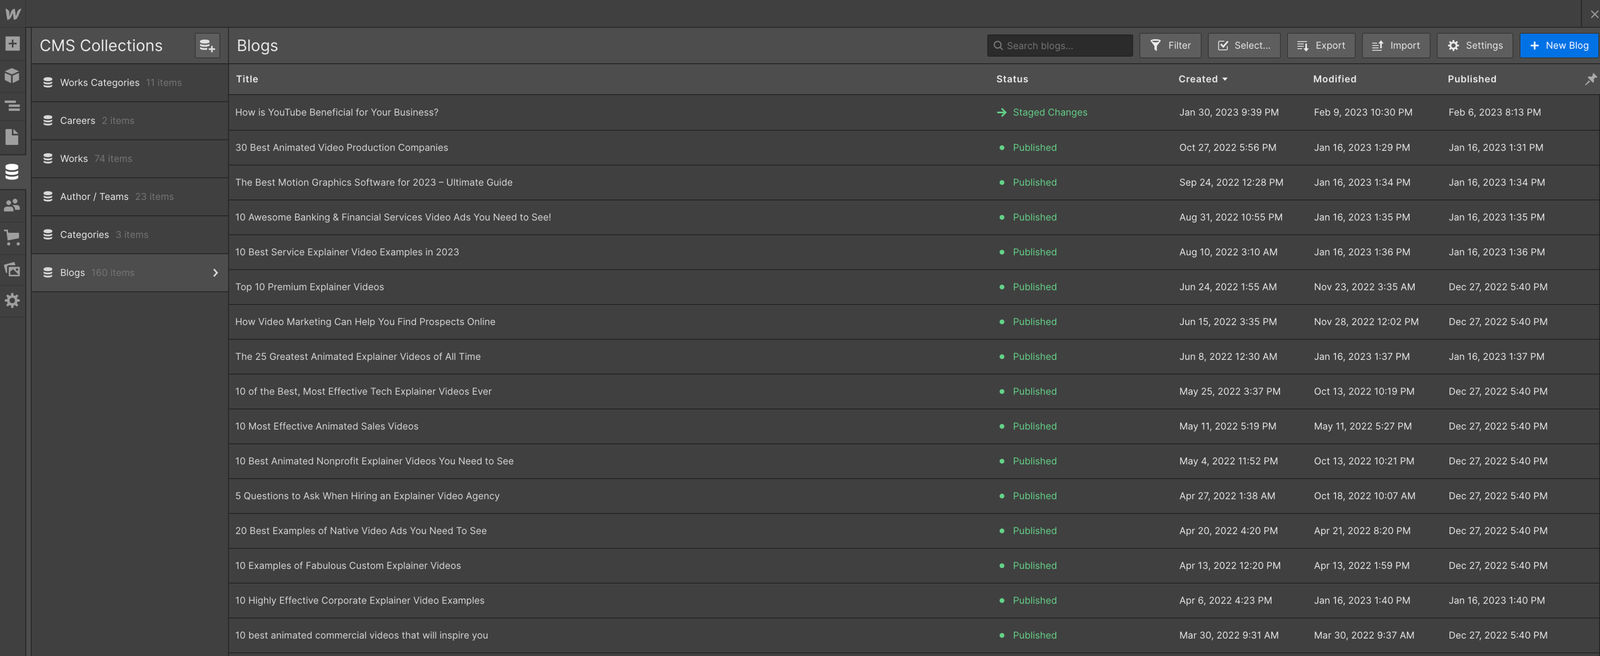
We're ready to head over to Webflow!
Click on CMS in the toolbar and select a file you want to add your Lottie design.
Paste Code into <> Editor

Add the code copied to your clipboard by clicking the "+" icon and then the code snippet "<>" symbol.
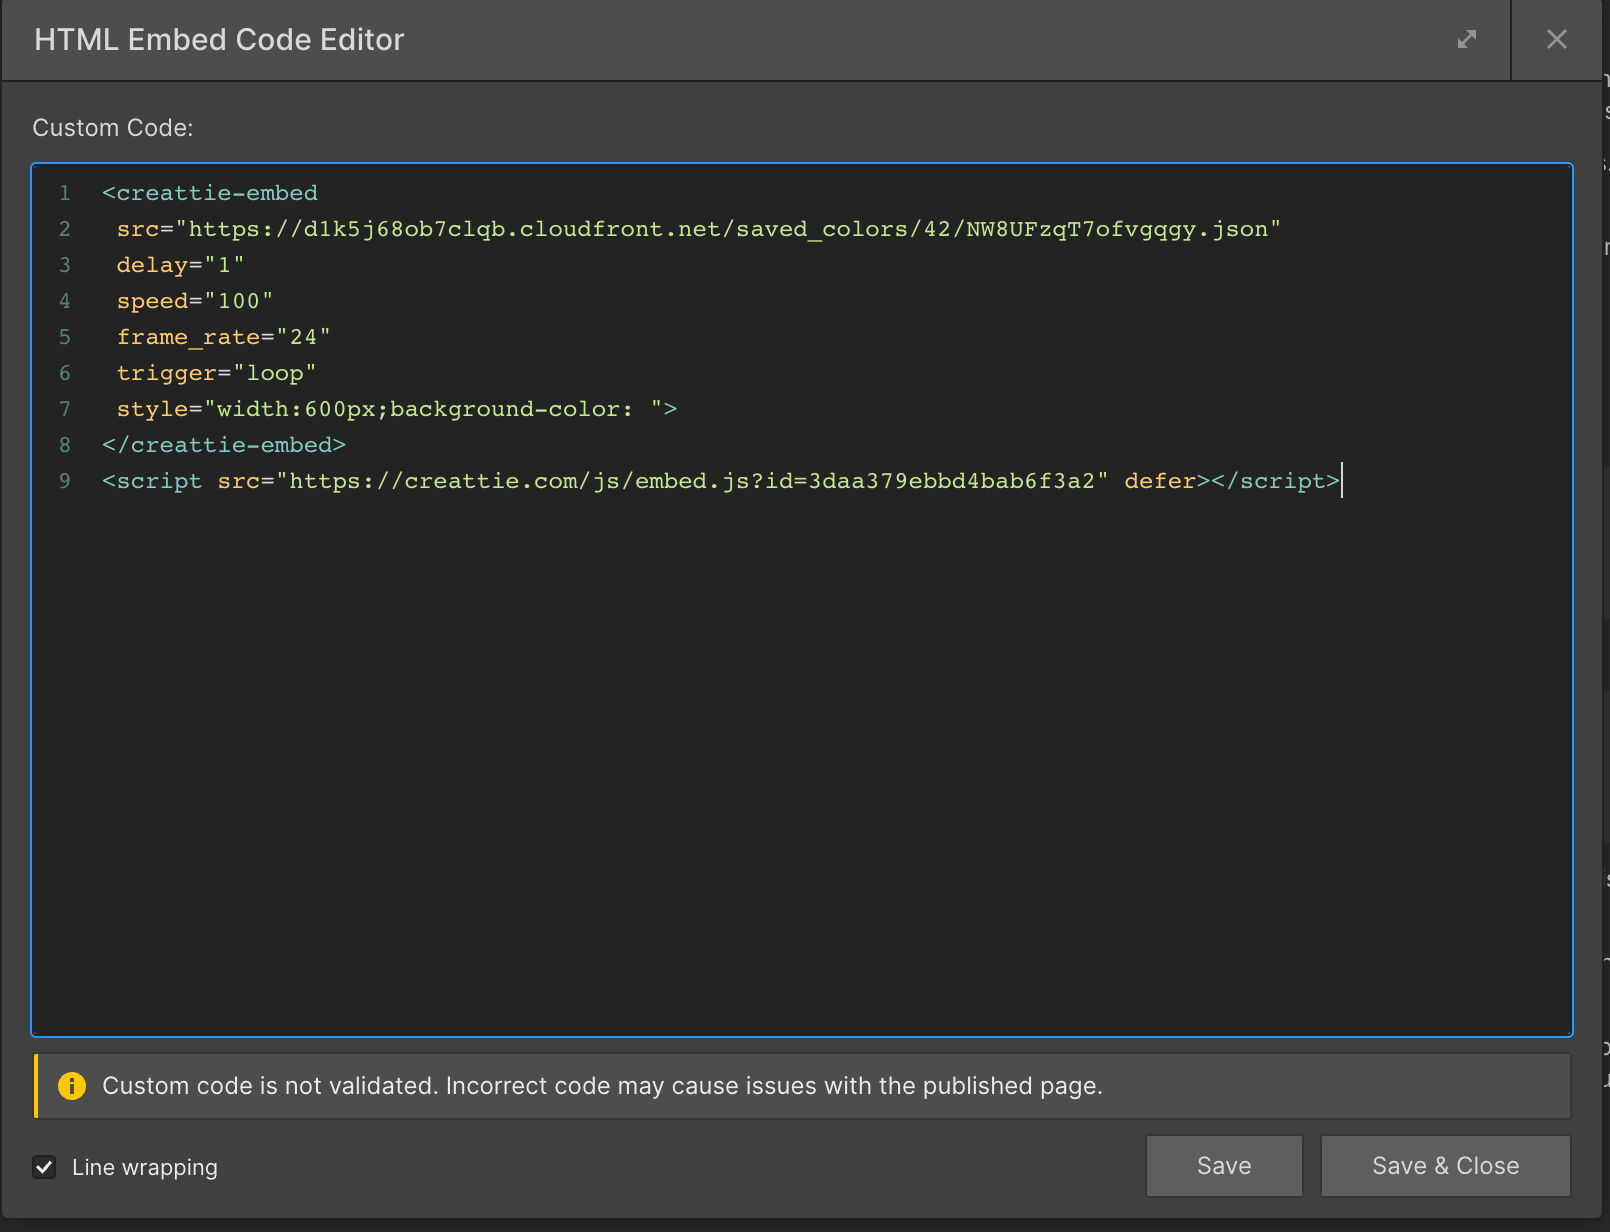
Paste in the code and click SAVE AND EXIT.
View Changes
You won't be able to see the changes in the CMS editor, but if you publish, you can view your page with the new Lottie animation.
If you need to make changes, you can go back into the <> editor and adjust the size, speed, delay, background color, or trigger. To adjust the color, you'll need to head back into Creattie, make adjustments and get a new code snippet.
Implementing Lottie into Webflow's Page Builder
Now let's add a Lottie animation to the page designer. For this part of the tutorial, we'll need the animation as a JSON file. If you are following along, you should have the file already in your downloads folder, but if not, click DOWNLOAD in the Lottie asset editor.

Navigate to the Webflow Designer
Choose which page needs to be brought to life with our interactive Lottie design. For the tutorial, we will work with a Contact Us page.
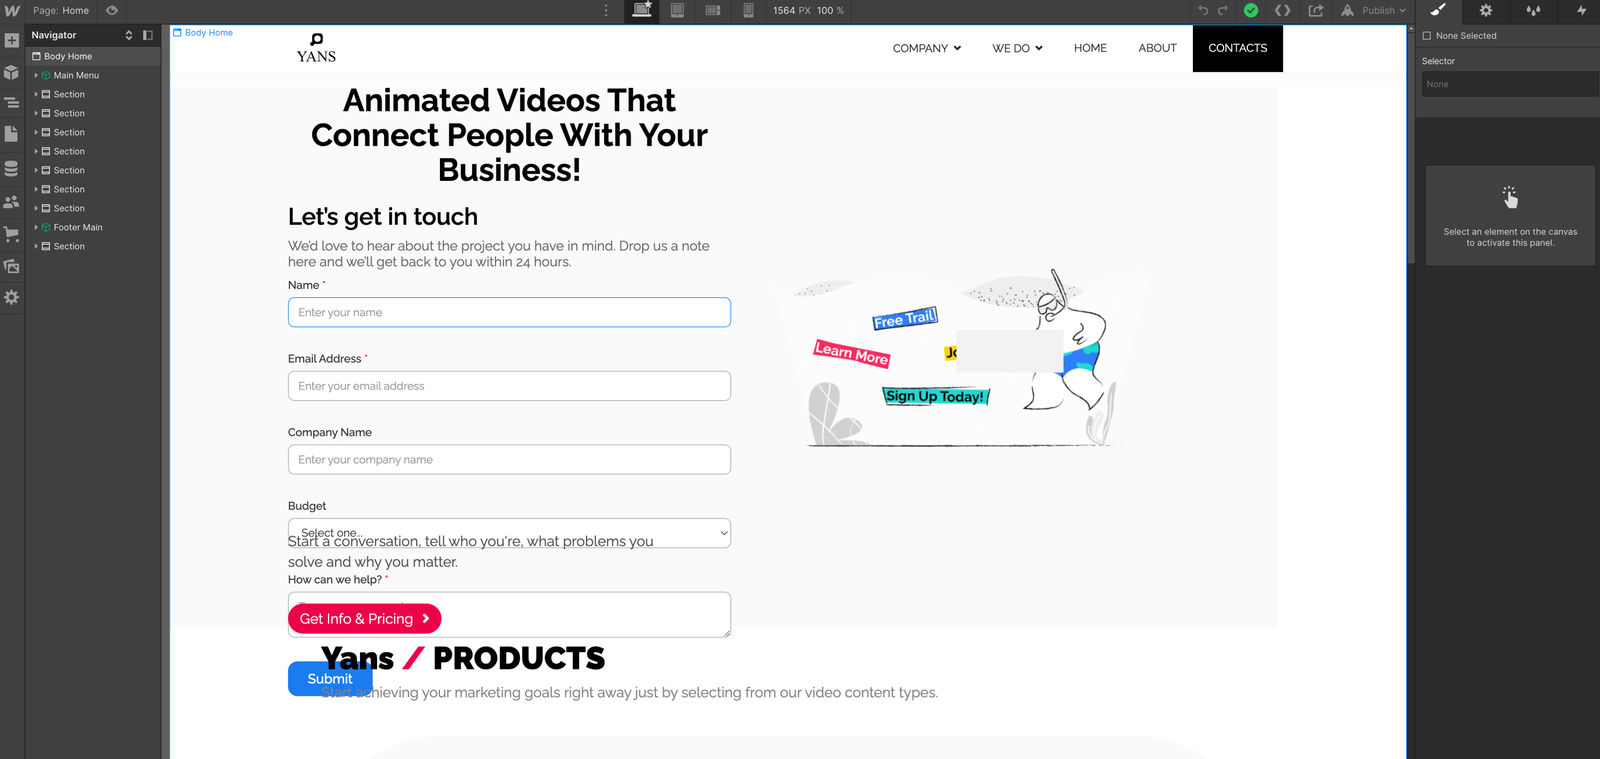
Add a Section
Click the section you want to edit, then click the ADD ELEMENT button in the top left corner of the editor. We're adding 2 columns and inserting the Lottie animation into one to contain the design.
Add a Page Element
Here's where the magic happens!
Click the ADD ELEMENT button again. Then, scroll down to the Media section, where you will see the "Lottie Animation" option.
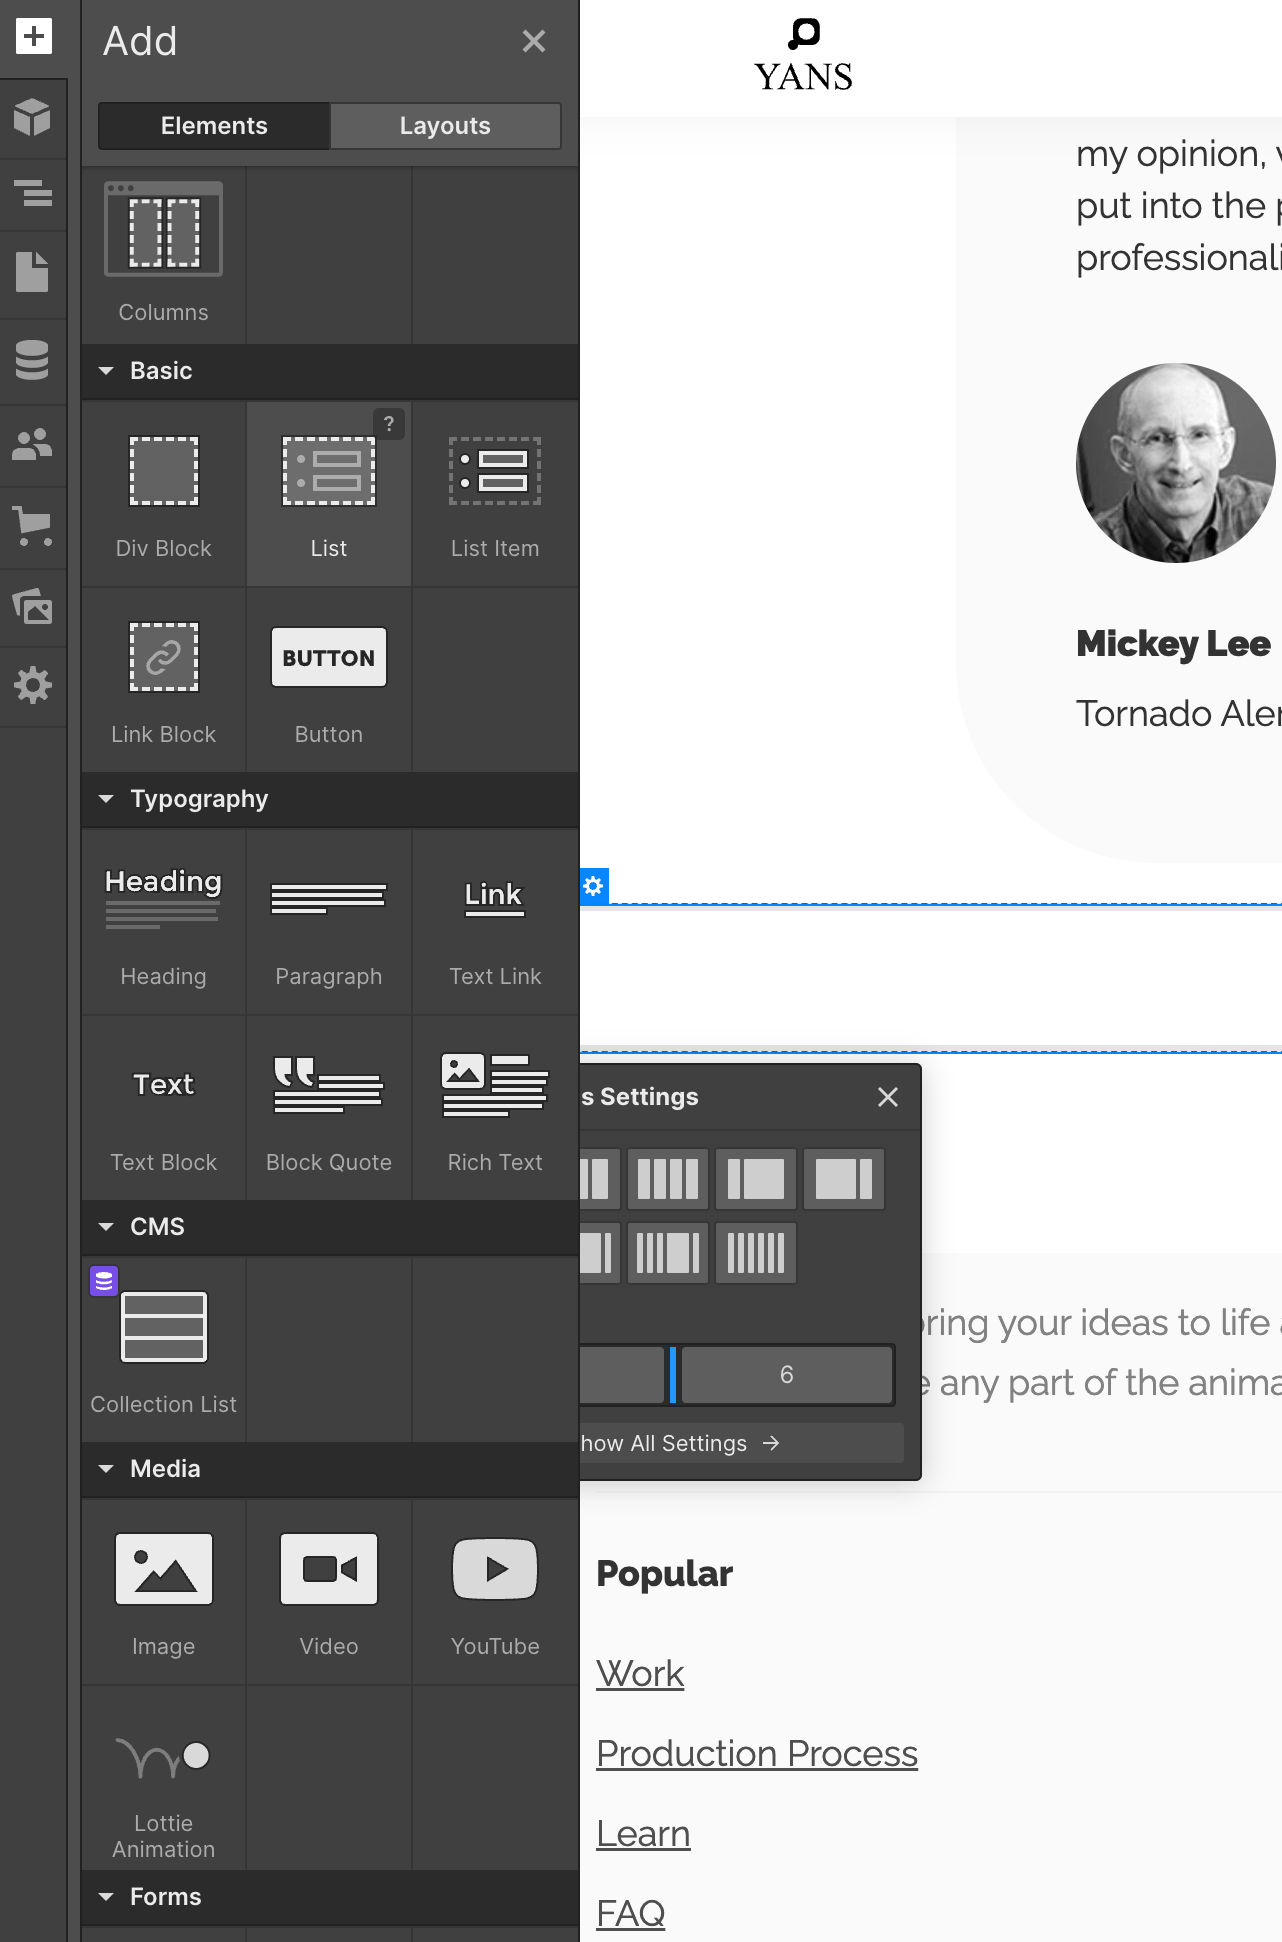
Drag the icon into the section you want to edit.
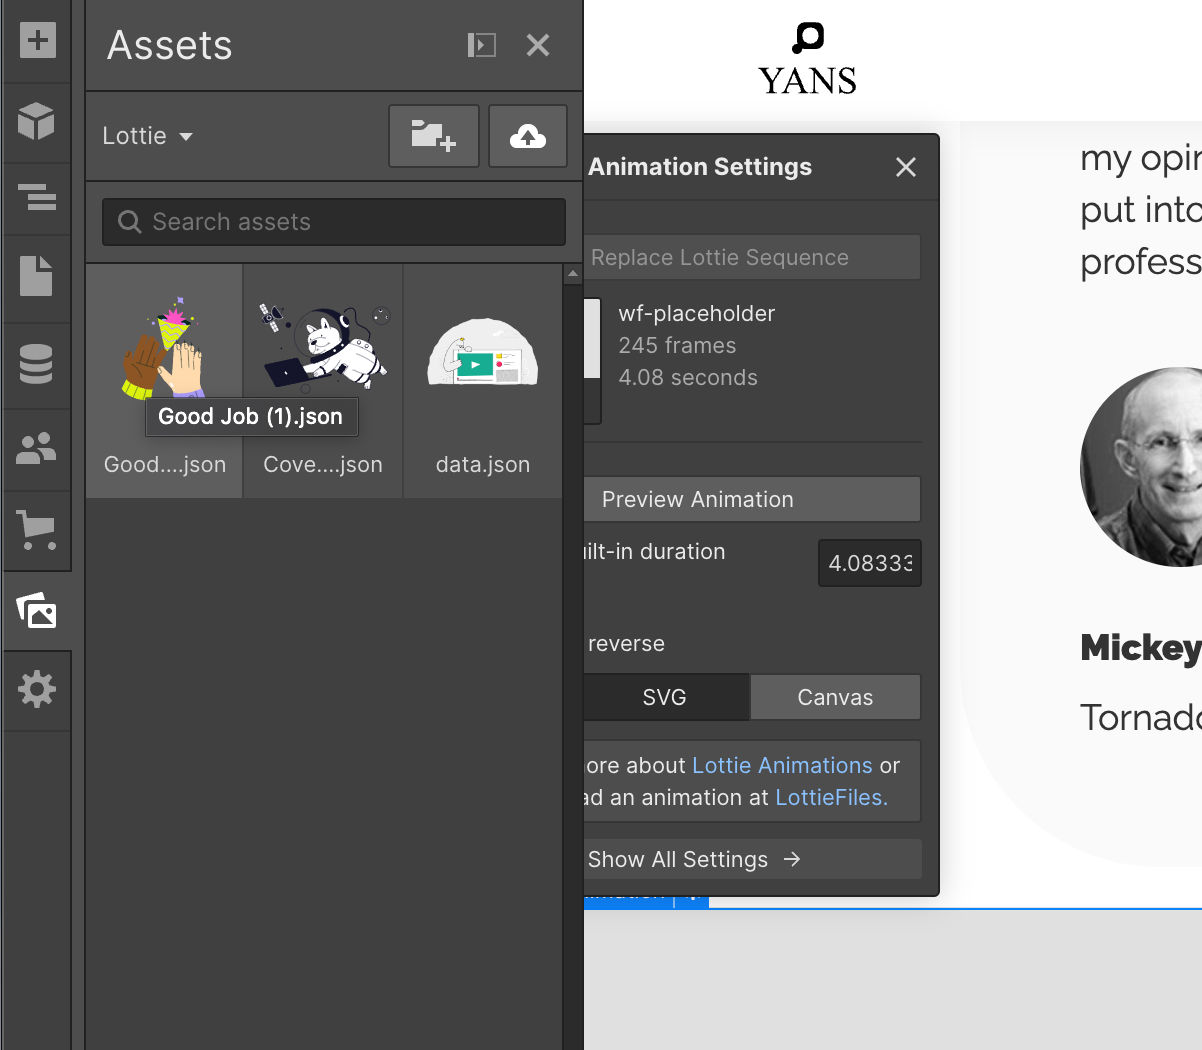
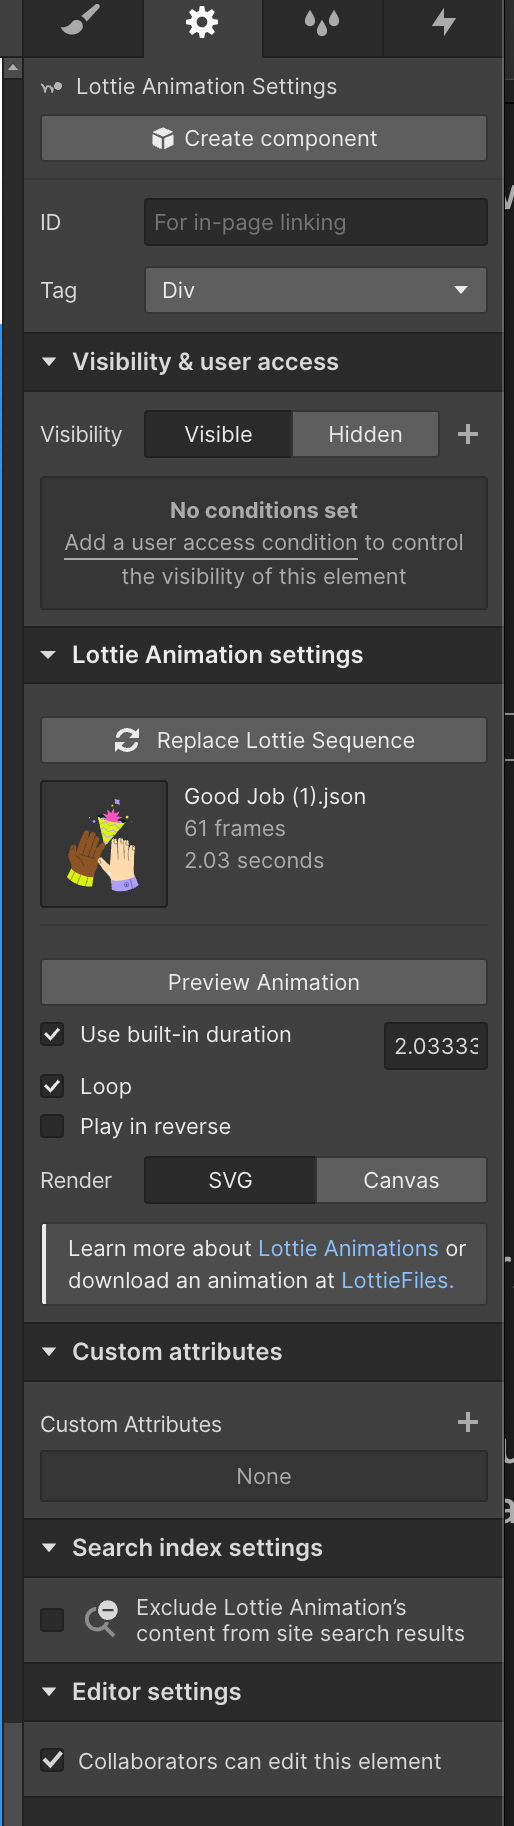
Upload Lottie Animation
You'll notice the "Lottie Animation Settings" pop-up in your editor; click REPLACE LOTTIE SEQUENCE.
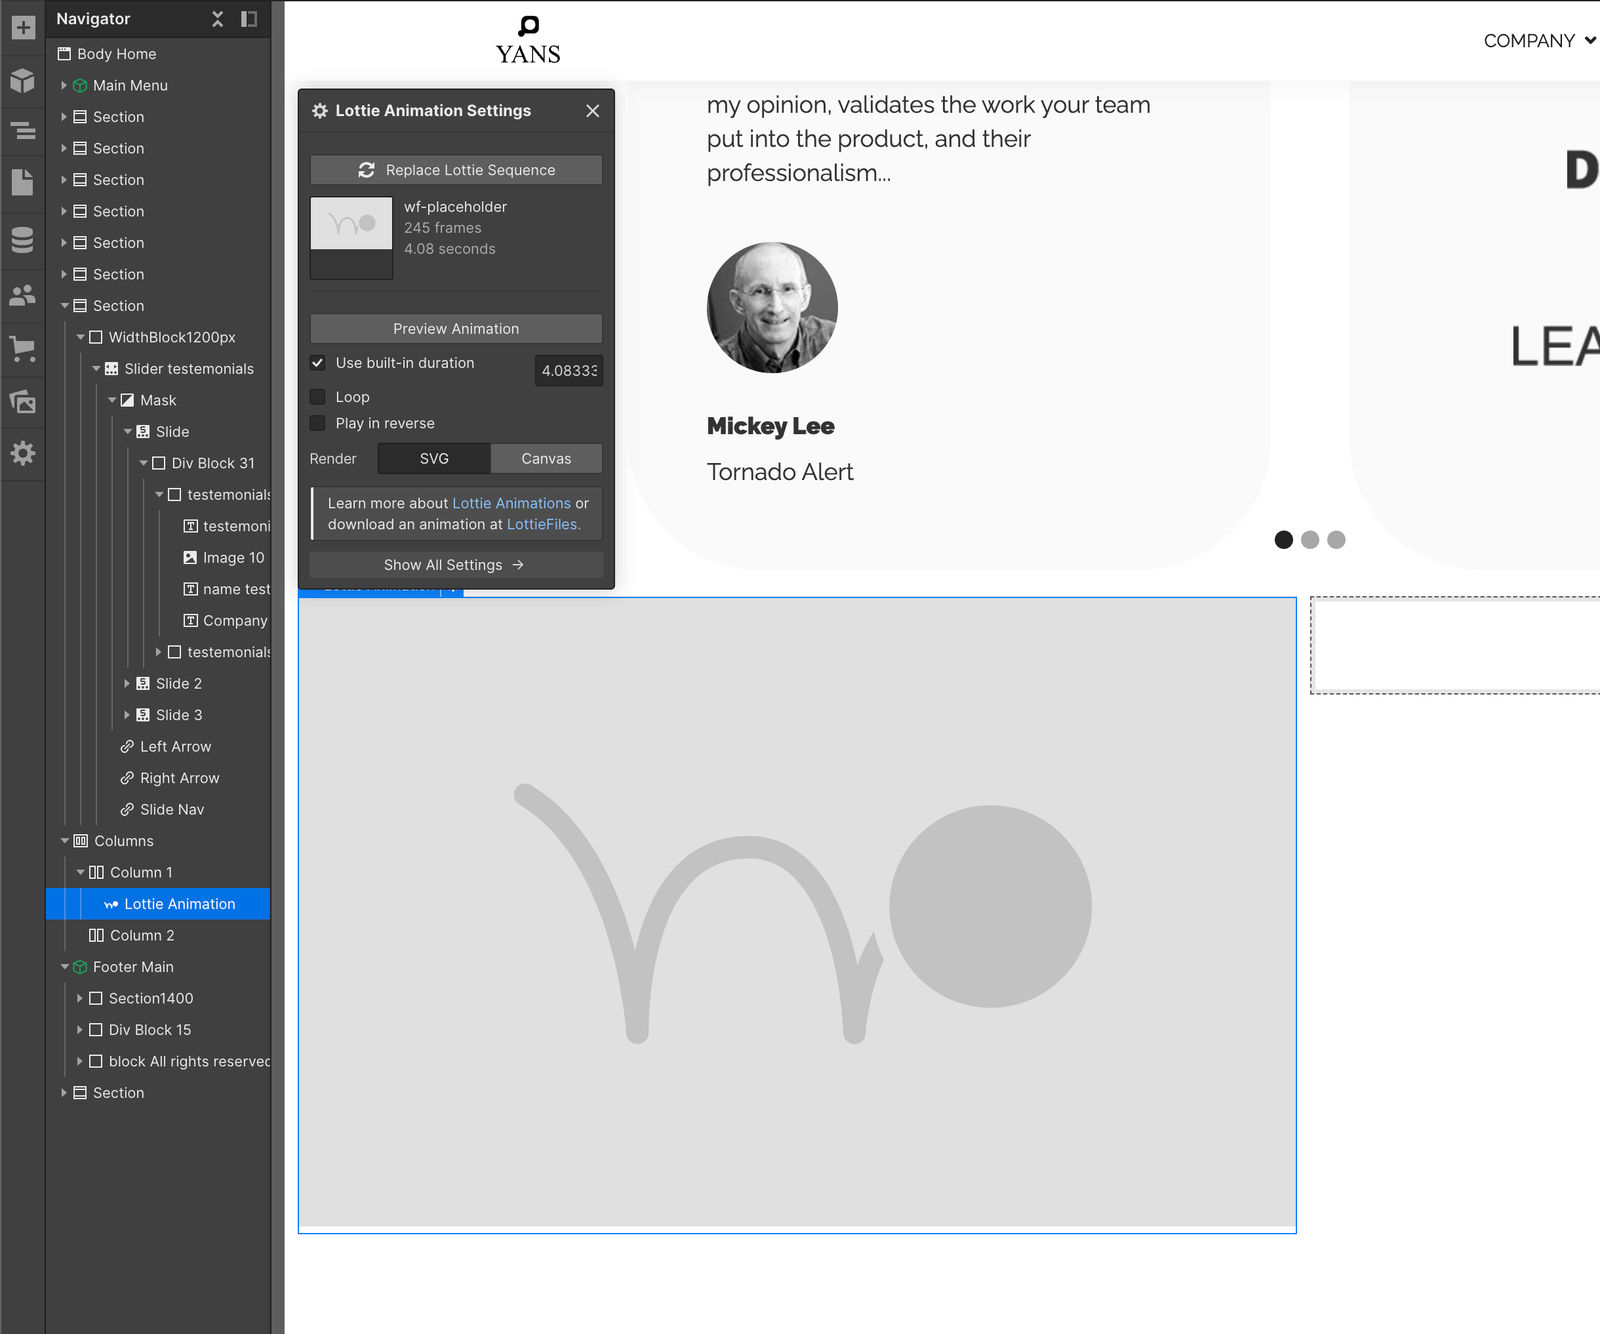
Here's where you upload your Lottie animation by clicking the upload cloud in the top right corner. Once you upload, the design should appear in the "Assets" toolbar on the left side of the editor. Next, click your animation, which should immediately render on the page.
Customize
Now that the design is on the page, you can utilize the full editor on the right-hand toolbar. Here you can toggle between the "Style," "Element Settings," "Style Manager," and "Element Trigger" options at the top.
To change the size of the animation, click the brush icon. Next, expand the SIZE row and select WIDTH. You can change using multiple parameters; we've picked PX and brought the animation down to 400PX.
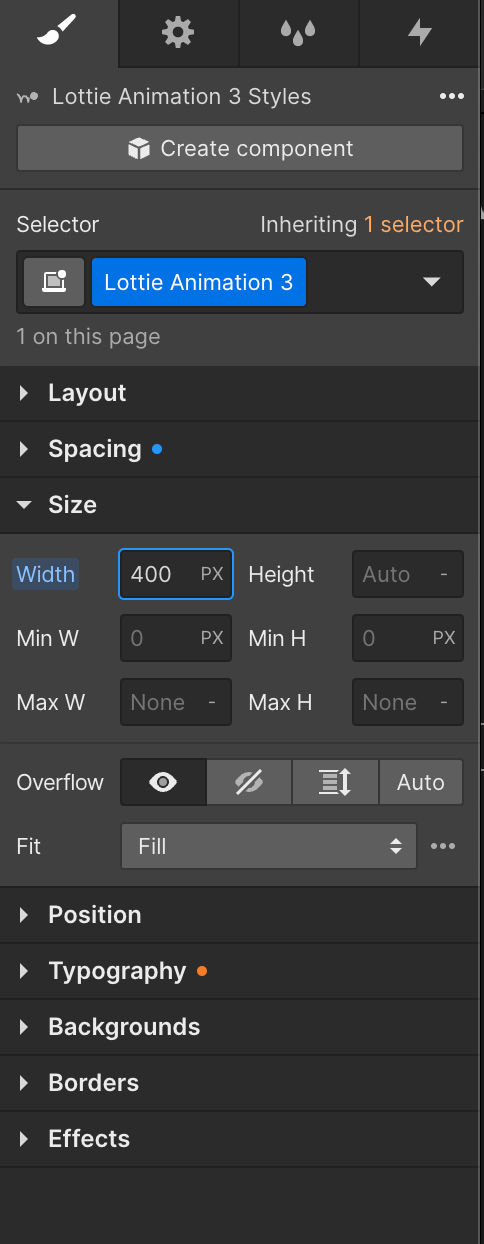
You can also change the positioning, border, effects, and more in the "Style" section.
To set the animation to Loop, navigate to the "Element Settings" tab and check the Loop radio button.
Webflow provides you with many customization options that will help make the animation fit the design and aesthetic of your page. However, if you want to change the colors, you'll need to go back into Creattie, make changes, and re-download the asset
Final Words
Incorporating Lottie animations into your Webflow projects is a simple and effective way to enhance the user experience and make your website stand out.
With this step-by-step guide, you now have the knowledge and tools to add Lottie animations to your Webflow projects with confidence. Whether you're looking to create eye-catching loading animations, informative graphics, or dynamic buttons, Lottie animations are a versatile and valuable addition to your website design toolkit. So, go forth and make your website come to life, and don't forget to check out the entire Creattie librarery!