Lottie is a revolutionary technology that uses JSON to provide developers with more front-end control over animated page elements. In today’s tutorial, we will walk you through incorporating Lottie into the free JavaScript library, React.
After reading, you will understand why Lottie is the future of interface web development and have the tools required to start working with lightweight animations in your React.JS applications.
Find a Premium Lottie Animation
The first step is to source a JSON-based animation. We will be using the premium Lottie library Creattie; the platform has an extensive selection of high-quality designs, many of which you can use for free.
Navigate to Creattie.
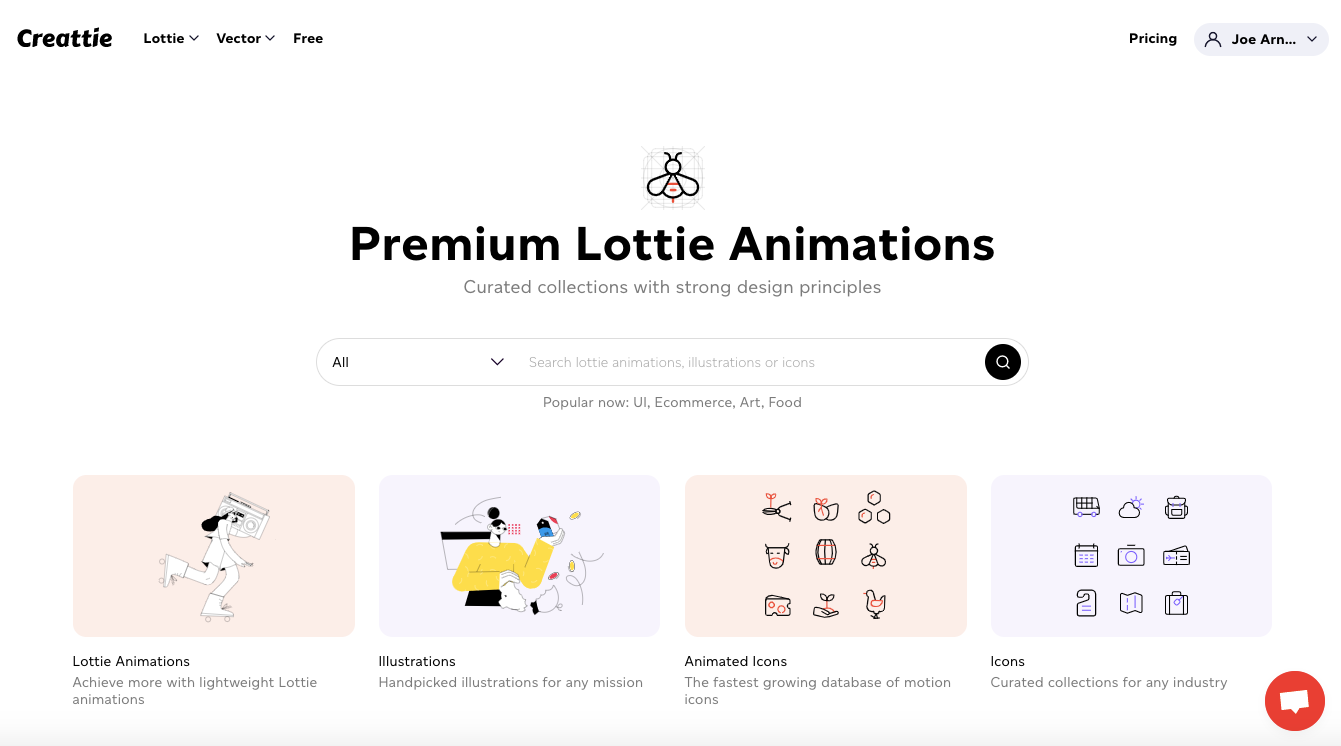
Hover over the ‘Lottie’ drop down in the header menu.
Click ‘Animated Illustrations.’

Search for an animation.
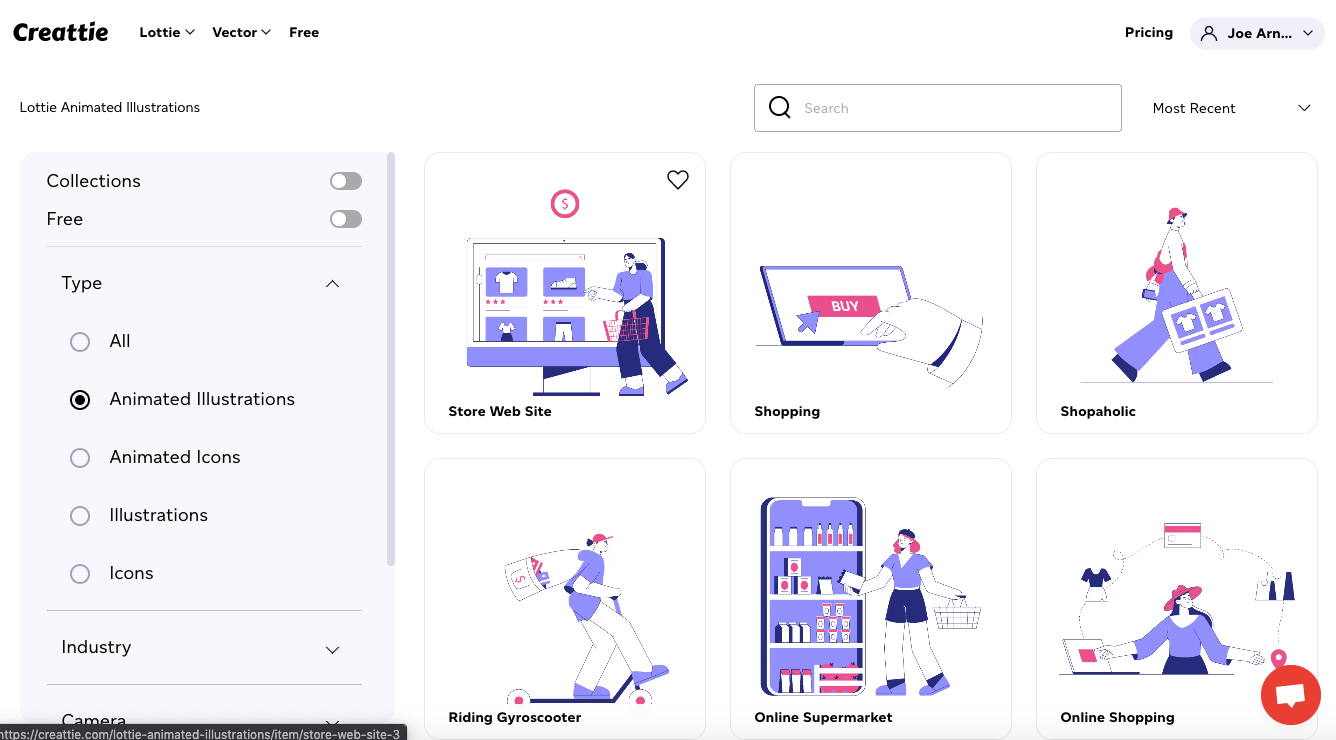
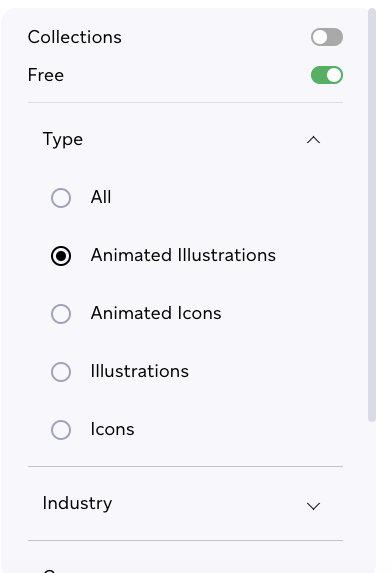
We’re going to choose the Start-Up Launch illustration. This animation is only available to Creattie subscribers; if you want to follow along but don’t want to pay for a membership just yet, toggle ‘Free’ to check out the selection of available animated illustrations.
Customize Color
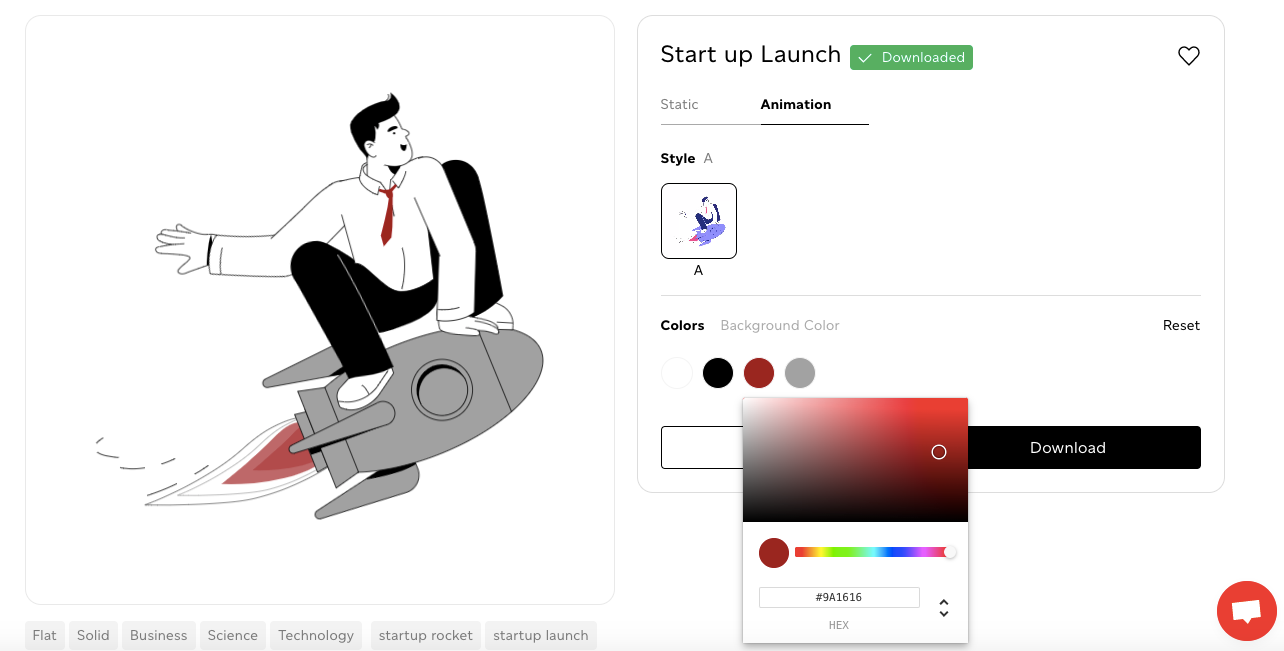
On the item page, you’ll notice Creattie allows you to pick between static and animated versions of the content and allows you to make color adjustments. We’re going to keep the illustration as an animation and make some changes to the colors.
Click the color you want to change and either paste in the code or choose from the selector. We’ve made some adjustments, as you can see below.
Download the JSON File
Once you’ve perfected the aesthetic of your design, click ‘Download.’ A pop-up will show up, giving you the format options, keep the file as JSON and click ‘Download Now.
Open Your Code Editor
For this tutorial, we will assume you’ve worked with React and skip the steps to set up an app.
Open your React file. Before running the app, we need to install an NPM package to handle the Lottie animation.
Install React-Lottie
React-Lottie is an NPM package that allows JSON-based Lottie animations to render in React. You can check out the documentation here. You can find the full example application plus more information about the package on the NPM page.
Navigate to your root directory and run the following command in your terminal.
Npm install react-lottie
Run Your React App
Now we’re ready to run React in the browser. Switch directories in the terminal to your React application.
cd my-app
(or the name of your React app)
And run React with:
npm start
If you’re working with a new app like we are, you’ll have the template React code running in your browser.
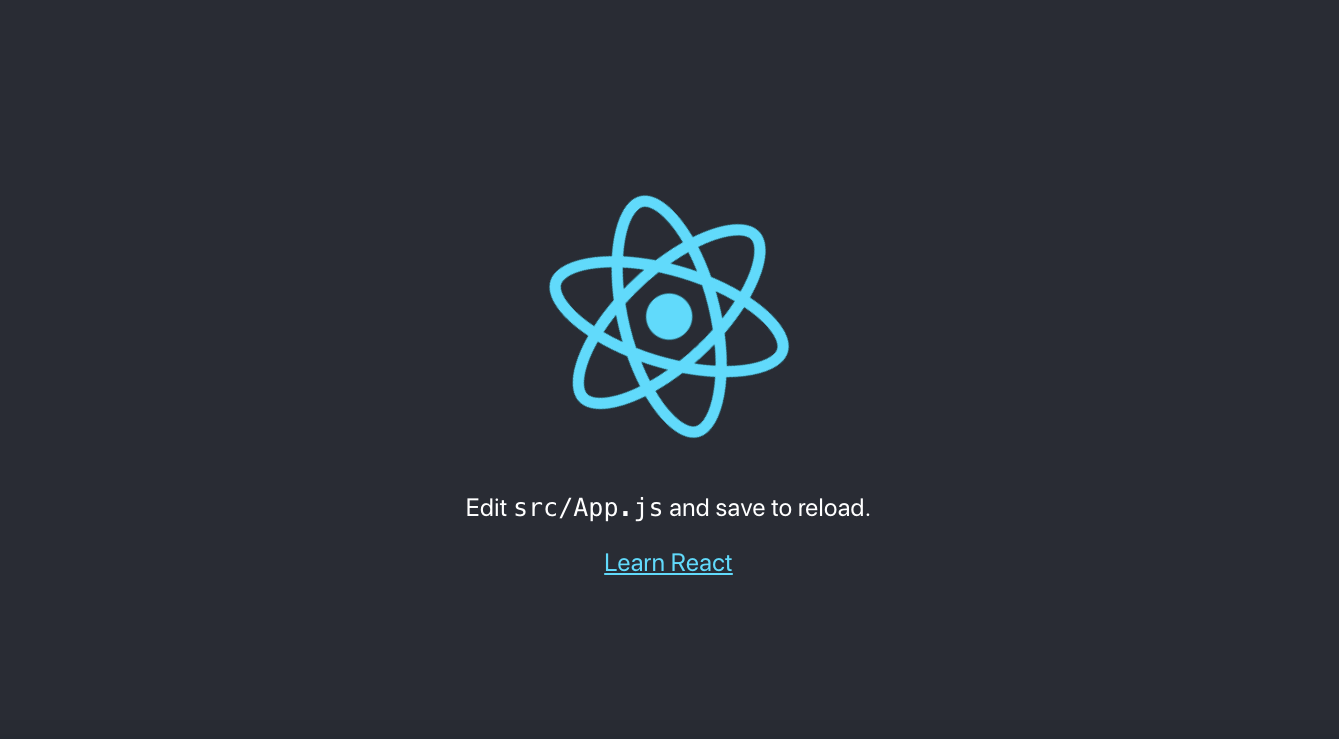
Navigate to App.JS
We will only make changes to a blank page in the App.JS file to keep the tutorial simple. So right now, you should still have the template code in the file (unless you are working with an existing project).
Add React Imports
At the top of your App.JS file, you’ll need the following Imports:
import React from 'react'
import Lottie from 'react-lottie';
import * as animationData from './launch.json'
We’ve renamed the JSON file; make sure yours matches the animationData import.
Next, add your JSON File to the SRC directory in my-app.
Add new Render() Function
Now that we’ve included our imports delete the App() function. Leaving you with just your 3 imports. (You can follow along or scroll down to find the complete code snippet)
First, we’re going to export our React.Component with the following code:
export default class LottieControl extends React.Component {}
Inside the React.Component {}, we’ll add a constructer to mount the object, a render function, and a return.
The constructor will set the object’s state. Here’s the code:
constructor(props) {
super(props);
this.state = {isStopped: false, isPaused: false};
}
Now create a render() function. This is where the magic happens. We’ll call on the JSON file in the import and set the animation to loop, autoplay, and modify our rendererSettings. The function is below.
render() {
const defaultOptions = {
loop: true,
autoplay: true,
animationData: animationData,
rendererSettings: {
preserveAspectRatio: 'xMidYMid slice'
}
};
Now we just need to provide an output with a ‘return.' Here we can adjust the size.
return
height={600}
width={600}/>
Your app should be working at this point. We have a massive animation running on a loop in the center of our page.
The complete code snippet up to this point is below.
import React from 'react'
import Lottie from 'react-lottie';
import * as animationData from './launch.json'
export default class LottieControl extends React.Component {
constructor(props) {
super(props);
this.state = {isStopped: false, isPaused: false};
}
render() {
const defaultOptions = {
loop: true,
autoplay: true,
animationData: animationData,
rendererSettings: {
preserveAspectRatio: 'xMidYMid slice'
}
};
return
height={600}
width={600}/>
}
}
Add a Button to Control Animation
React-Lottie provides some simple code to alter the state of our animation with a button. We’ll finish up the tutorial by adding a couple more lines of code.
First, add a button const with some basic styling.
const buttonStyle = {
display: 'block',
margin: '10px auto'
};
Now add 3 buttons in the return.
this.setState({isStopped: true})}>stopbutton>
this.setState({isStopped: false})}>playbutton>
this.setState({isPaused: !this.state.isPaused})}>pausebutton>
And finally set the state within the tag.
isStopped={this.state.isStopped}
isPaused={this.state.isPaused}
The complete return should look like this:
return
height={600}
width={600}
isStopped={this.state.isStopped}
isPaused={this.state.isPaused}/>
this.setState({isStopped: true})}>stopbutton>
this.setState({isStopped: false})}>playbutton>
this.setState({isPaused: !this.state.isPaused})}>pausebutton>
div>
Now you can control the animation with the ‘Play’ ‘Stop’ and ‘Pause’ buttons. Take a minute to play with your new app and marvel at what you’ve just created!
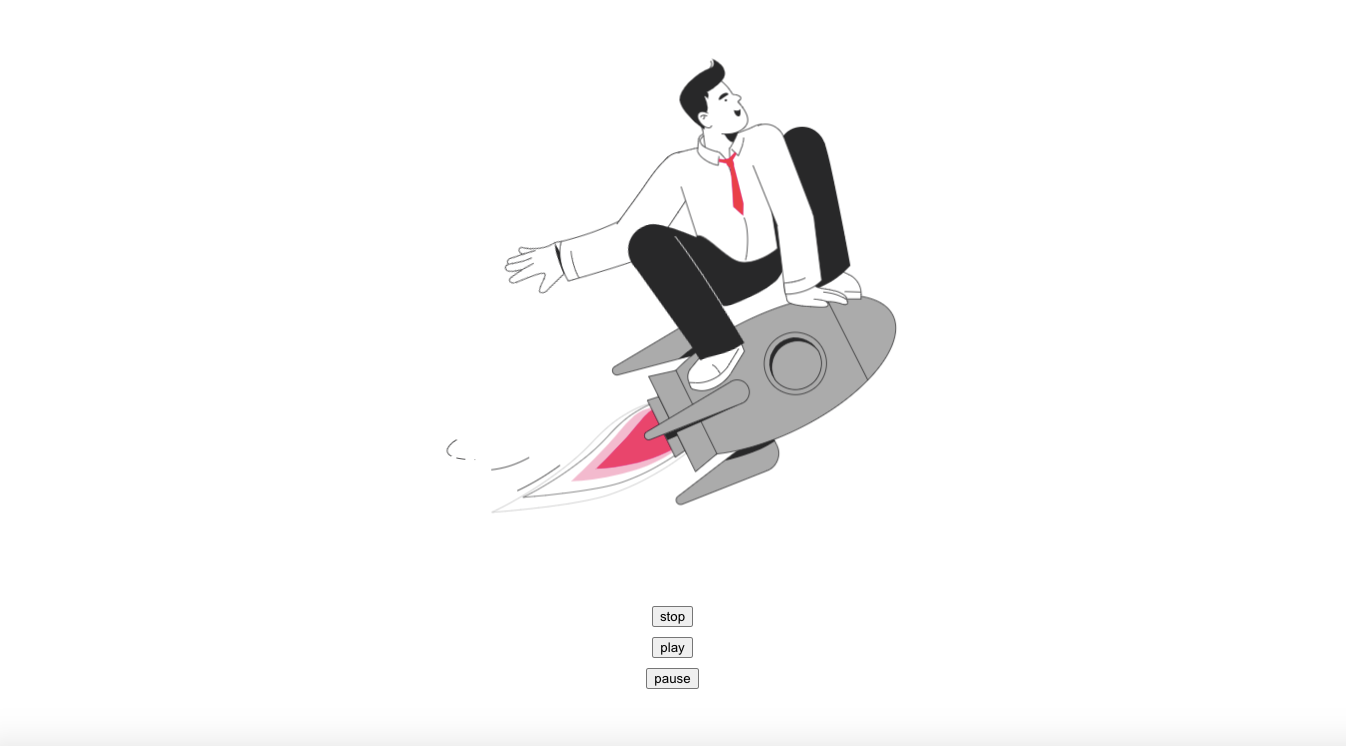
Below is the entire App.JS file for your reference.
import React from 'react'
import Lottie from 'react-lottie';
import * as animationData from './launch.json'
export default class LottieControl extends React.Component {
constructor(props) {
super(props);
this.state = {isStopped: false, isPaused: false};
}
render() {
const buttonStyle = {
display: 'block',
margin: '10px auto'
};
const defaultOptions = {
loop: true,
autoplay: true,
animationData: animationData,
rendererSettings: {
preserveAspectRatio: 'xMidYMid slice'
}
};
return
height={600}
width={600}
isStopped={this.state.isStopped}
isPaused={this.state.isPaused}/>
this.setState({isStopped: true})}>stop
this.setState({isStopped: false})}>play
this.setState({isPaused: !this.state.isPaused})}>pause
}
}
Final Words
React is the go-to choice for developers building user interfaces. JSON allows designers to make changes to the animation on the front-end without having to leave the React environment. The new animation technology fits perfectly with React’s workflow and, in addition, won’t decrease page load speeds because JSON files are so small.
Be sure to check out Creattie’s entire library. The platform features an extensive selection of Lottie illustrations as well as thousands of icons available as animated or static designs. Gain access today at an extremely affordable monthly/annual fee, or try over 1500 of Creattie’s free designs!


