Lottie is a revolutionary file format that expands your ability to incorporate animation on web pages. Unfortunately, HTML 5 doesn’t render JSON-based animations, so we must work with a plugin from Bodymovin and some JavaScript to help handle the new file format.
In this post, we provide you with step-by-step instructions on how to find premium Lottie animations and add JSON files to your HTML projects. The process is straightforward but can be frustrating if you’ve never worked with JSON. Our guide is the most comprehensive, easy-to-follow tutorial online and serves as your foundation for working with JSON animation files.
Let’s get started!
Find a Premium JSON Animation
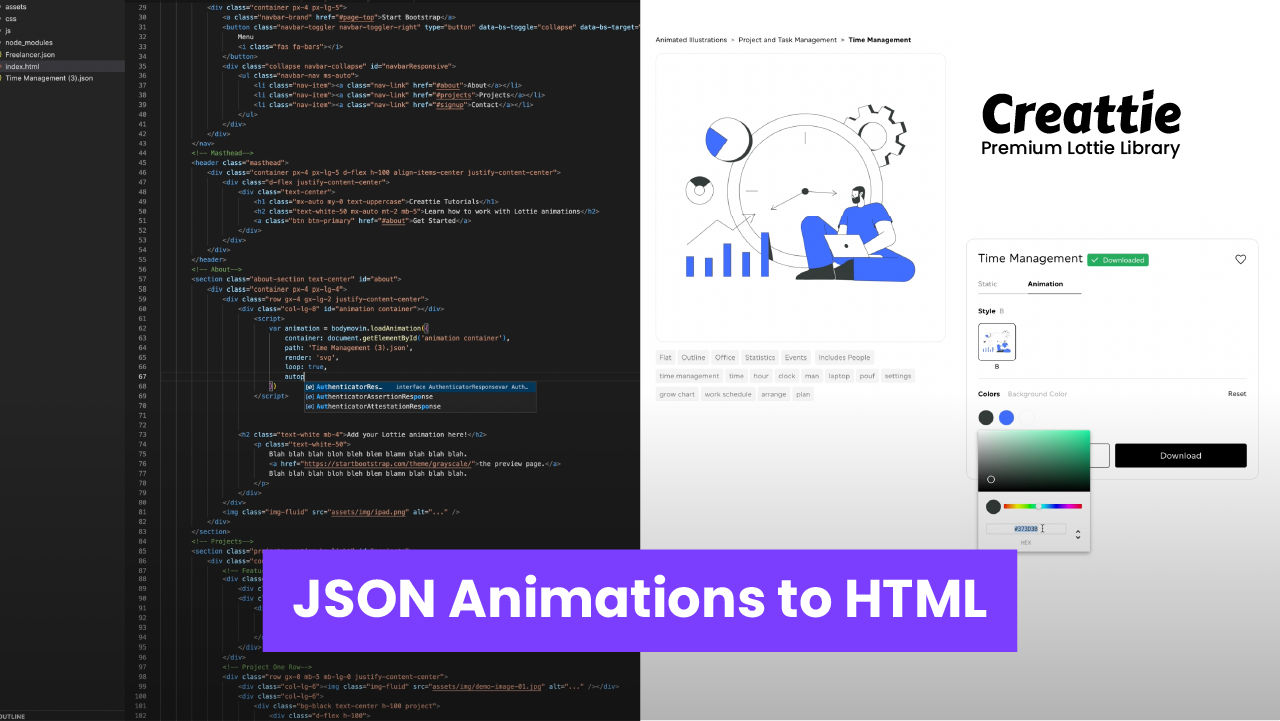
The first step is to find a high-quality Lottie animation to add to your web page. We are working within the Creattie library, where you will find a diverse assortment of premium animated illustrations and icons in cohesive design packages.
Creattie is an excellent option for designers who want to capture a consistent aesthetic throughout a project without using recycled artwork. In addition, you can customize the animations, so they fit the branding on your pages.
Navigate to Creattie.com
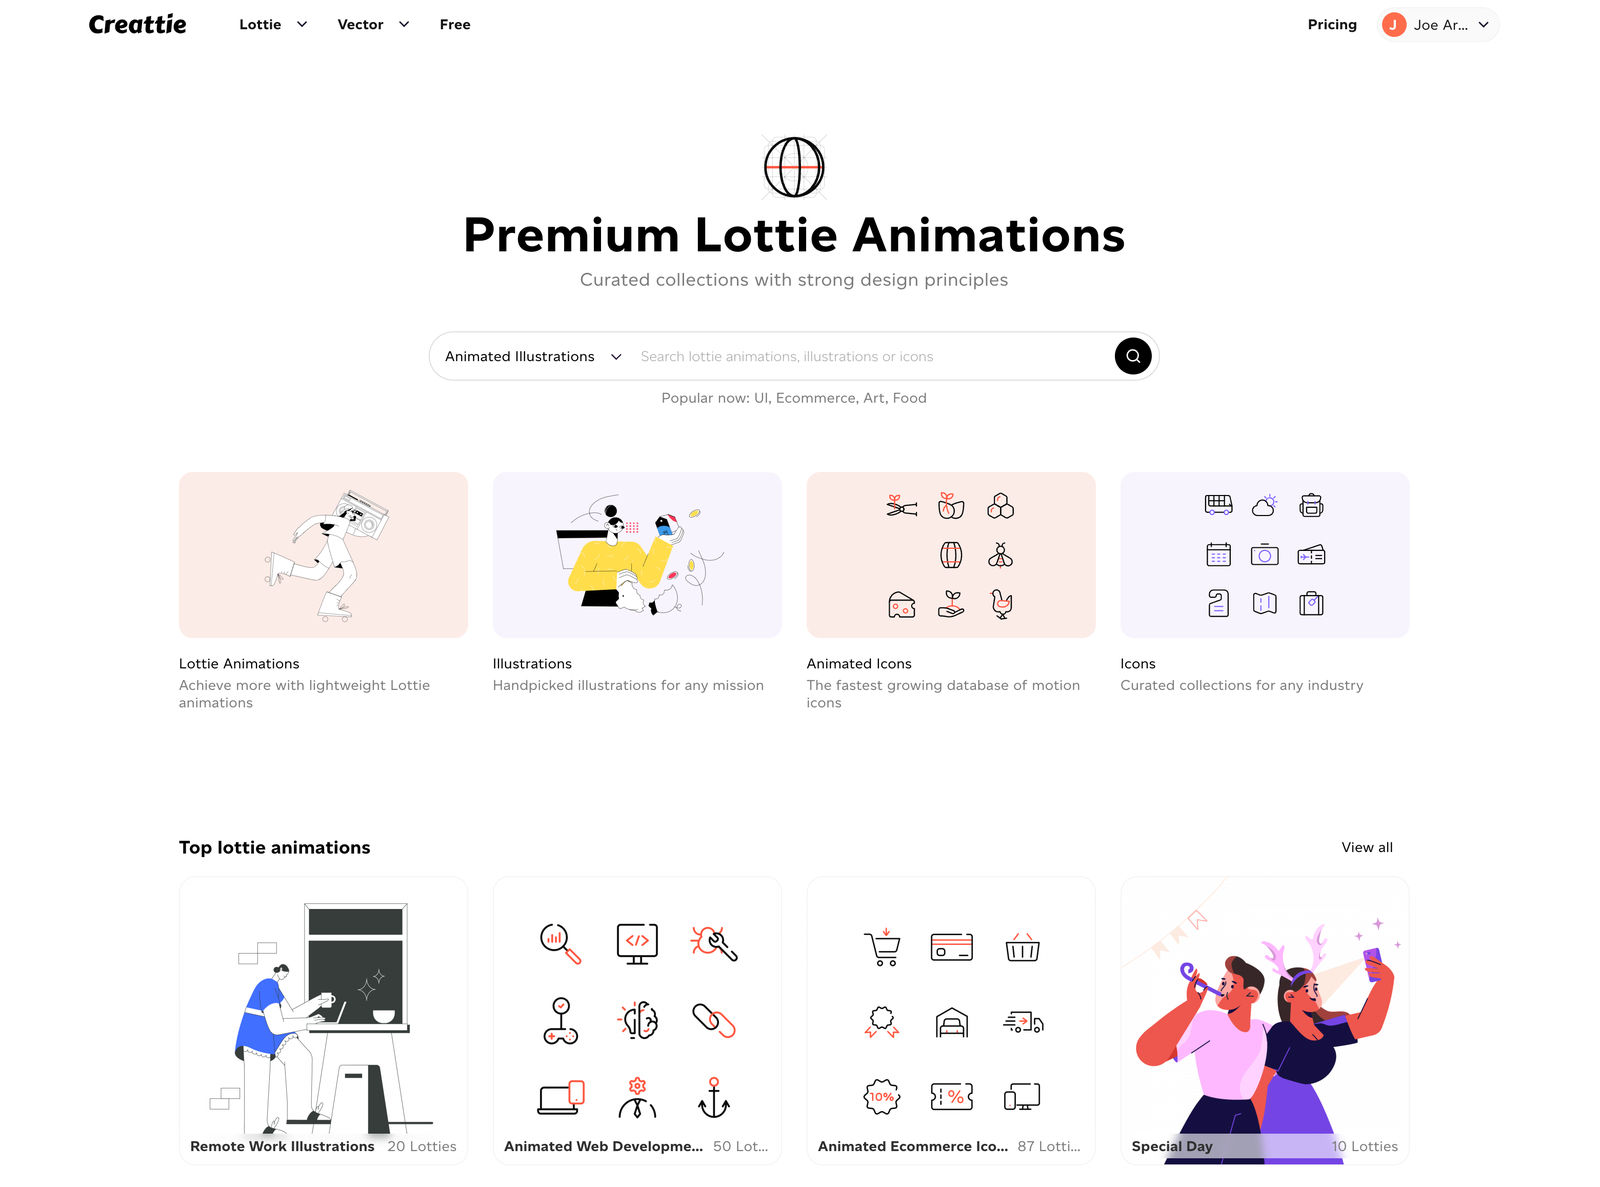
Select ‘Lottie Animations’ from the homepage.
Toggle ‘Show as collections’ to browse cohesive design packages.
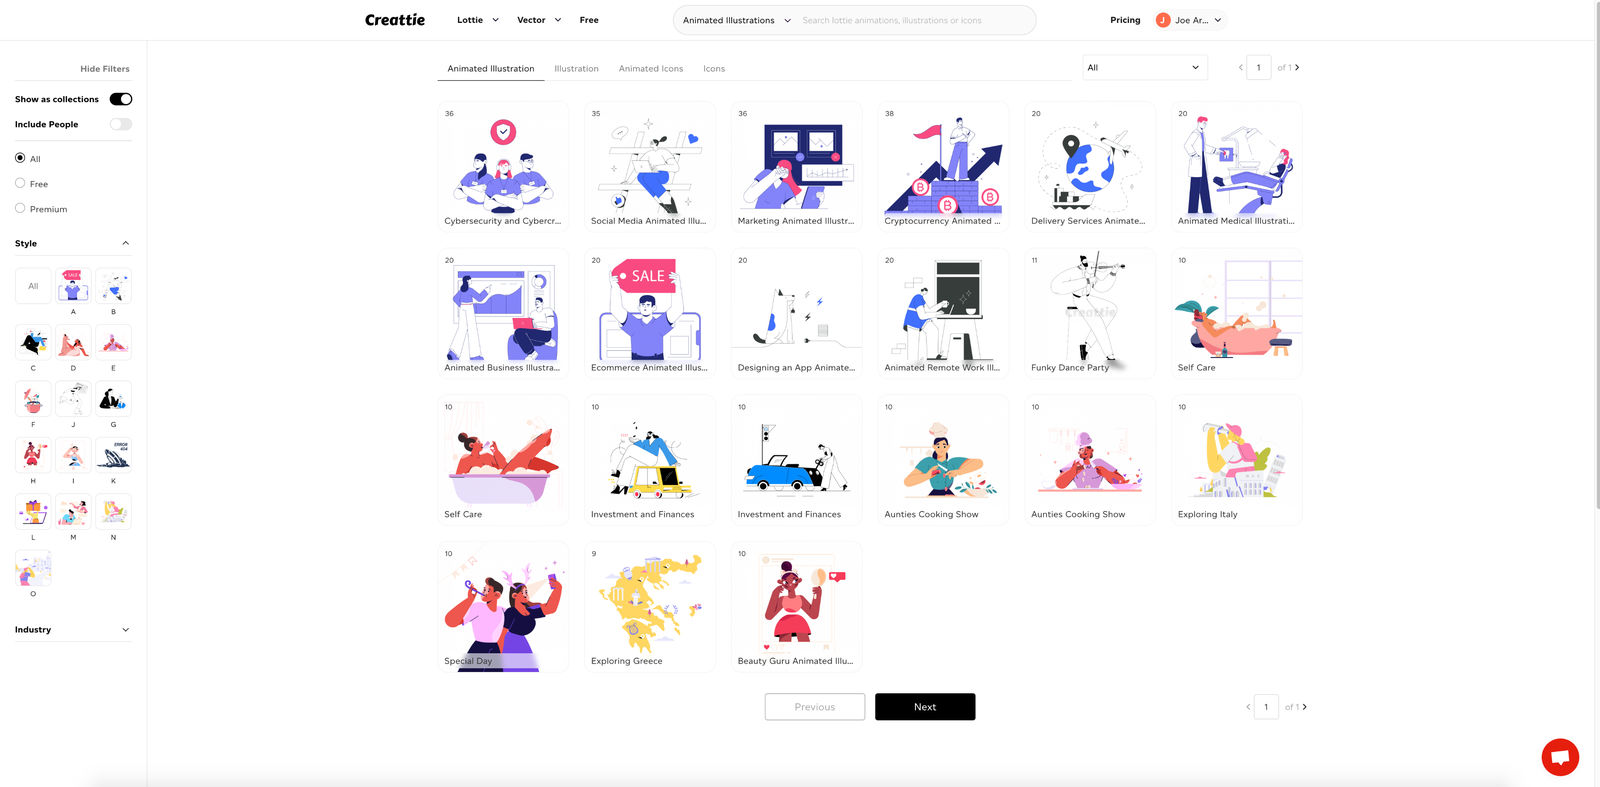
Click the collection you want to use; we’re picking the ‘Animated Remote Work Illustrations.’
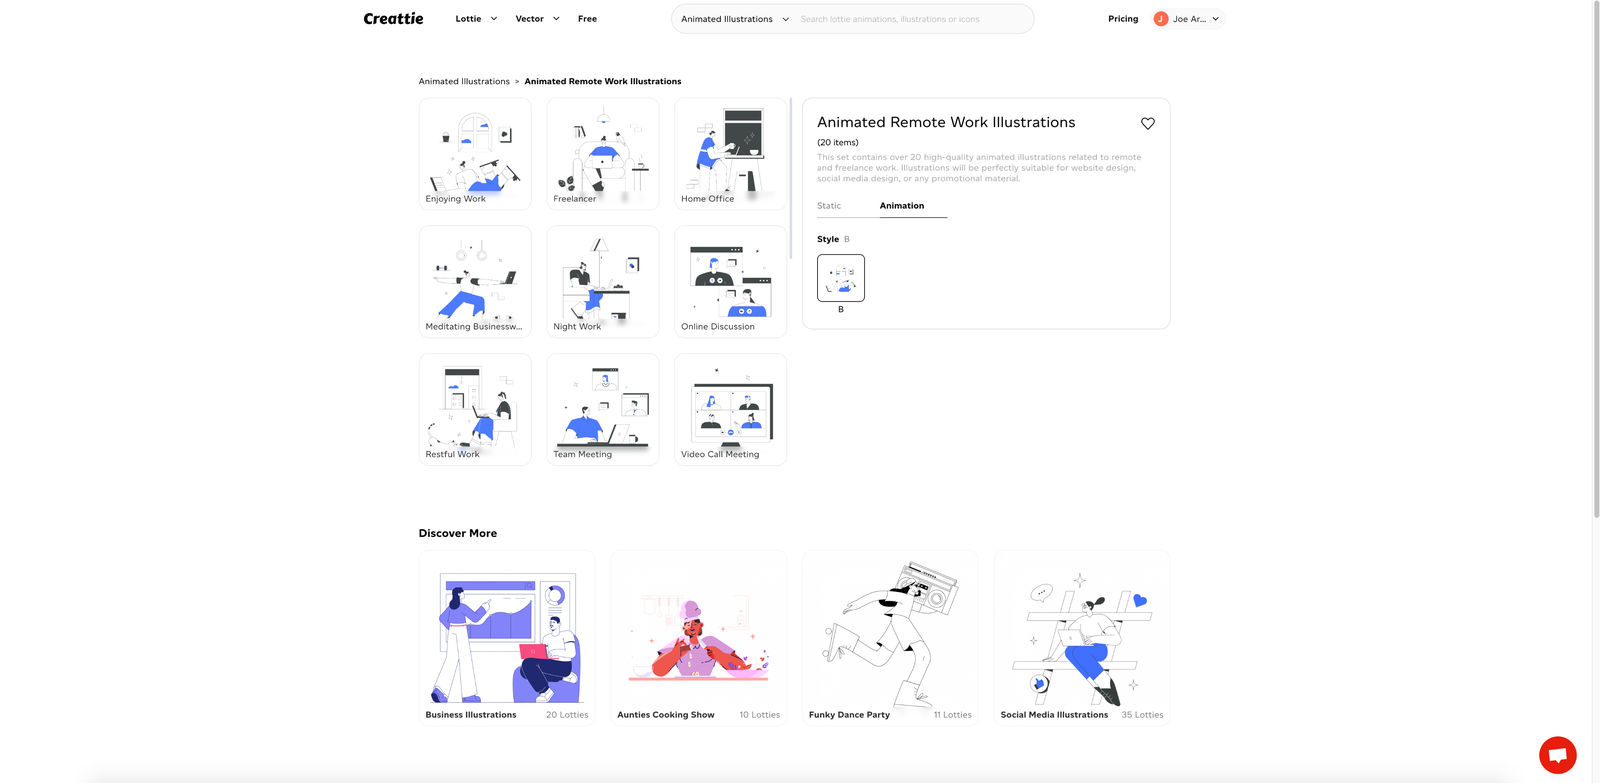
Choose your Lottie animation.
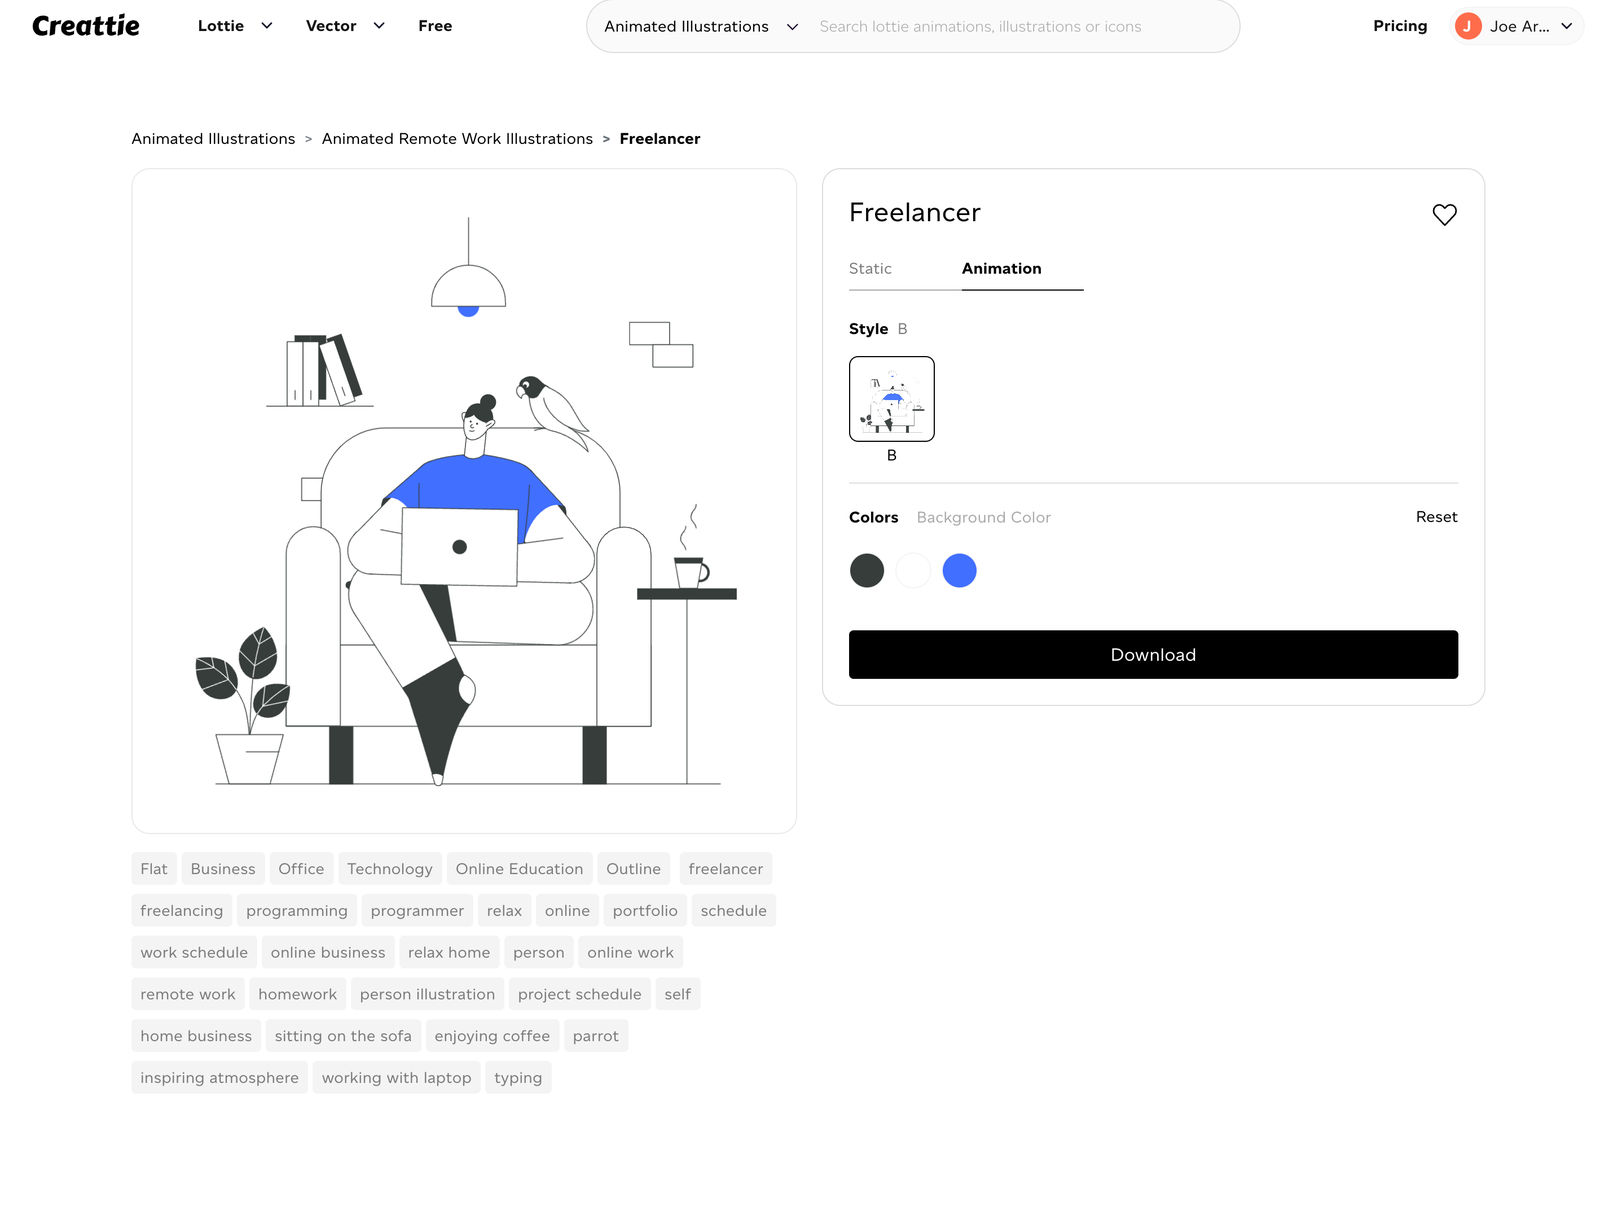
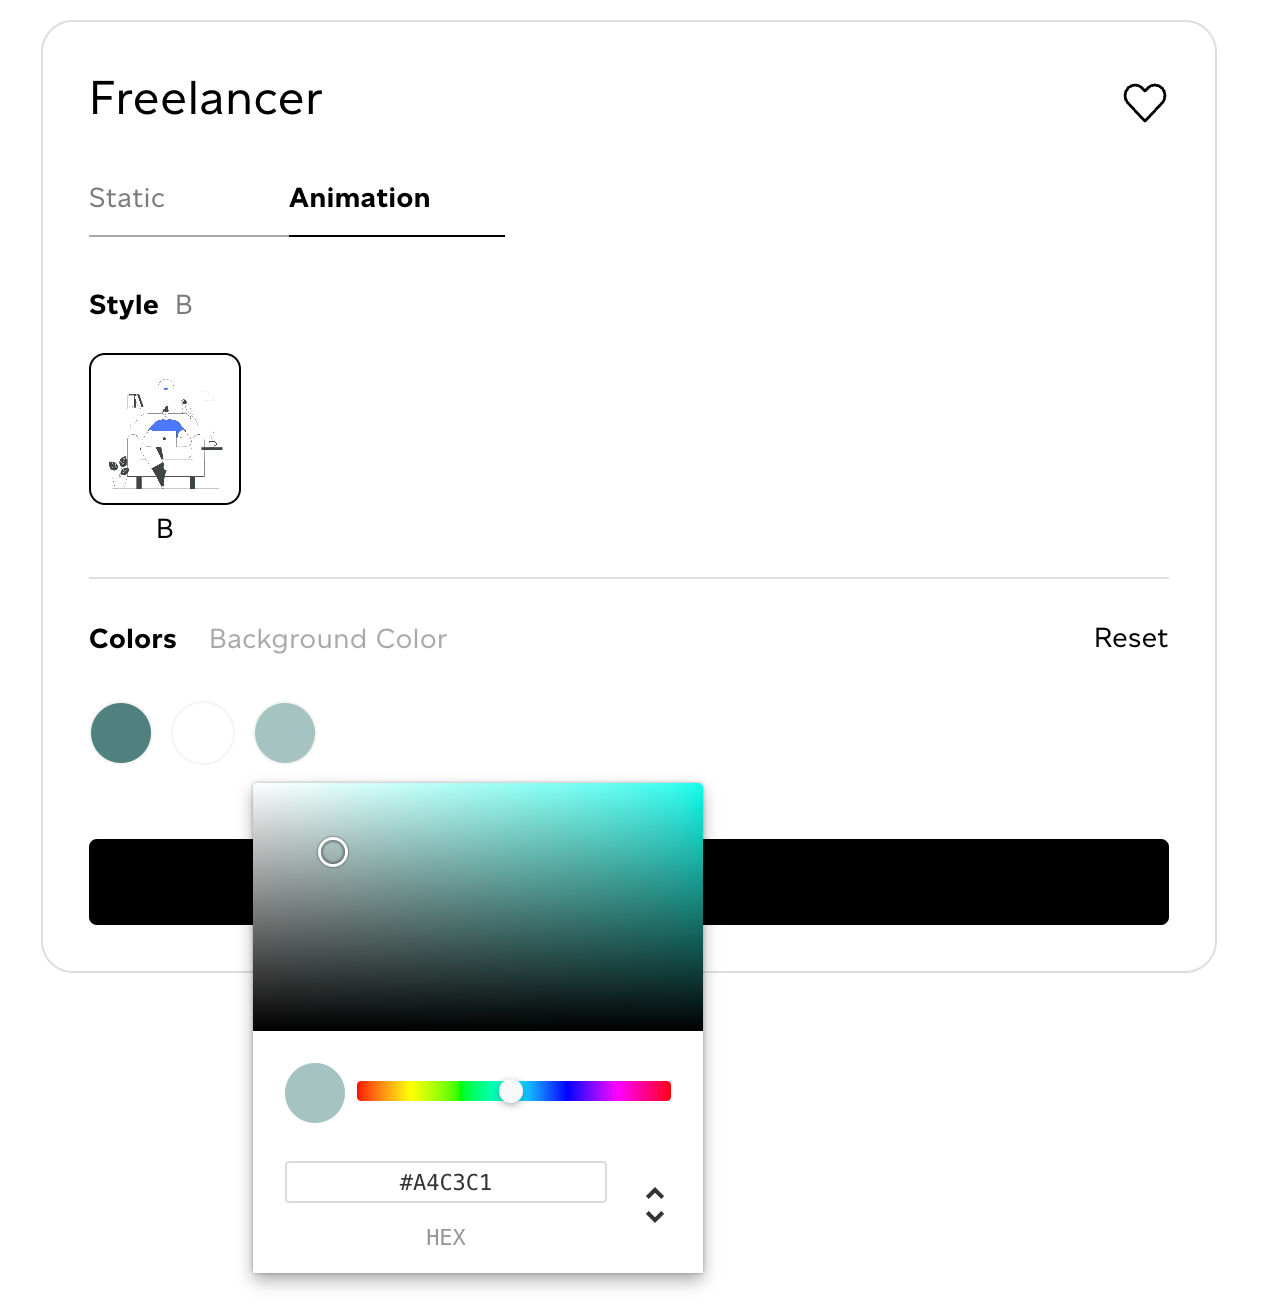
Customize Colors
Now that you’ve picked the perfect design for your project, you can customize the colors to fit the web page. We’ve taken color IDs directly from our web page and pasted them into Creattie’s color editor.
Download Your JSON File
Once you’ve finished customizing your animation, click ‘Download.’
A pop-up appears with 3 file options (JSON, GIF, MP4). Choose ‘JSON’ and proceed to click ‘Download Now.’
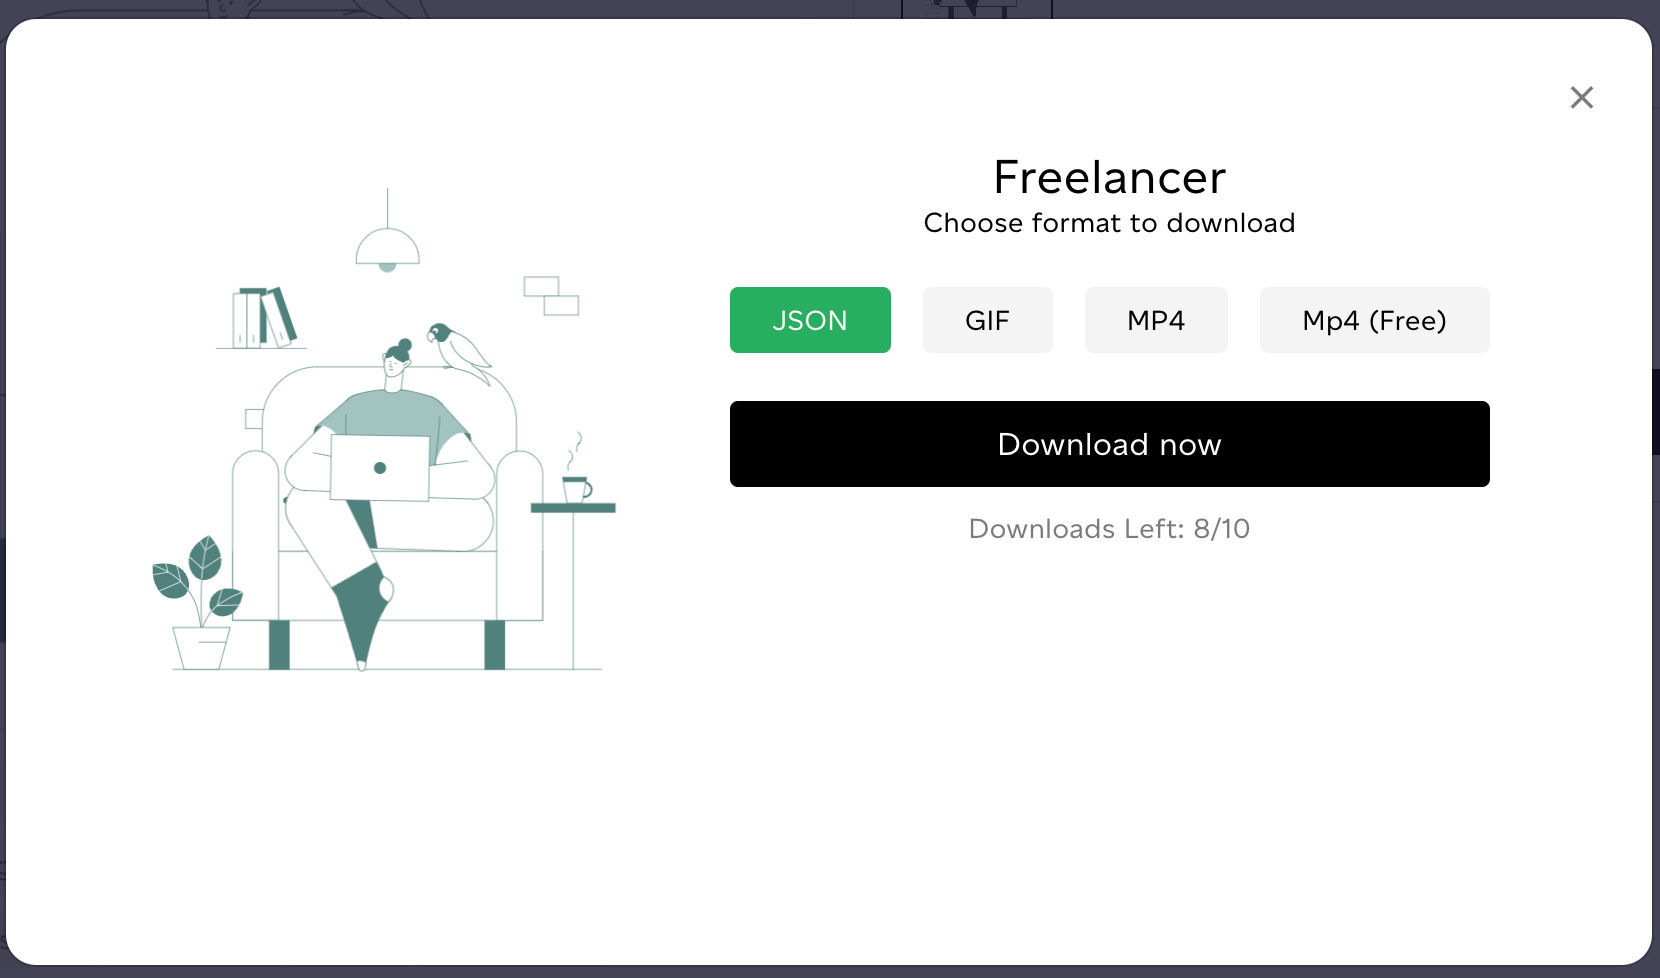
The file will start downloading, and you’ll be redirected to the design product page. Now you should have the option to ‘Embed’ or ‘Download’ under the color customizer.
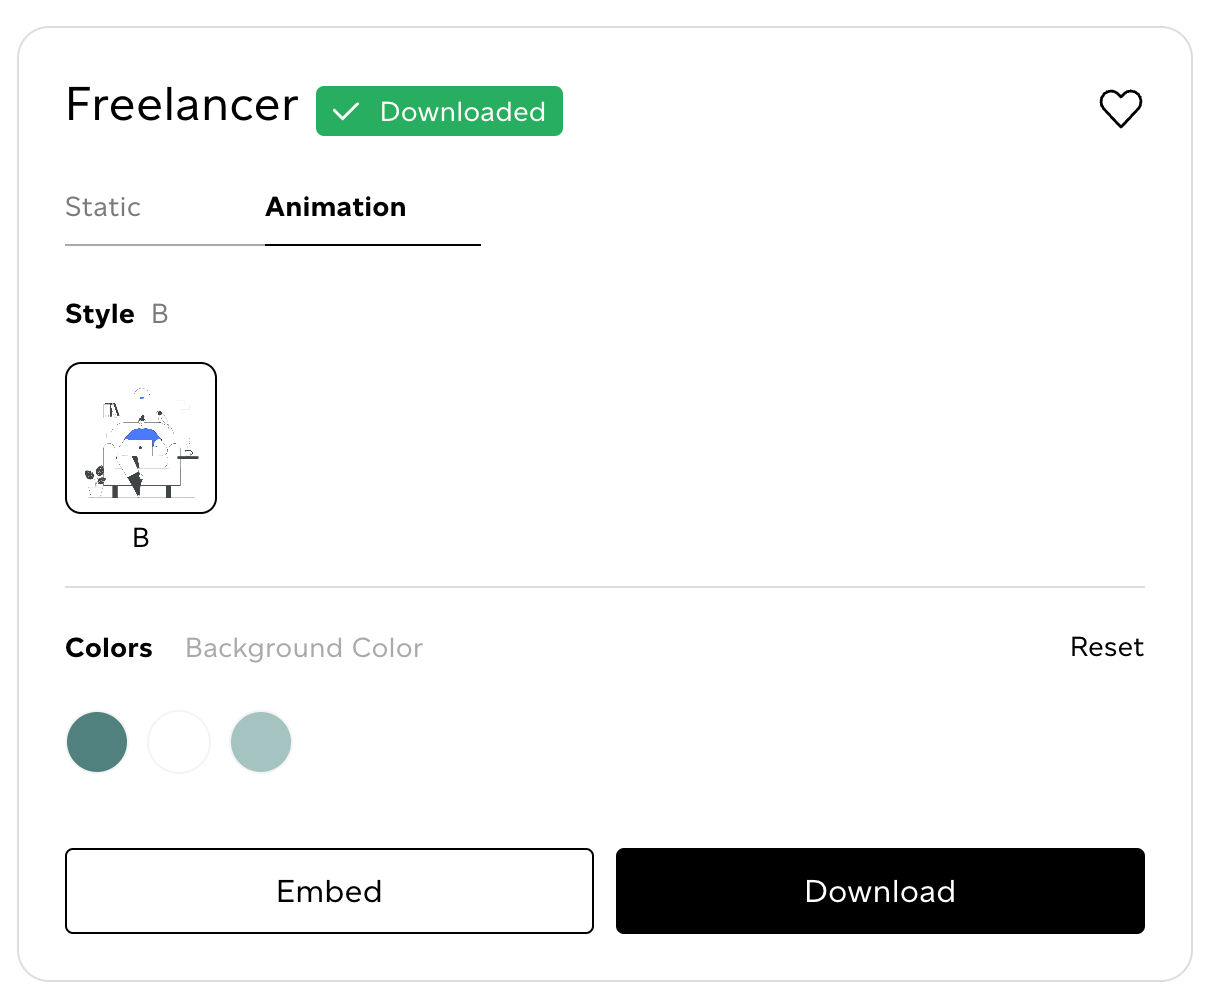
Creattie allows you to choose how you want to incorporate your Lottie designs. You can embed the code or work with a JSON file. When embedding, you can change the animation's parameters from the Creattie editor. The options are below:
Today we are working with the JSON file, but you can check out our article about embedding Lottie animations into an HTML page for more information.
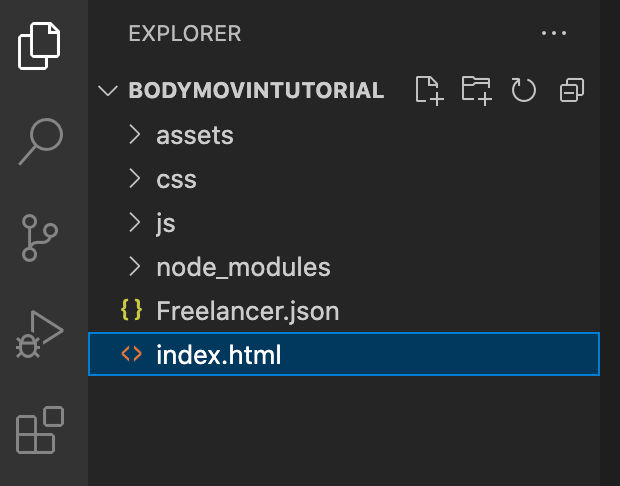
Once you’ve downloaded your JSON file, add it to your project directory.
Paste Bodymovin CDN to Header
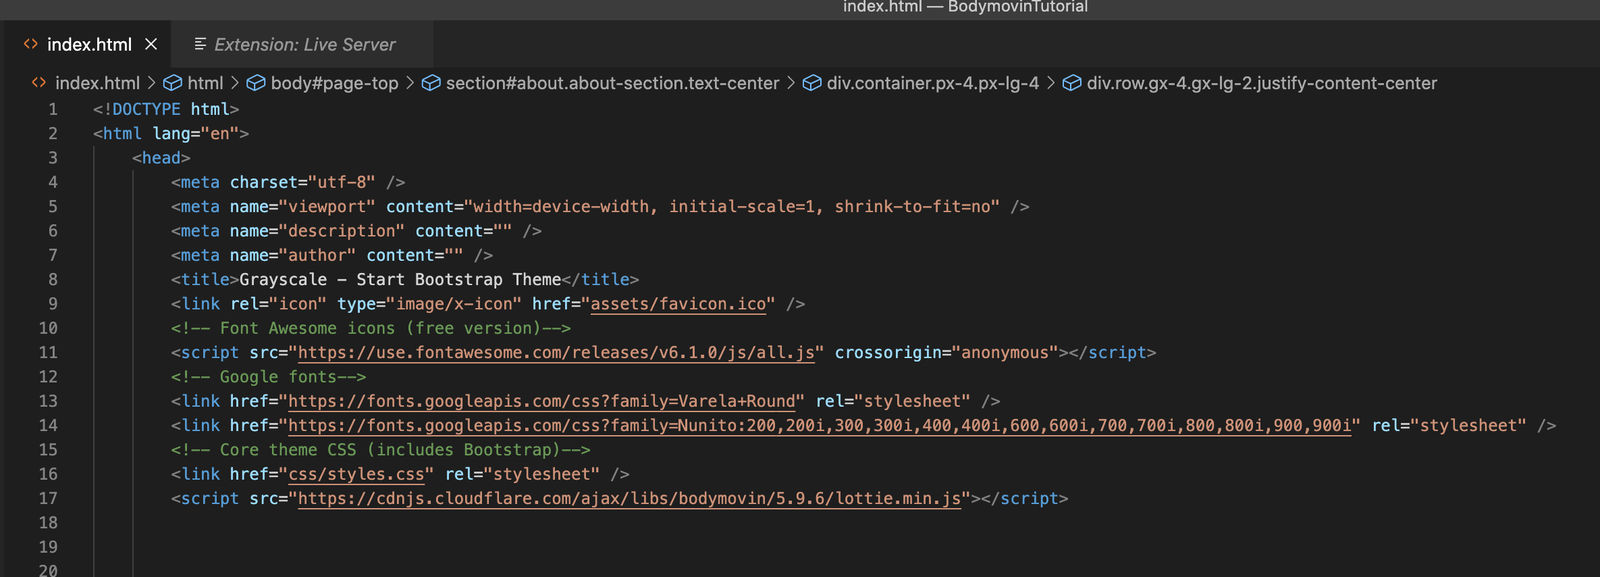
Navigate to your HTML page.
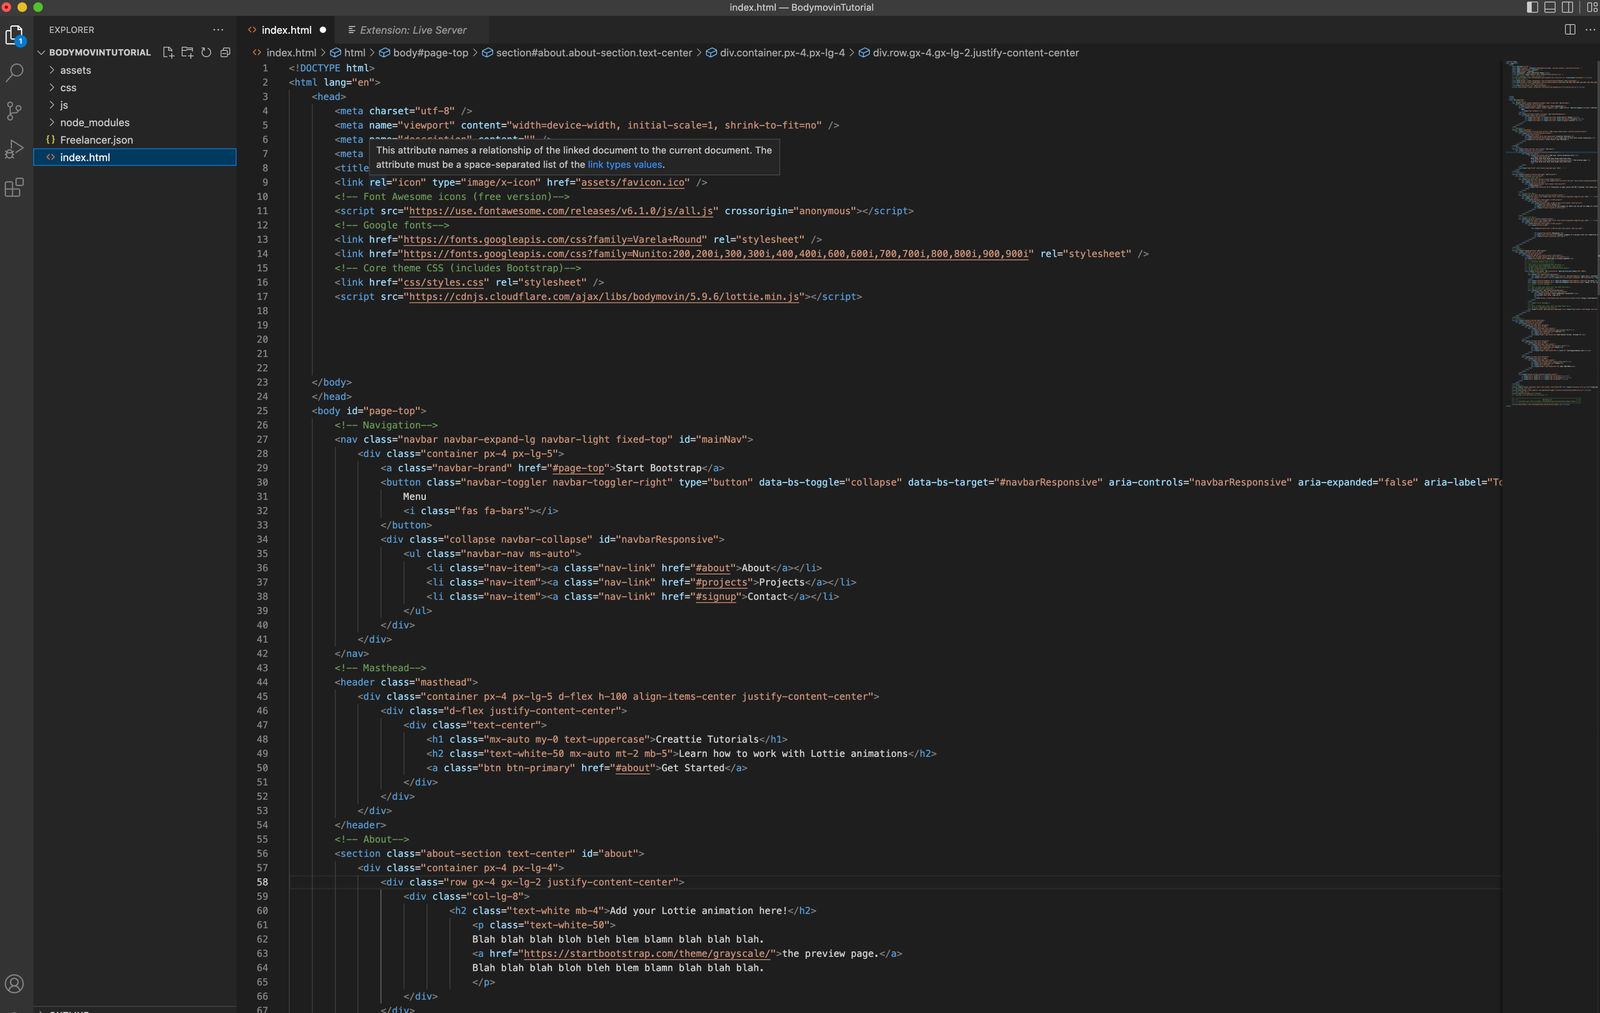
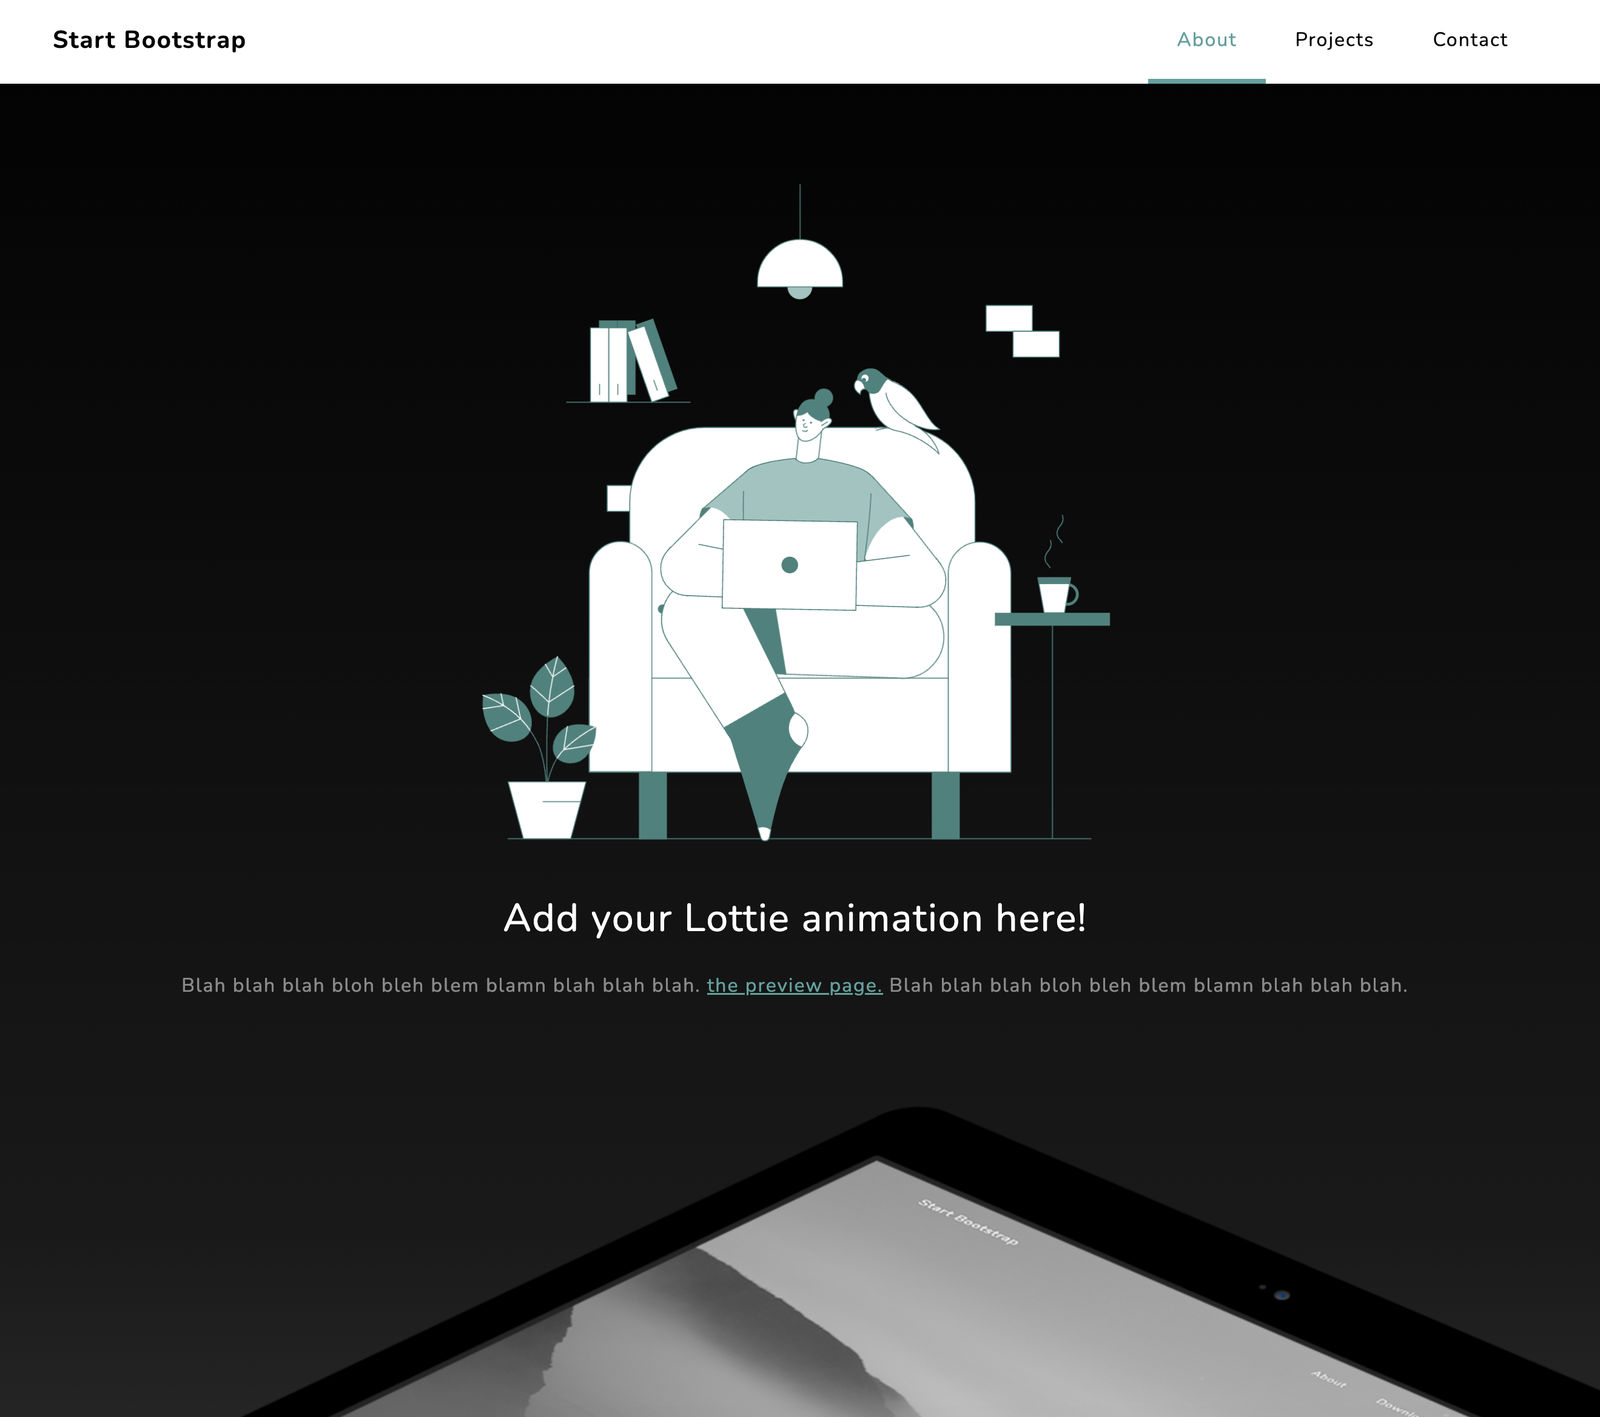
We’re using a template built with Bootstrap 5 from Start Bootstrap. We’ll add our Freelancer Lottie animation to the template page below.
Copy and paste the Bodymovin CDN below into your header with a script tag. You can also find the latest version here.
The player is what renders the JSON animation; without it, the function will not work.
Add a Container
Now we can start coding!
The first step is to create a container for our animation. Copy the code below if you are following along and paste it to the section you want to edit.
Under your container, create a script tag. Within the tag, create a variable that calls our function. Get ready; this is where the magic happens!
Call the Bodymovin.loadAnimation Function
Our variable's value is the function that will contain our parameters. You can copy and paste the entire script below.
var animation = bodymovin.loadAnimation({
container: document.getElementById('animation-container'),
path: 'Freelancer.json',
renderer: 'svg',
loop: true,
autoplay: true,
name: "Demo Animation",
});
The Bodymovin documentation has all the details you need to know to customize Lottie animations from an HTML page. In this tutorial, we are just rending the animation but be sure to check out their repository on GitHub.
Pass Parameters into the Function
The parameters below are required for the JSON animation to render. Make sure your container name matches up, and your file is spelled correctly with the correct path.
- Container: where the animation lives on the page
- Path: the file path of your JSON file; ours is in the root directory
- Renderer: how the animation will render on the page
- Loop: you can choose 'true,' 'false,' or a numerical value (for customizing the animation path in the JSON file)
- Autoplay: choose 'true' or 'false'
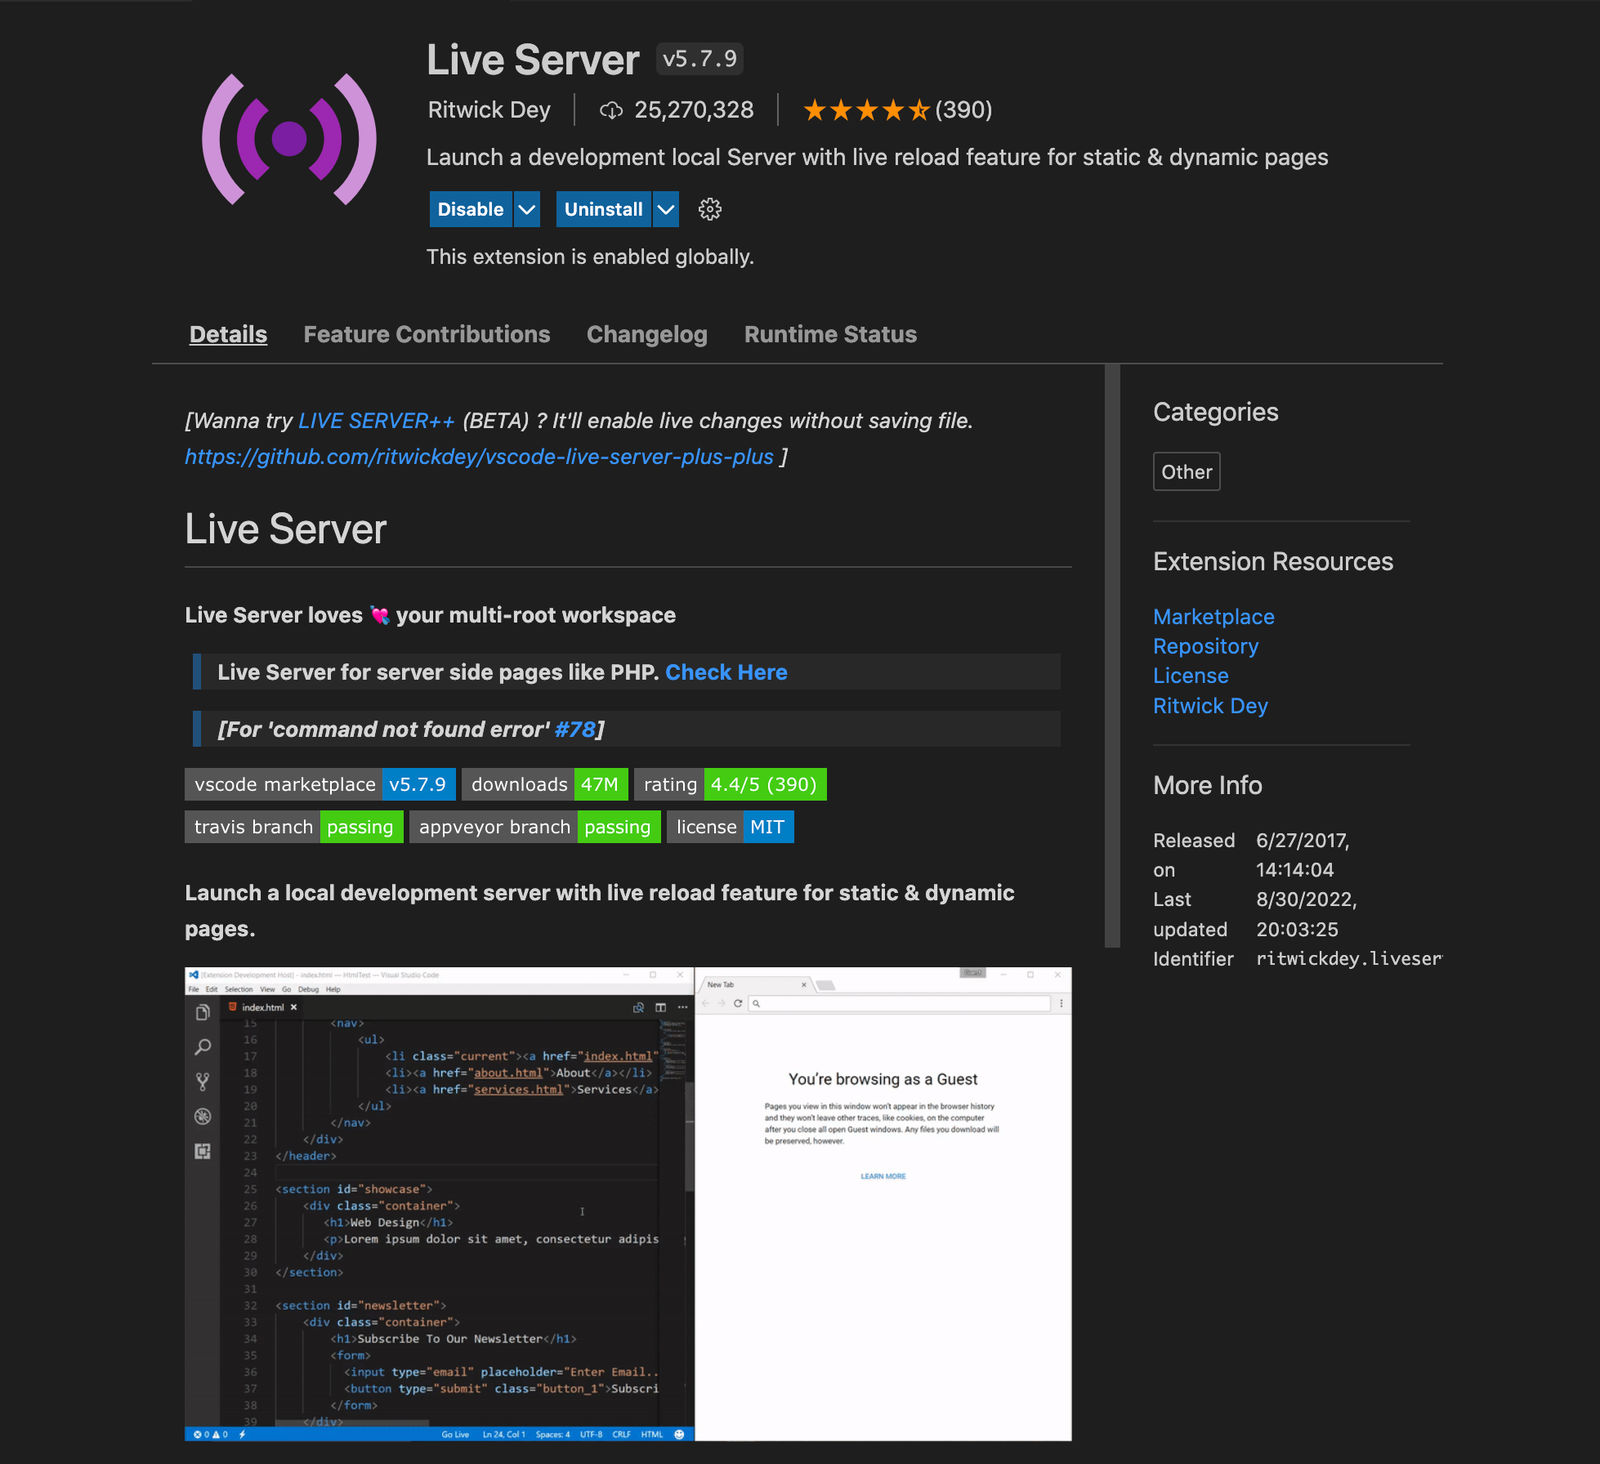
Set Up a Live Server
Everything in your HTML should be ready to go; at this point, you would likely want to check if the file is rendering on your local server. However, most browsers will block JSON animations and return an error saying your file has been blocked by CORS policy.
No need to worry; we can solve the problem by setting up a live server. If you use VS Code, add the extension 'Live Server.' Once downloaded, you can click 'Go Live' on the footer of VS Code with your HTML page open.
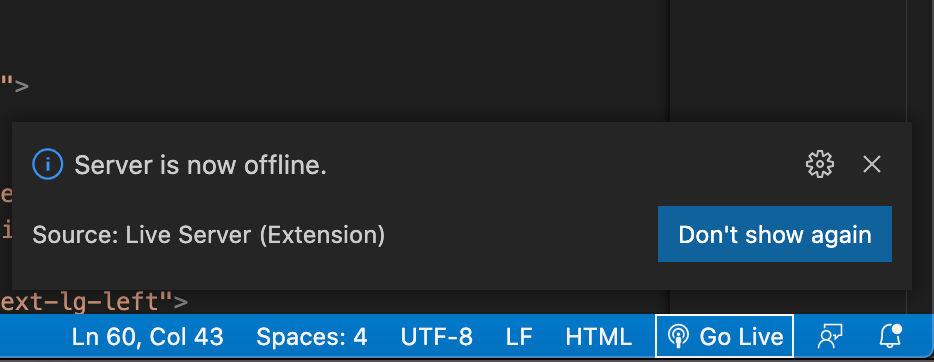
Now your default browser should automatically bring up your webpage.
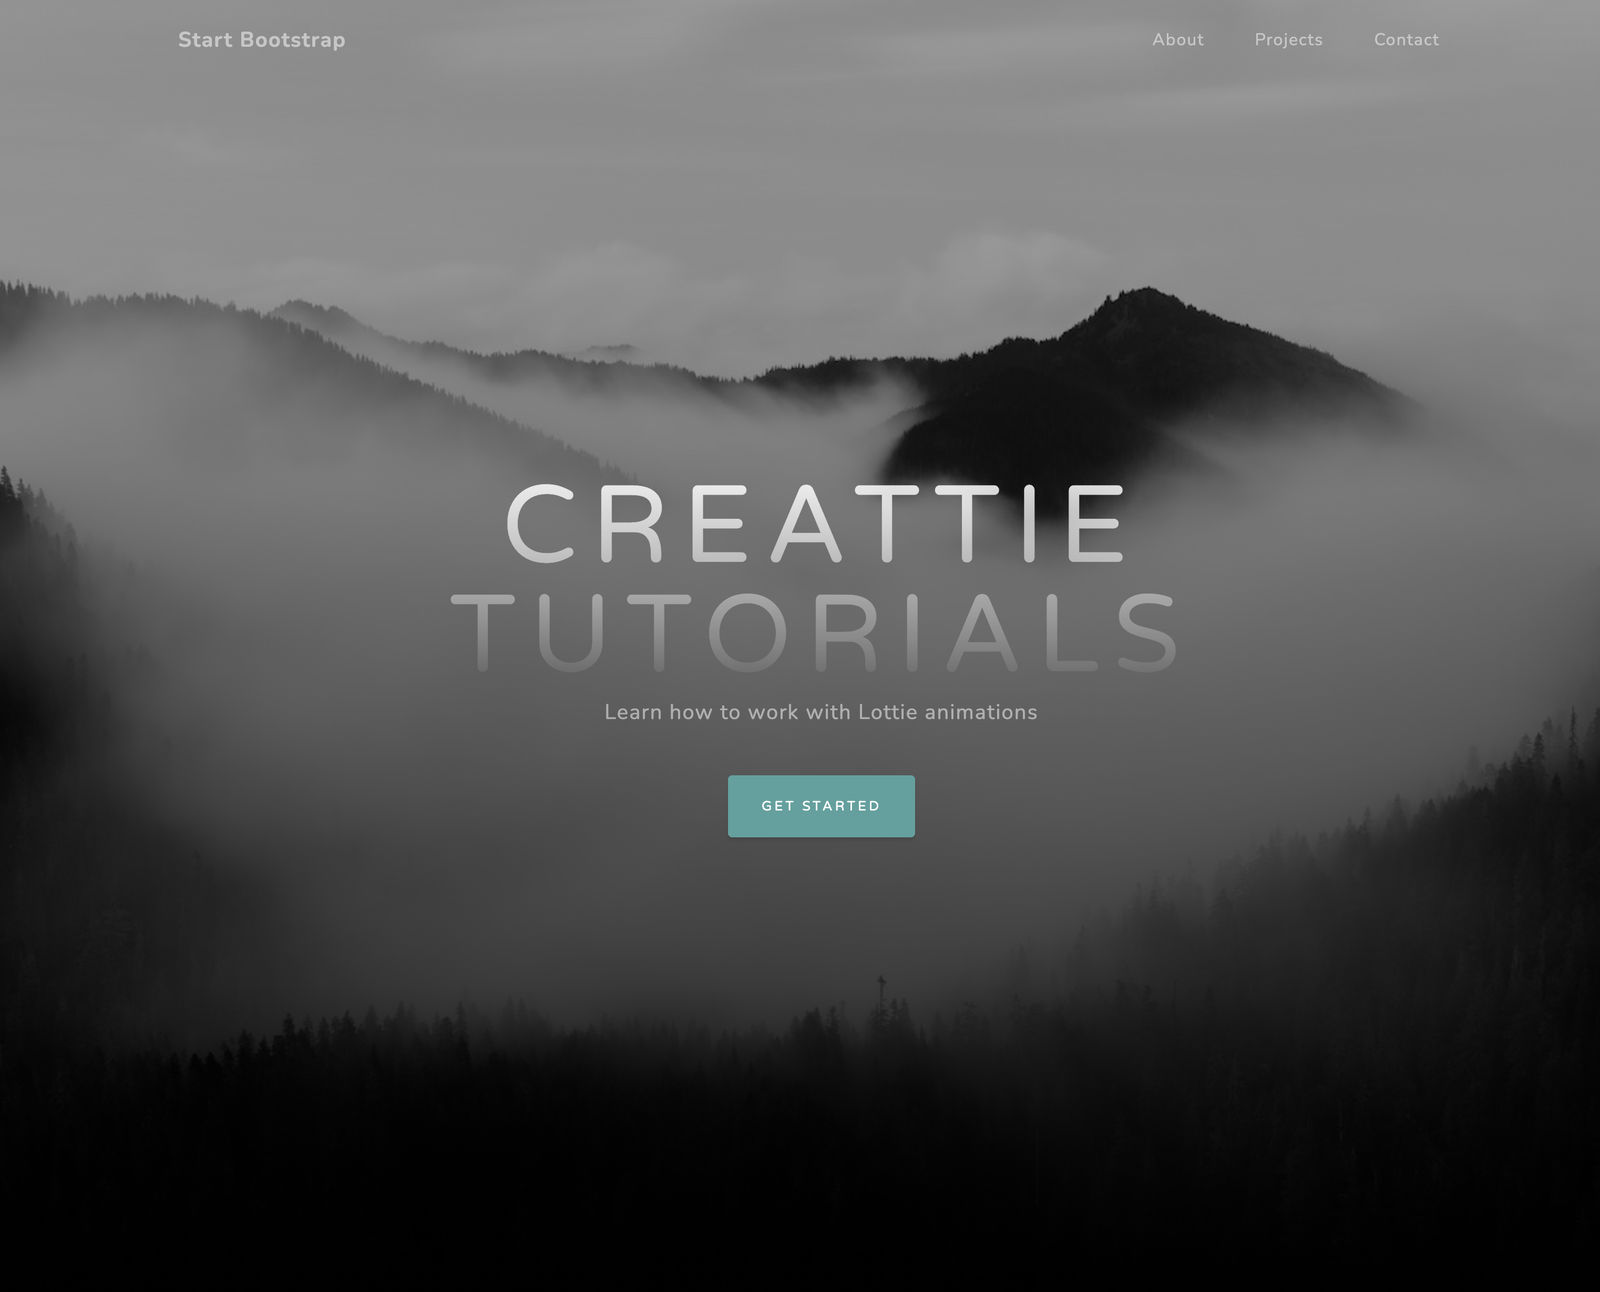
Marvel at Your Amazing Work!
Congratulations! You've just added a JSON file to HTML!
As you can see, our animation is massive.
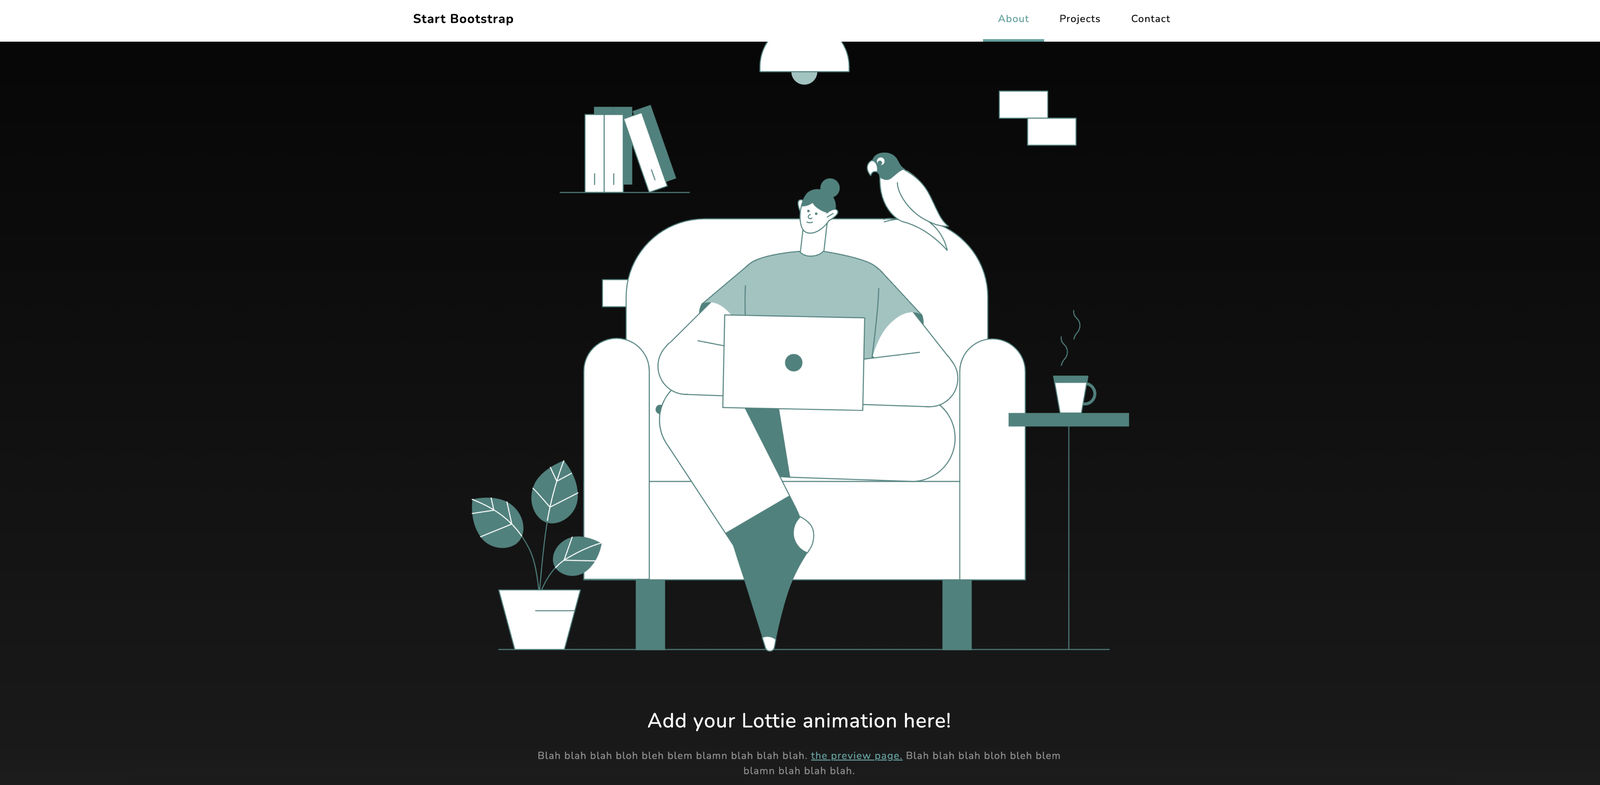
You can make adjustments to the container to change the size.
Here's the final code snippet:
var animation = bodymovin.loadAnimation({
container: document.getElementById('animation-container'),
path: 'Freelancer.json',
renderer: 'svg',
loop: true,
autoplay: true,
name: "Demo Animation",
});
Final Words
While adding a JSON file to HTML is far more complicated than embedding the code, you have more options to customize the animation once you’ve figured out the Bodymovin plug-in. We highly recommend learning to incorporate JSON animation files if possible because you have more freedom to manipulate the code beyond changing the speed, delay, and trigger.
If you are ready to increase user engagement with Lottie animations, try Creattie today for free.