Including Lottie animations in your designs instantly elevates web pages making them more interactive, engaging, and unique. Today we will show you how to incorporate Lottie animations using the innovative no-code web builder, Wix.
The revolutionary animated file format makes the process incredibly simple; after reading, you will be able to customize and implement premium animations into your designs in just a few clicks.
Choose a Lottie Animation on Creattie
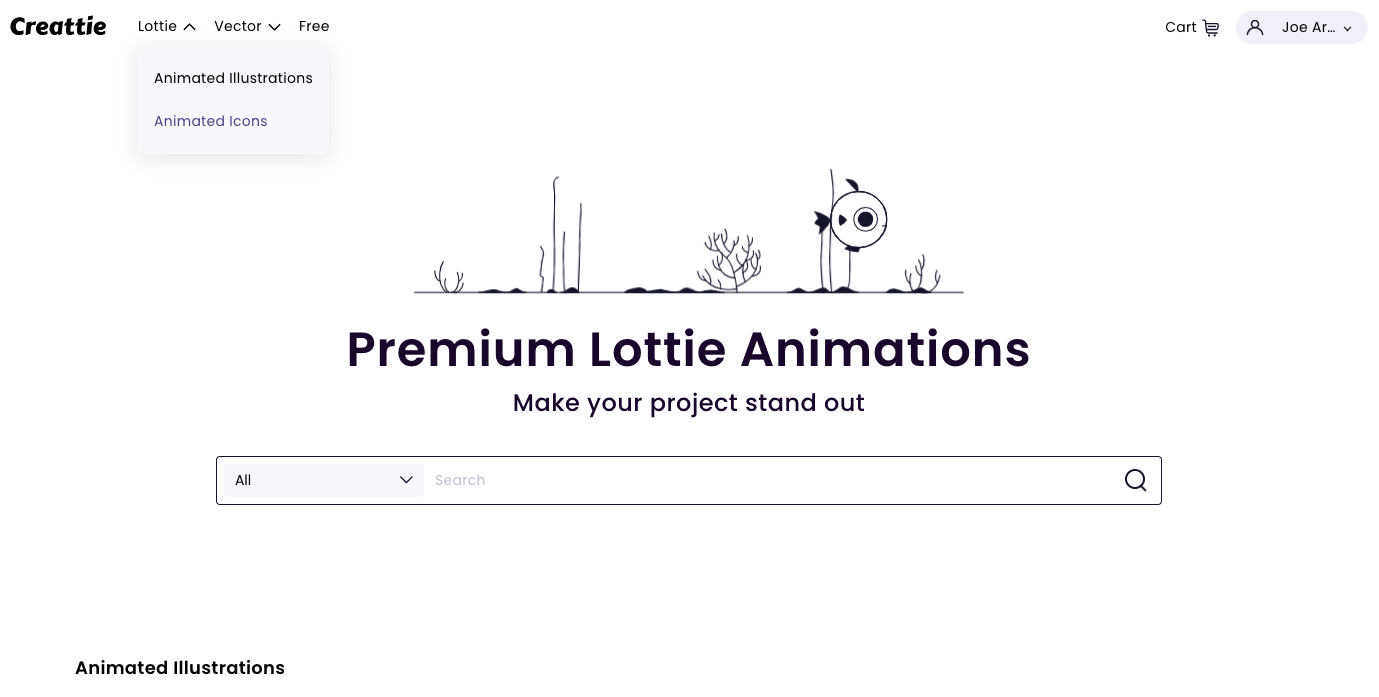
First, head to Creattie's Lottie icon library. You can choose from thousands of high-quality designs, but we will select a free option for the tutorial.
For reference, we picked The Start-Up icon. It a very versatile icon that can be used as a logo, CTA button, or icon demonstrating growth.
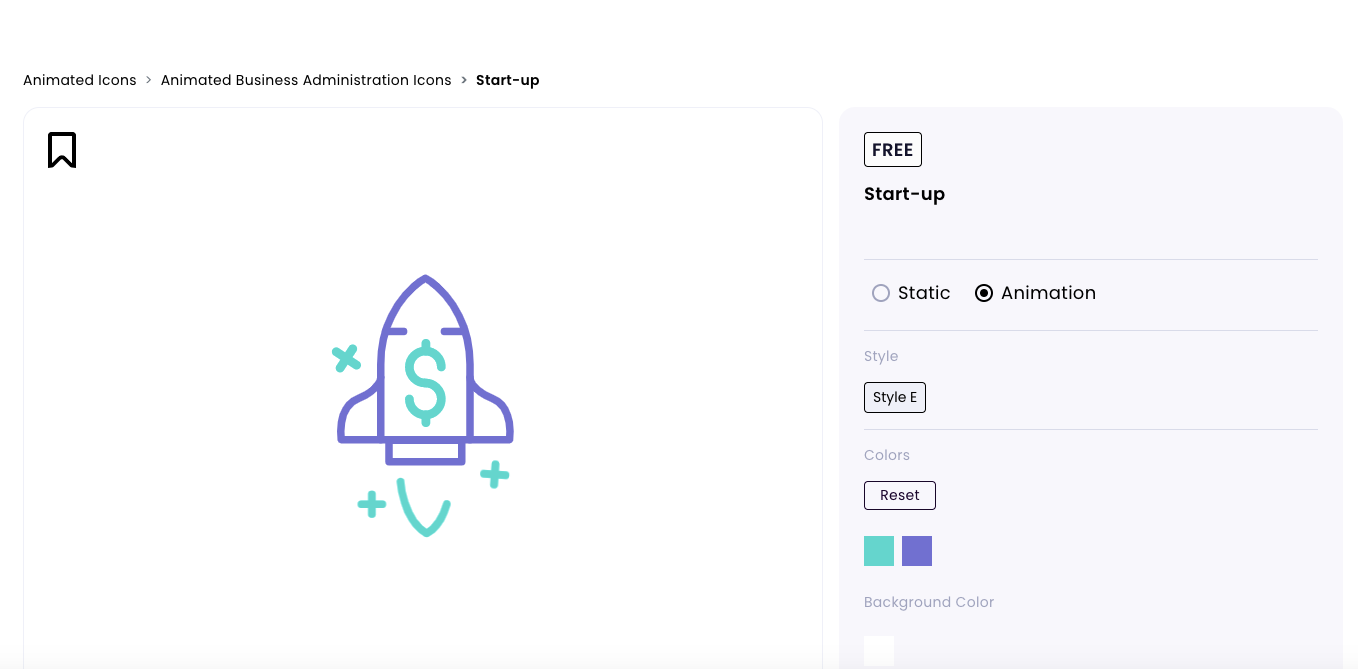
Customize Colors
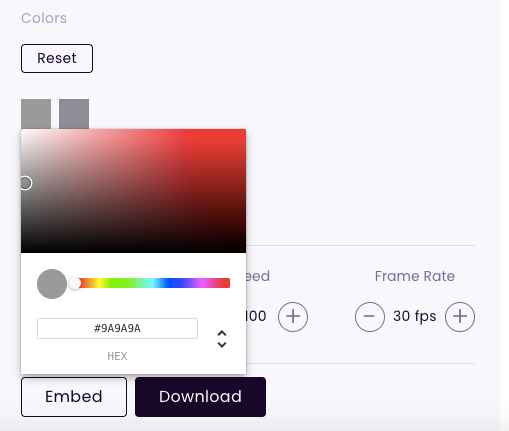
Once you've selected the perfect icon for your designs, it's time to customize. Start by changing the colors to match your aesthetic. We're going with neutral colors because the site we are editing is black and white.
Choose Stroke Width, Speed, and Frame Rate
Next, choose the stroke width by clicking the up or down arrows; this will increase or decrease the width of the lines in the animation.
Select an appropriate animation speed and frame rate. These two metrics control how fast the animation will play once it is on the webpage.
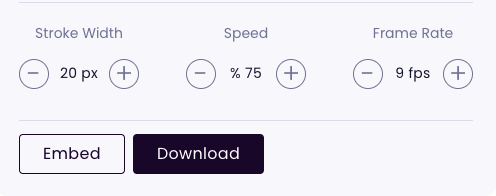
You will notice the icon preview as you make adjustments. The changes are altering the JavaScript of the animation, so what you see in the preview will be precisely the same in Wix.
Click Embed
Once your animation looks right, click "Embed." You will see a pop-up with a static version of your animation, fields for size, delay, and trigger, and the code snippet.
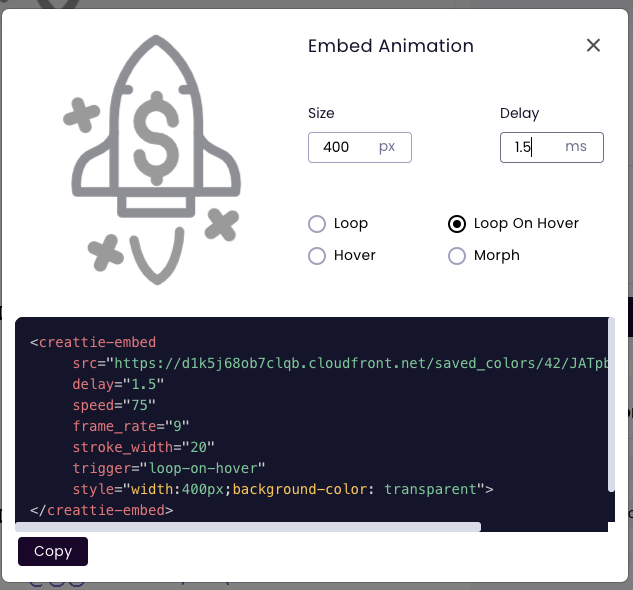
Customize Size, Delay, and Trigger
While this is a great place to make adjustments, you can still customize the animation within the web builder. Changes are made to the code that alters the animation, making Lottie much more flexible than GIF animations. Instead of rendering a file, Lottie animations are built with code allowing designers to make changes at any point.
The only aspect of the animation that can't be changed by changing the embedded code is the color. You will have to go back into Creattie to make color adjustments because it is stored on the server rather than in the code.
Click “Copy” once you are satisfied with the icon. You can use the code below to try our FREE customized Start-Up animated icon.
src="https://d1jj76g3lut4fe.cloudfront.net/saved_colors/42/ZpC2QHB9hj7rXMl5.json"
delay="1.5"
speed="75"
frame_rate="9"
stroke_width="20"
trigger="loop"
style="width:400px;background-color: transparent">
Add Your Lottie to Wix
Navigate to Your Wix Builder. There are two options for incorporating Lottie into Wix; for this demo, we will thoroughly cover how to add Lottie animations using the free plan. However we will briefly show you the other option, but honestly, it's more work than necessary, especially if you have even the slightest knowledge of HTML.
H3 Add a Strip to Your Webpage
Wix has become one of the top no-code web builders because of its easy-to-use drag-and-drop interface. You can add a Lottie animated icon anywhere you can include an element.
First, add a strip to your Wix webpage. You'll see a toolbar appear on the left side of the screen, navigate down and click "Embed."
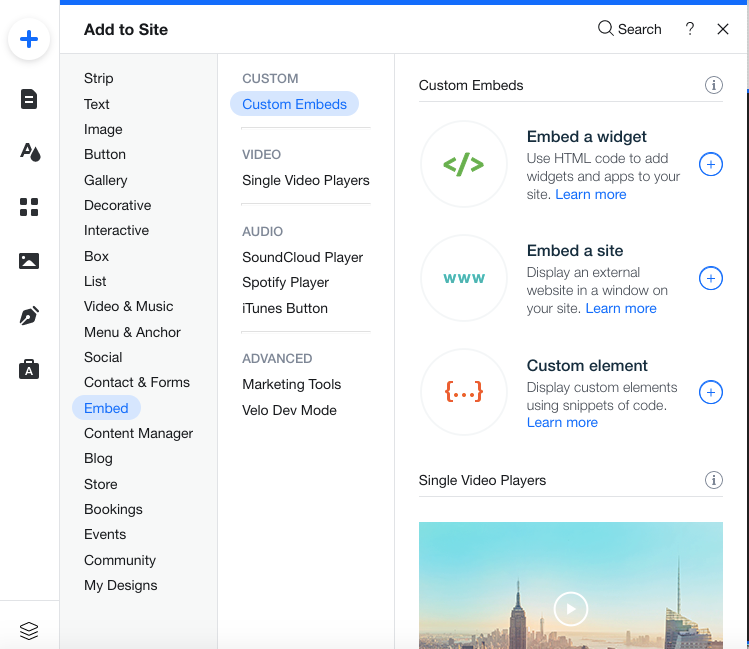
Embed a Widget or Custom Element
Here's where we can see one of the differences between the free and paid versions of the Wix website builder. We will show you how to use the "Embed a widget" feature but paid accounts with a designated domain name can also use the "Custom element" to add Lottie to a Wix webpage.
The "Custom element" feature is a tool built into the builder that allows users to customize the animation without manipulating the code directly. However, you will have to copy and paste parts of the code into a form, making the process a little repetitive.
Using the "Custom element" feature does have advantages. Because you will enter the JSON URL, colors can be changed within the Wix interface. Also, making changes will be done in a form rather than directly in the code, making the process easier for users uncomfortable with writing code.
We choose to cover how to "Embed a widget" because we feel the "Custom element" feature is redundant, and you are really only repeating the process done in the Creattie library on a separate UI.
Click Enter Code
Once you click "Embed a widget," the toolbar will disappear, and you will notice a resizable square in your Strip titled "HTML."
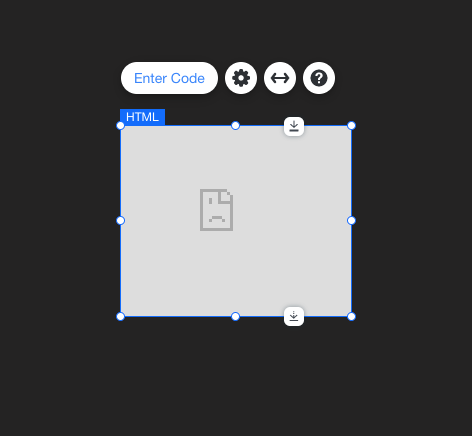
Click "Enter Code" to paste in your Lottie animation.
A new pop-up titled "HTML Settings" will appear. Ensure the "Code" radio button is selected and paste your code from Creattie into the field.
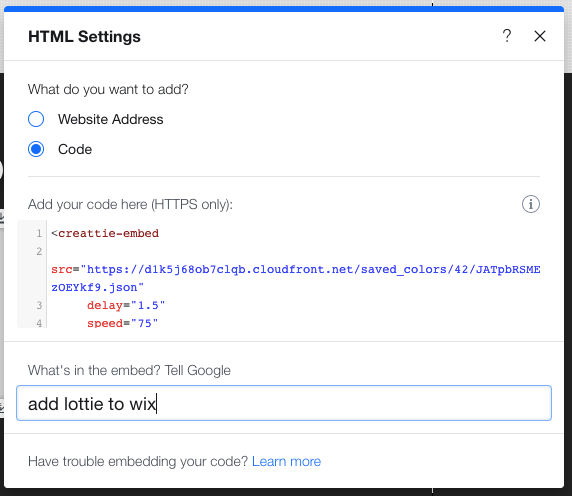
Make sure it includes the “” tag along with the tag and click “Update.”
Include Alt Text with Keywords
Wix offers a cool feature allowing users to include alt text with their animation. You can describe the icon or utilize a keyword to give your page a bump in SEO.
Position Your Lottie Icon
The page element square within your Strip will now contain your Lottie animated icon. Wix allows you to position the icon anywhere on the page; just be mindful of mobile responsiveness when positioning elements.
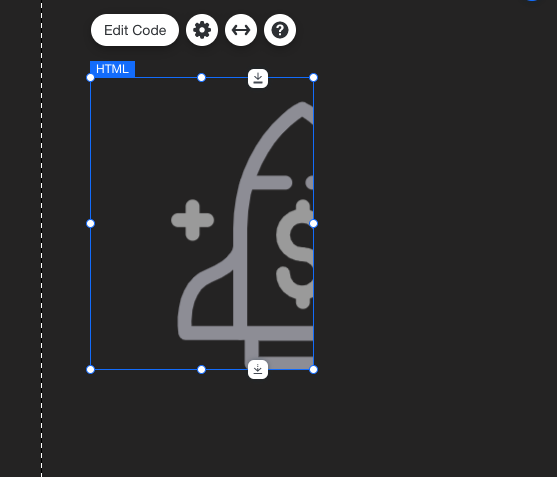
You will notice that if you resize the element, the icon will remain the same size. The size is determined in the code, not as a static page feature. To adjust size, you will need to change the embedded code, we’ll show you how below.
Publish
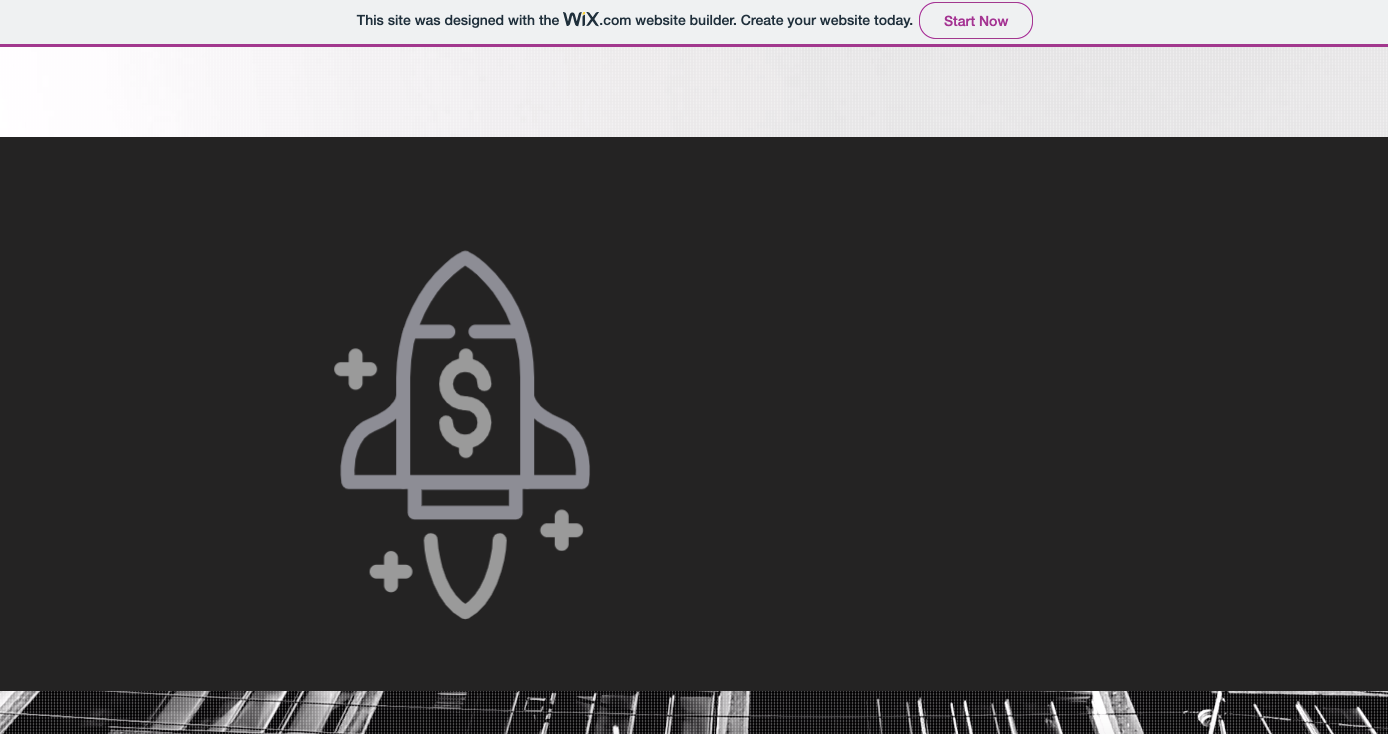
Whether the icon needs some adjustments (ours looks way too big) or, by some miracle, you've managed to create a perfect design on the first try, let's publish the changes. Just click "Publish" in the top right-hand corner.
Now you can see your animation live on the internet. Check if the trigger is working properly, and take a minute to gaze at your accomplishment before noticing everything you need to adjust. For us, we want to change the icon to a more reasonable size.
How to Resize Within Wix
If you need to change delay, speed, frame rate, stroke width, trigger, or add another attribute to your animation, you can do so directly in the embedded code editor.
To revise the size, find the inline CSS "style" tag. Next to "width:" you will see the current size; ours is currently at 400px; we will change it to 100px and click "Update."
The new size should render in the builder. Publish to see how it looks in your browser.
Final Words
Lottie and Wix are revolutionary ways to create web pages. Both new technologies lower the barrier of entry, allowing virtually anyone to use the internet to build highly engaging websites without having to code or learn design software.
Hopefully, you've learned the benefits and versatility of using Lottie animations. Adding to Wix is incredibly easy, especially with Creattie's fully customizable Lottie icon library.


