Lottie uses JSON-based files to include built-in transition effects to animated elements. In this post, we will explain how you can customize animation triggers with just a few clicks.
After reading this article, you will understand how transition effects can be triggered through page loads and direct user interaction. In addition, we will walk you through how to implement Lottie on HTML pages and with popular CMS platforms.
What is an Animation Trigger?
When integrating animation into a web page or app, you have the freedom to choose how the user experiences the content. Depending on the situation, you may want the animation script to only run if the user hovers over it with their mouse or have it running in a constant loop.
Lottie Animation Triggers
Below are 4 of the most common animation triggers used on web pages.
1. Loop
Loop or autoplay is when the animation is always running. As soon as the element is visible on the page, your user will get to experience the animation. In addition, the script runs continuously as long as it is visible on the page.
2. Loop on Hover
Loop on hover requires the user to interact with the animation by hovering over the element with their cursor.
3. Hover
The next common animation transition is hover. Users will only experience the animation when they hover over the element, and the script will only run once.
Hover effects are only available to users on desktop unless custom attributes are applied to the element in CSS.
Here's a great article if you are interested in applying hover-on-touch to your Lottie animations.
4. Delay
Custom delay can be applied to any of the other animation triggers. For instance, if you want to add a 10-millisecond delay to a loop on hover trigger, the animation script will begin to run 10-milliseconds after the user hovers over the content with their cursor.
The same delay would affect a loop trigger but begin running as soon as the animation loaded on the user's page.
How Animation Attributes are Built into Lottie
Triggers and custom transitions aren't unique to Lottie, but the JSON-based format makes them easy to implement. Most of the rules for Lottie animations are built into the code snippet or .JSON file, allowing for easy customization with little or no coding experience.
How to Customize Animation Triggers with HTML
Now we will walk you through the process of finding a Lottie animation, customizing the animation transition triggers, and applying it to a web page.
1. Navigate to Creattie
Head over to Creattie's premium Lottie library.
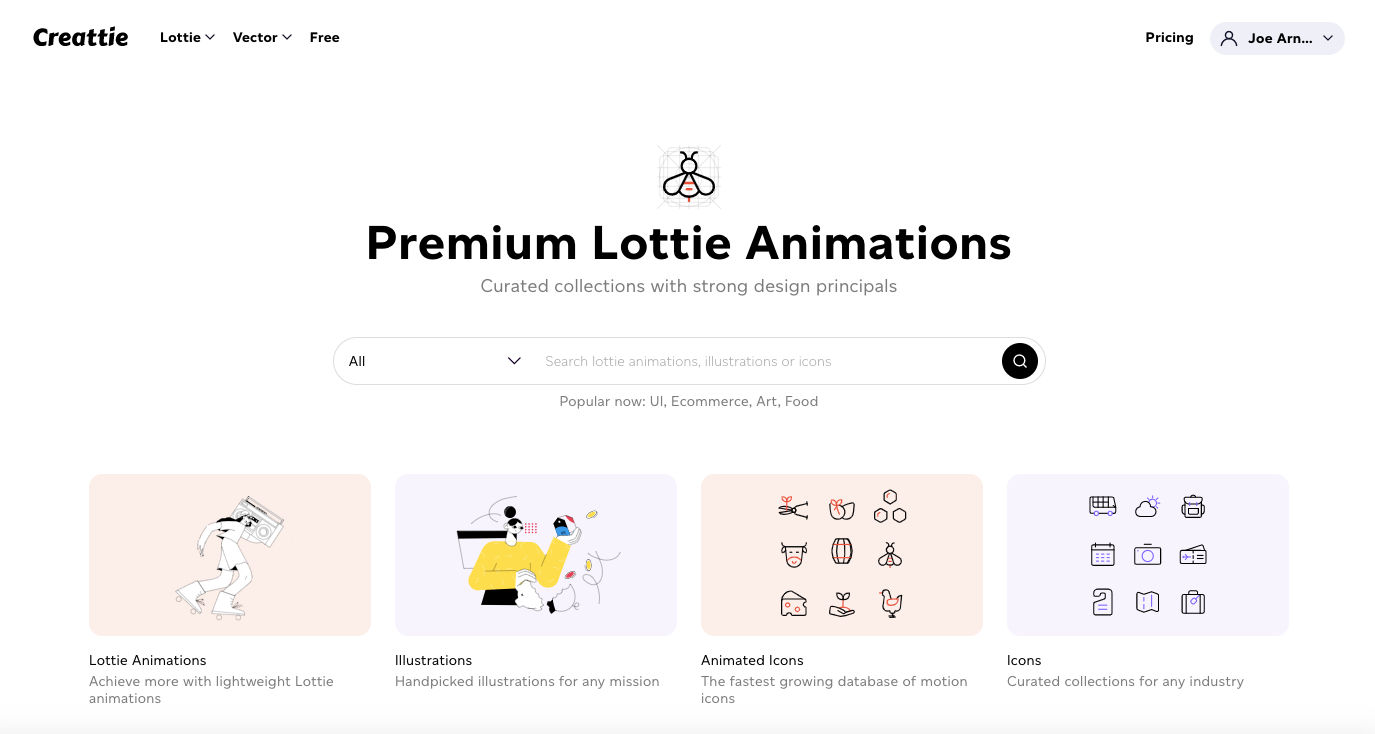
2. Choose an Animation
Creattie offers various ways of finding its high-quality content. For example, you can search through industry-specific collections, by type of content (Lottie or vector), or with a query.
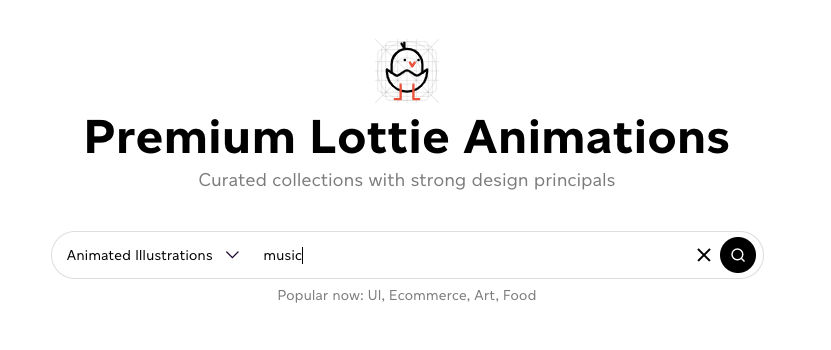
We will use the search bar to look for a music-related animated illustration in the search bar.
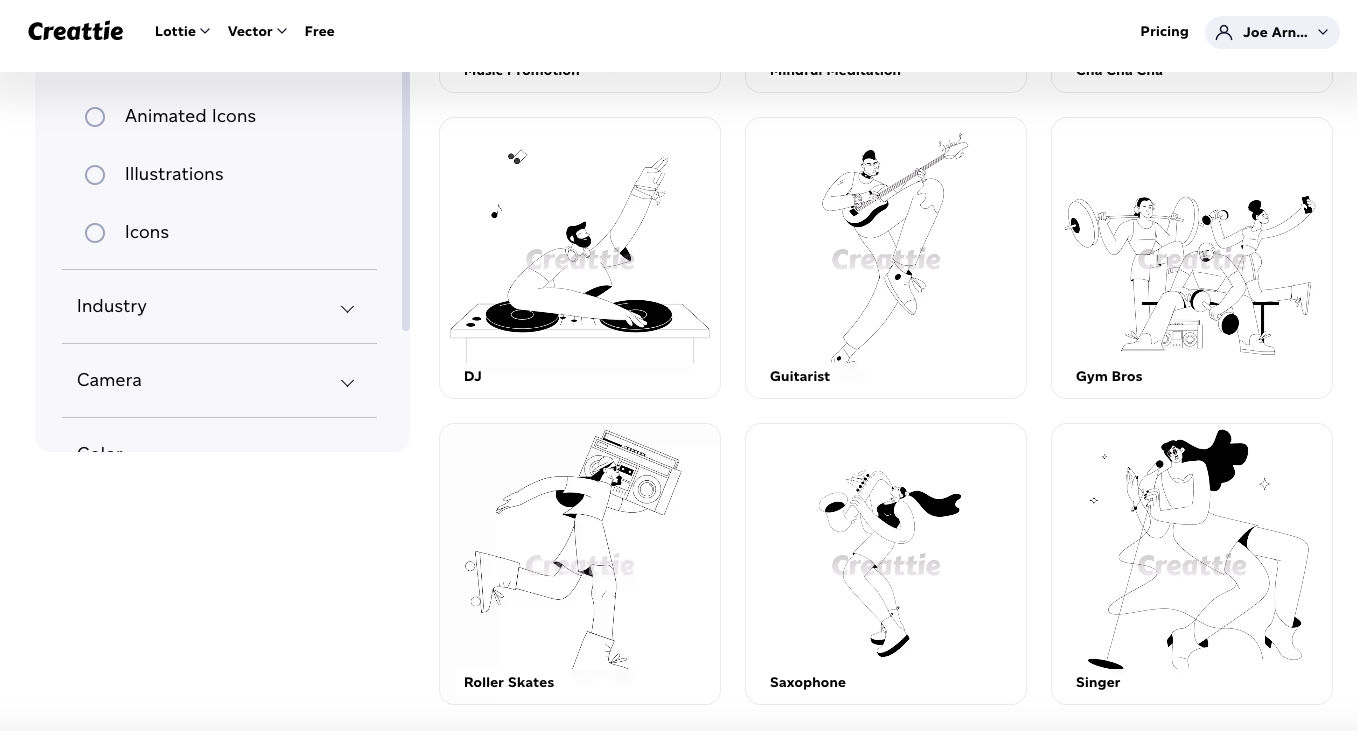
Pick your favorite; we are going with the singer.
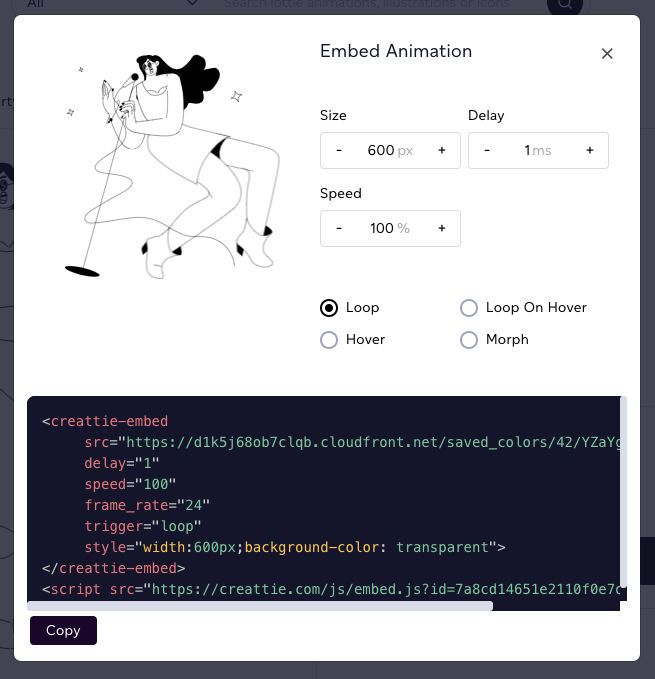
3. Click Embed
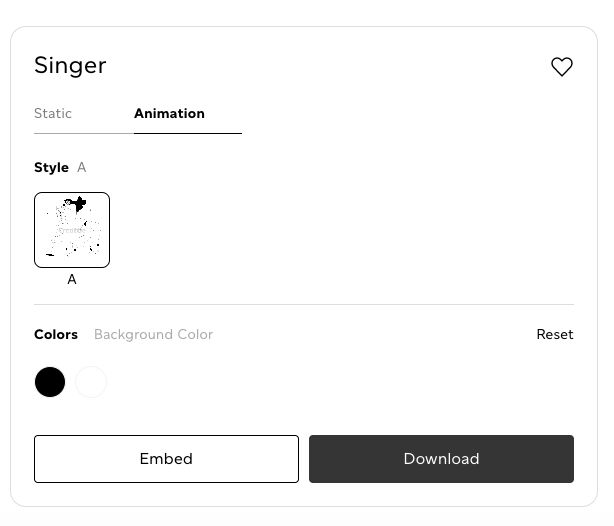
Once you are on the content page, you can make color customizations. We will keep this one simple; click 'Embed' when you are ready to start perfecting your animation transition.
4. Choose Your Animation Trigger
Now the fun starts!
Creattie allows you to manipulate the code directly from the library, making changes as simple as clicking your preferred trigger. We are going with 'Loop on Hover' for this example.
Let's also set a 5-millisecond delay. Type a '5' into the 'Delay' form or use the plus sign to increase.
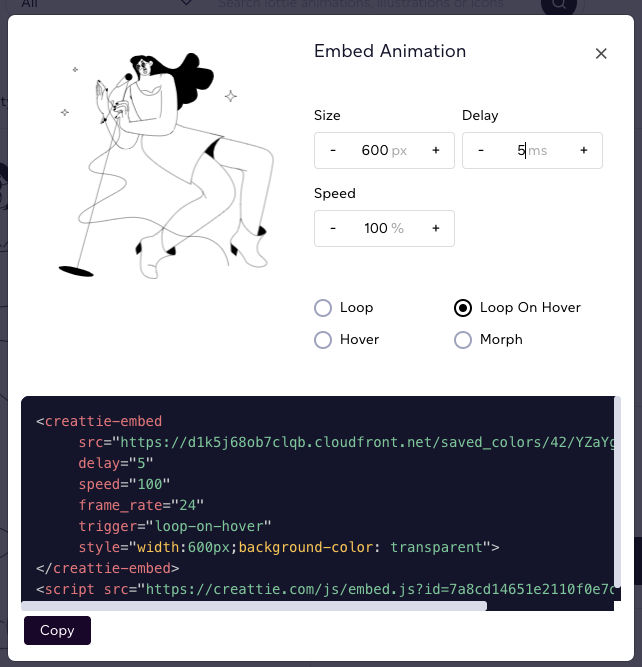
5. Click Copy
Click 'Copy' when you've customized your Lottie animation; you can also change the size and speed from the editor.
6. Embed into HTML
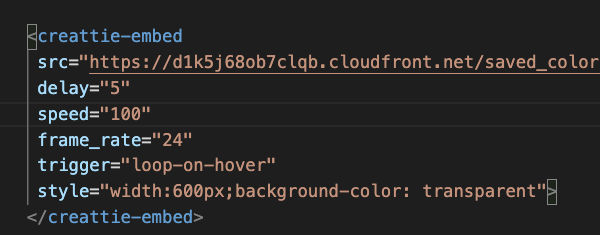
Navigate to your favorite code editor; we use VS Code.
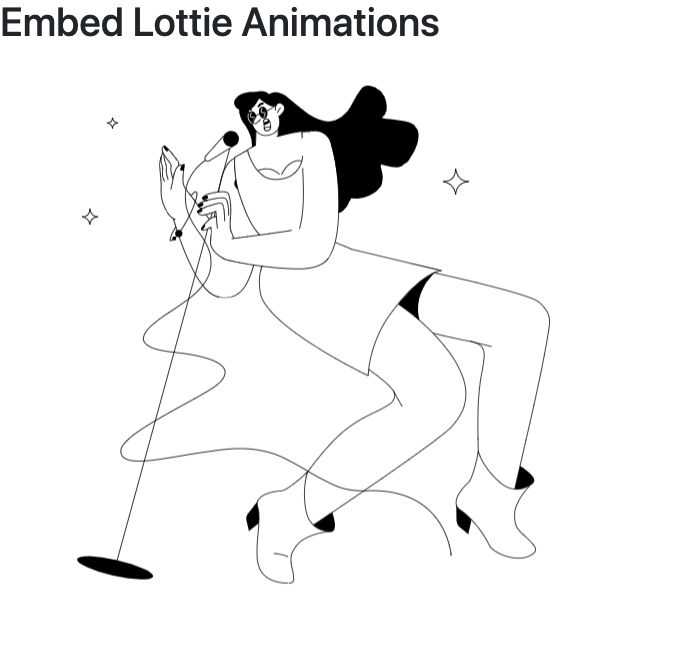
Paste in the Lottie code snippet where you would like the animation to render. We've used a Bootstrap template for the tutorial.
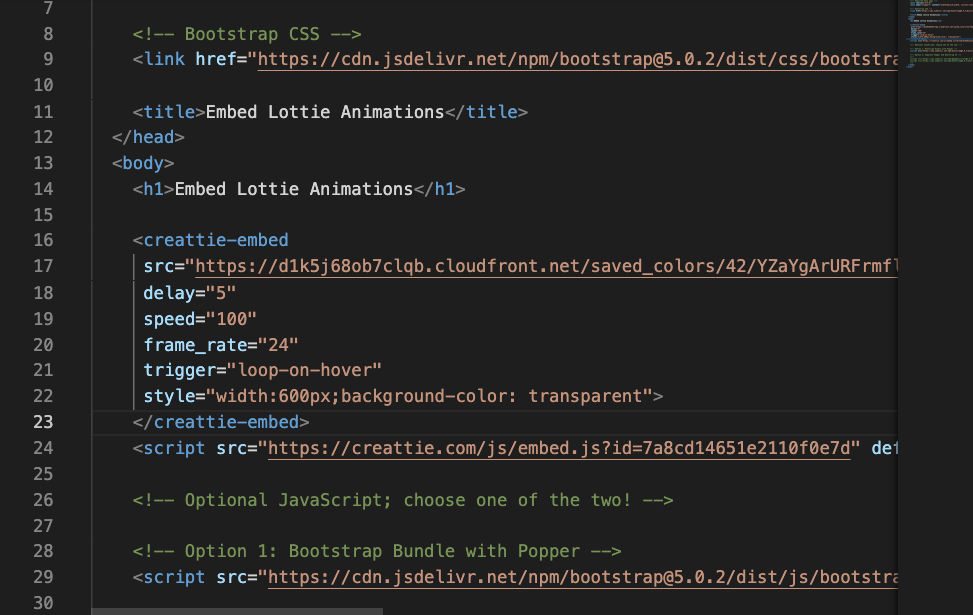
Your Lottie animation should now render on the webpage with the coinciding transition trigger in effect.
Implementing Lottie Animation Effects with a CMS
Embedding into HTML is the most versatile way to incorporate Lottie animation in your web designs. Most CMS platforms like WordPress, Shopify, and Webflow even have an option to insert code snippets.
But if you aren't comfortable working with HTML, there is a no-code option for your CMS of choice.
Embed or Download?
We prefer working with the code snippet, but you can also download the JSON file from Creattie. You won't have the option of customizing the animation triggers, delay, speed, or size from the library, but you can make changes through the CMS editor or plug-in.
Instead of clicking 'Embed' choose 'Download'
A pop-up will appear.
Click 'JSON' and 'Download Now'
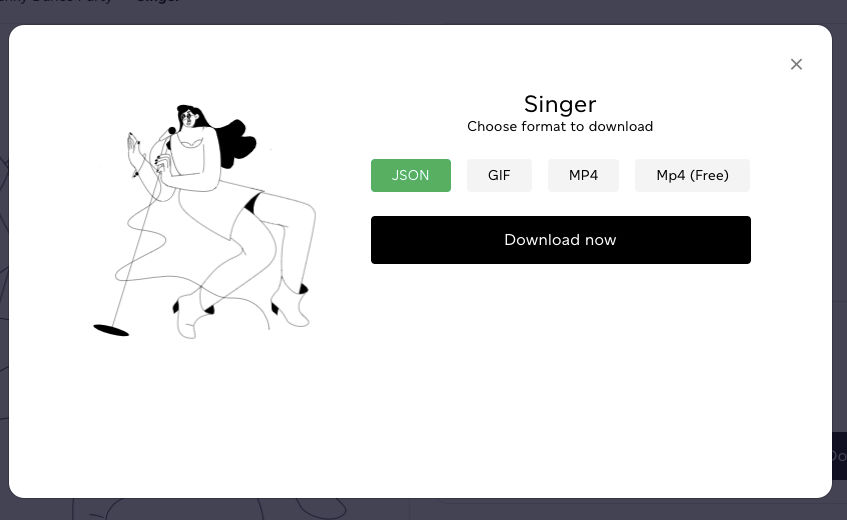
Your file will automatically download.
Upload with Editor or Lottie Plug-in
Depending on CMS, the process of uploading a file will change. Below are how the most popular web builders handle Lottie animations in .JSON files. Some have built-in tools, while others require a 3rd party plug-in that allows you to upload and customize.
Shopify – Download the 'Easy Lottie Animations' app,it costs $14.95 per month (or you can embed it for free)
WebFlow – Lottie is built into Webflow; drag and drop your .JSON file wherever you want to add animation to your page.
Wix – Use the 'Custom Element' feature in Wix to add Lottie; you will have to have a paid account.
Elementor – We suggest the free plug-in 'Premium Addons for Elementor'
Divi Theme – Download the 'Supreme Modules' WordPress plug-in. You can check out our full Divi tutorial here.
Once you've successfully uploaded your .JSON file into your web-builder, the plug-in or editor will allow you to change the animation's triggers and other attributes without coding.
Changing Triggers After Embedding
The advantage of uploading a .JSON file is you will be able to make adjustments in your web builder easily. If you want to change from 'Loop on Hover' to 'Hover,' you just need to change the element's settings.
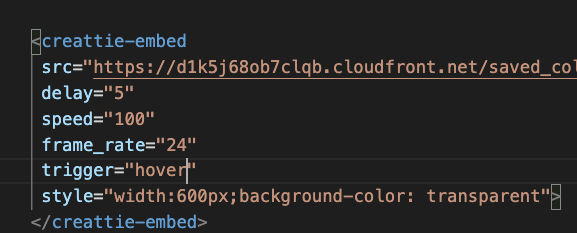
You can also change the builder or code editor when embedding the code snippet. Just find the trigger attribute within the tag.
Change the 'trigger=' to your desired animation trigger. You can also change the delay by changing the number after 'delay=' attribute.
Final Words
Lottie makes including and customizing animations incredibly simple. All you need is a premium Lottie content library like Creattie and some basic web development skills to incorporate highly engaging animations into your designs.
Start using Creattie's extensive Lottie library for free if you are ready to start adding Lottie animations to your projects.