Elementor is one of the most popular builders for WordPress websites. In this tutorial, we'll show you how to add Lottie animations using the free version of Elementor. After reading, you will be able to add lightweight, highly engaging animations to your WordPress website.
How to add Lottie animation to Elementor
- Pick a Lottie Animation
- Customize Colors to Fit Your Branding
- Copy URL or Download the JSON File
- Navigate to Your WordPress Dashboard
- Add a New Plug-In
- Download and Activate
- Edit Your Page with Elementor
- Add Page Element
- Drag and Drop Lottie Animations
- Customize Your Animation
1. Pick a Lottie Animation
The first step is navigating to Creattie and choosing a Lottie animation.

We will use a free icon for this tutorial, but Creattie has an extensive library of premium designs in industry-specific collections available for a low monthly fee.
To find a free design, click the 'Free' toggle and browse the options or use the search bar to find an option that fits your needs.
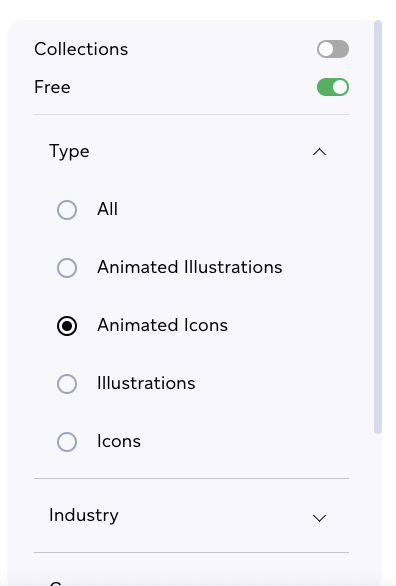
Today we're going to use a contact page as our example, so we'll use the Support Icon to increase engagement on our WordPress page.

2. Customize Colors to Fit Your Branding
Creattie allows you to customize color, speed, size, trigger, stroke width, and delay directly from the library. Because of how our Elementor plug-in will handle the animation, you can only make changes to the color and stroke width at this point. But don't worry, the widget editor is highly intuitive and will give you more options once your Lottie animation is added to the page.
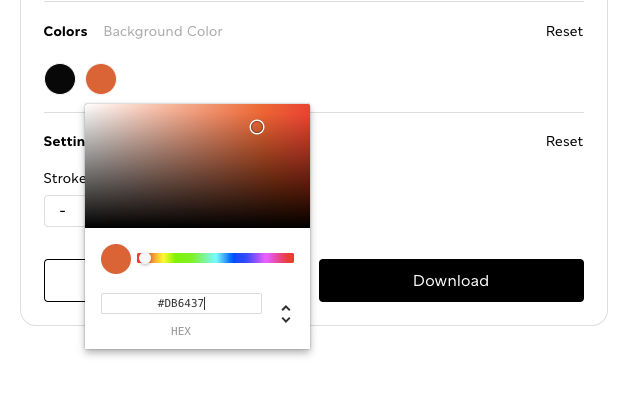
We're using the orange directly from the webpage to match the branding for our secondary color.
Creattie allows you to enter the code or choose manually from a complete color spectrum.

We want a dark grey that will pop in front of a light grey background for the primary.
Once you've adjusted the design's color (and stroke width if you choose), click 'Embed.'
3. Copy URL or Download the JSON File
Once you click 'Embed,' a pop-up will appear.
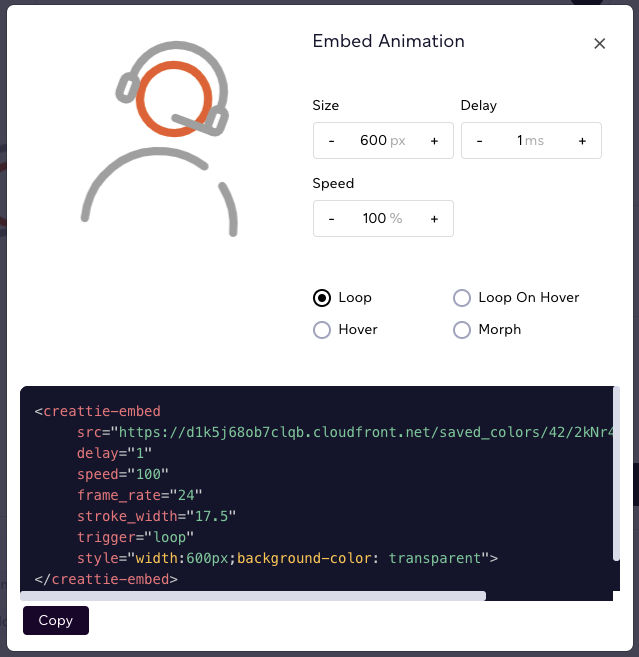
You can adjust the size, delay, speed, and animation trigger, but they won't render in Elementor. The plug-in we're using only allows us to enter the JSON URL connected to the Creattie's server or upload a JSON file.
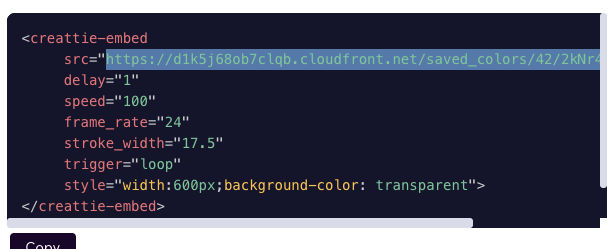
If you are embedding into HTML or a custom code editor, you'll want the entire code snippet. But for this tutorial, you only need the URL. This will make more sense once we get into Elementor.
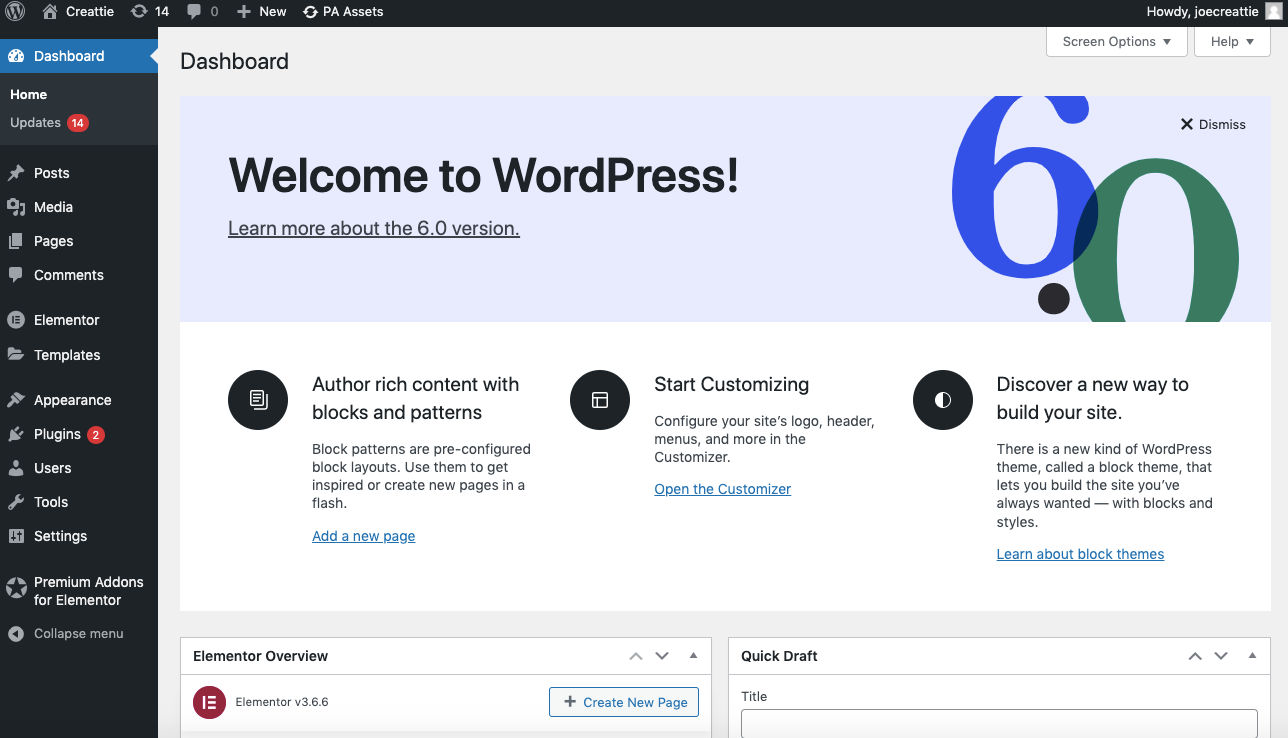
4. Navigate to Your WordPress Dashboard
Now we can get into WP to add our newly customized Lottie animation.
For this method to work, you'll need to use Elementor as your page builder. The free and Pro versions accommodate Lottie, but we will have to download a plug-in if you aren't paying to use Elementor. If you use Elementor Pro, there is a built-in Lottie animation page element that essentially functions like our plug-in.
5. Add a New Plug-In

Hover over the 'Plug-In' button on your WordPress toolbar and click 'Add New.' The plug-in we are adding is Premium Addons for Elementor; if you are new to Elementor, we highly suggest trying the plug-in before upgrading to Pro. You'll have access to free templates and a ton of features like the Lottie Animation widget.

6. Download and Activate
If you enter 'premium addons' into the search query, it will show, as you can see below.
Click the 'Download' button, then click 'Activate' when it appears. Now your WordPress site will be able to handle and manipulate JSON-based animations.
7. Edit Your Page with Elementor
Navigate to the page you want to edit; we are working on the Contact Us page for this tutorial.
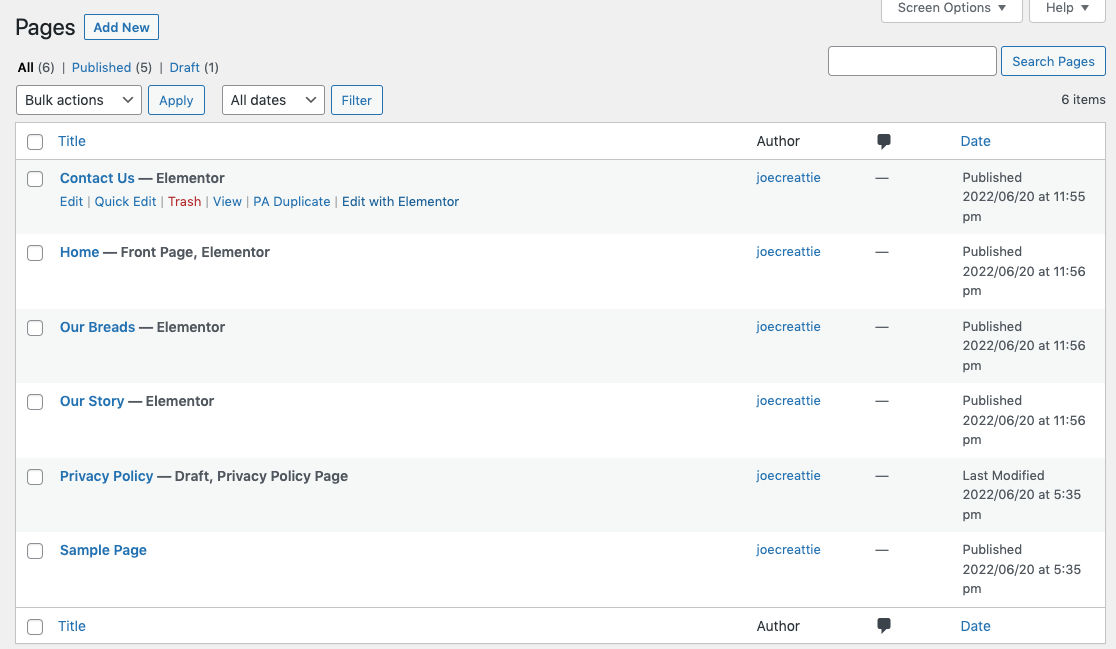
Click 'Edit with Elementor,' and you will be redirected to the page builder.
8. Add Page Element
We will add our Lottie animation just above the contact information text. The animation will attract users to that area of the page and bring life to an otherwise boring section. To get started, we need to find our new Lottie page element from Premium Addons for Elementor.
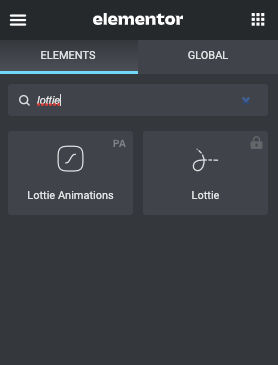
Search your widgets by typing 'Lottie' into the search query at the top of the toolbar. You'll notice 2 options are returned; we'll be using the ‘Lottie Animations’ widget.
9. Drag and Drop Lottie Animations
Drag the widget into the section you want to incorporate your design.
The left-hand sidebar will change from the widget directory to the Lottie Animations widget editor. Add your Lottie animation by choosing 'External URL' as the file source and copy and paste the link to the JSON file. The animation should render on your page.

You can also upload from your media library; the process is easy but requires a few more steps:
- Download the JSON file in Creattie instead of copying the URL
- Upload into your media library
- Choose 'Media File' as your file source
- Select the file
The process is basically the same; the only difference is where the file is stored. We recommend downloading and uploading the file if you are more comfortable with keeping a physical version of the JSON file stored on your WordPress server.
Using the external URL requires fewer steps and won't take up any space in your media library, but most importantly, it's much easier to go back and make adjustments.
10. Customize Your Animation
If you're following along, you've probably already noticed all the customization options in the widget editor. Premium Addons did an incredible job with the free widget by utilizing the customization capabilities of JSON-based animations.
We're only going to change the trigger, but as you can see, you have the option of manipulating the animation's size, rotation, alignment, speed, and animation script. You can also turn the icon into a button by clicking the Link toggle to 'Yes' and entering a URL.
If you navigate to the 'Style' section on top of the sidebar, you can change the background color, opacity, and border radius. Click to the 'Advanced' section, and you can add margin and padding, change the position, and give your animation a CSS ID or Class.
Once you like your design, click 'Update’ and check out the live version.
Making Adjustments Back in Creattie
We recommend using the external URL when adding Lottie animations to Elementor pages because making changes is so easy. If you want to increase or decrease the animation's stroke width or change the color, all you need to do is:
- Navigate back to Creattie
- Change up the design
- Click 'Embed'
- Copy the new URL
- Paste into the widget editor
Congratulations!
You just learned to implement one of the most exciting new design technologies with Elementor and WordPress. Compared to other CMS platforms like Shopify, Wix, Divi, Cornerstone, Spectra and Squarespace, Elementor is further along in offering no-code customizations with Lottie.
Be sure to check out Creattie's entire collection of Lottie and static designs. The platform is the perfect content source for web designers, agencies, and business owners looking to increase engagement and boost conversion rates.